How to be approved for instagram shopping.Before you can tag products to sell on Instagram, you must be approved by Facebook.We all know the power of Instagram.Instagram is a social network that is constantly growing.Therefore, if you have a store or website and you want your sales to increase, the Instagram platform will offer you the way to do it. But first you will need to be approved Instagram Shopping and here we will tell you everything you should do. And make use of this tool to be seen by more people and thus you can increase your sales.
How to be approved for instagram shopping;Steps
- Requirements
- How to label products
- Frequent questions
Requirements
Before you start setting up the Instagram Shopping feature, you should make sure you have completed the following steps:
- Upgrades
Check if you have the latest version of Instagram.
- Eligible countries
Make sure your country is on the Eligible Countries list by checking the ever-changing list in the Instagram Help Center. .
- Product eligibility
The product must be a physical product. It cannot be a digital product. Additionally, your business must sell goods that comply with Facebook’s trade agreement and business policies .
- Install the Jumpseller application for Facebook
Once you have successfully installed the Facebook application , you will have created a Facebook Business Administrator Account, so you will have a product catalog that you can import to your Instagram and the Facebook Pixel already configured automatically, which you will allow you to create ads.
- Instagram business account
Then, you will also need to have an Instagram account for your business, which you will have to link to your Facebook Business Page. Make sure the account is for business and not your personal account. You can also turn your personal Instagram into a business account .
- Connect Instagram to Facebook Business Manager
You must connect the catalog you want to use (it can also be the one created with the Facebook application in Jumpseller) on Instagram to the Business Manager account . You can do this by going to the Catalog Manager , selecting the catalog, then going to Settings from the sidebar and connecting the Business Manager account.

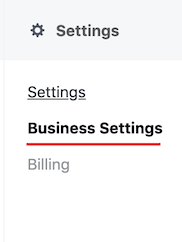
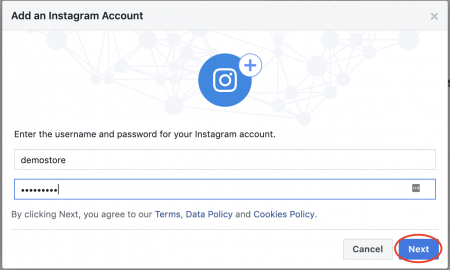
Connect Instagram to Facebook Business Manager
Go to Business Setting on your Facebook Business Manager Page.
Click on Instagram Accounts.
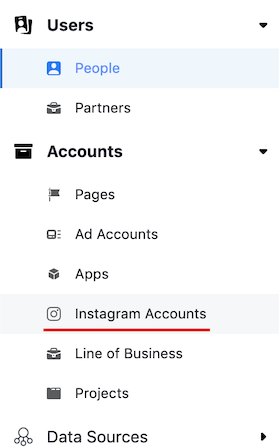
Click the Add button.
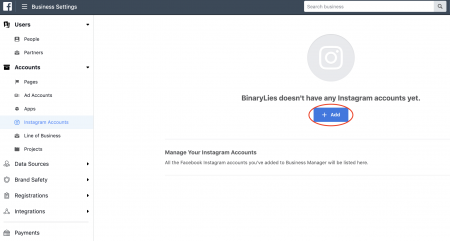
Add your username and password to connect your accounts.
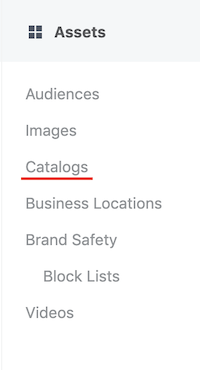
Once your Instagram account is connected, go to Catalogs under Assets in the main menu.
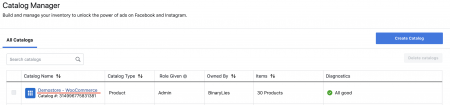
Select the Catalog of Synchronized Products from your Jumpseller store.
Click Settings on the left sidebar.

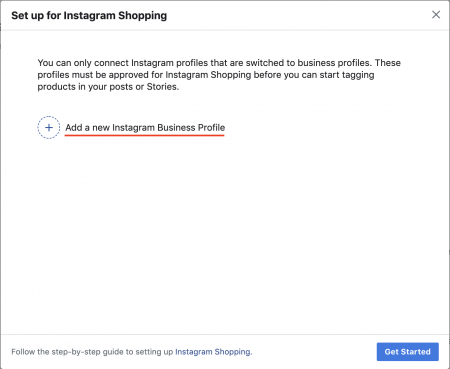
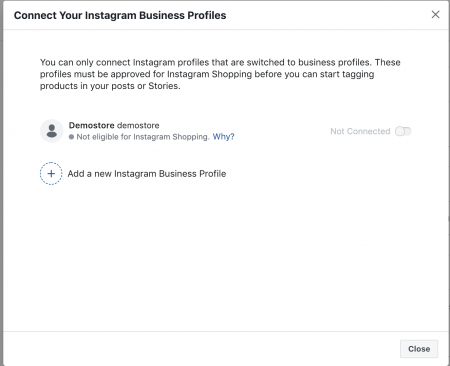
Scroll down to the Connected Instagram Business Profile section and click Manage Profiles.
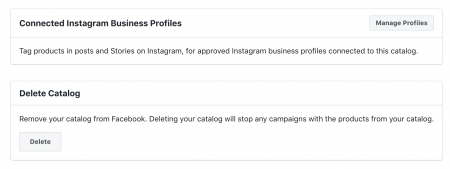
Then, you need to click Add a new Instagram Business Profile or select an existing one.
Once approved (see the criteria in the next step), you can enable the connected account.
8.Approval
To be approved to buy on Instagram, your business and your account settings must meet the requirements set by Facebook. Your account must be reviewed and approved by Facebook. This can usually take a few days. Once approved, you will receive a notification from Instagram.
To enable product tagging:
- Go to your profile.
- Tap the start alert at the top of your profile.
- If you don’t see the alert in the image above, tap the settings icon.
- Tap on Purchases.
- Press Continue.
- Select a product catalog to connect to your business profile and tap Done.
To tag products in your posts:
- Select a photo and add a caption, effects, and filters.
- Touch the products in the photo that you want to tag.
- Enter the names of the products you want to tag, then select them when they appear in the search box.
- Touch Done and Share.
You can tag products in new and existing posts on your Instagram business profile. You can tag up to 5 products per single image post or 20 products per multiple image post .
Important: You can edit or delete products that you have tagged in single image posts, but for multiple image posts you cannot edit or delete tagged products once they have been posted.
If you remove a product from the Facebook store or product catalog that is associated with your business profile, the associated tag will be removed from any post where the product is tagged and you will also lose information about the associated tag that has been removed.
Product information on labels and on the product detail page will show the currency and language of your catalog to a global audience. It is recommended that you use the Insights in your business profile to understand your audience and that you use the catalog that contains the most relevant currency and language for your audience.
To preview posts or save a draft of a post, click Preview Tagged Products or Save Draft on the page that allows you to add a title to your post, under Tag People and Tag Products .