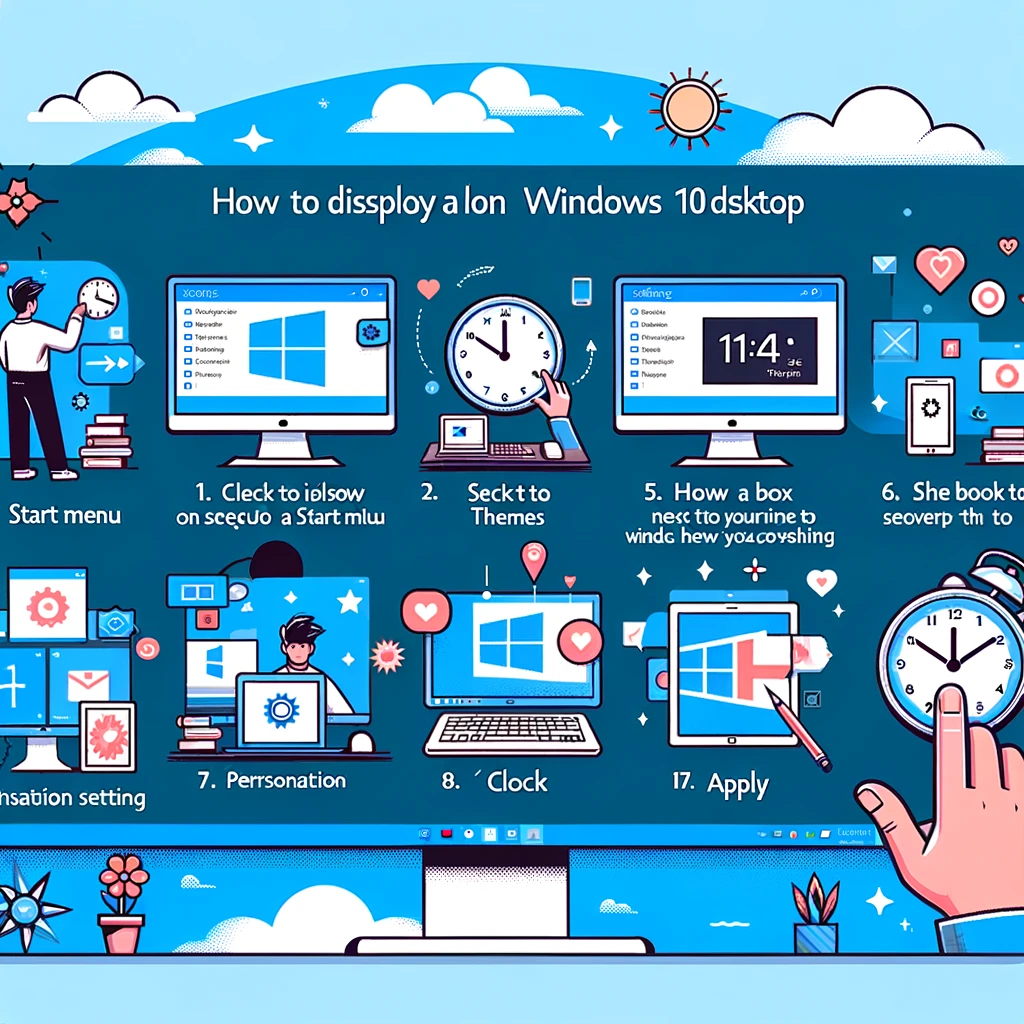
Can I put the clock gadget on the Windows 10 desktop? If you need to use some gadgets on Windows 10 such as a clock or several clocks with different time zones and you don’t know how to do it then I’ll tell you right away that you are in the right place. Through this guide I want to teach you how to display clock on the Windows 10 desktop through a simple procedure.
To display a clock on your Windows 10 desktop, you can use the built-in features of Windows or third-party applications. Here’s how you can do it using the built-in options:
How to display clock on the Windows 10 desktop

Using Built-in Widgets
- Alarm & Clock App:
- Open the “Alarm & Clock” application from the Start menu.
- Click on the “World Clock” tab.
- You can pin multiple time zones to the Start menu as live tiles, which will show the current time.
- Taskbar Clock:
- The time is always displayed on the taskbar by default.
- If it’s not showing, right-click the taskbar, select “Taskbar settings,” and ensure the “Show clock” option is enabled.
Using Live Wallpapers or Screensavers
- Live Wallpaper:
- You can set a live wallpaper that includes a clock. There are many available online.
- Download and install the live wallpaper application.
- Set a wallpaper that displays the time.
- Screensaver:
- Right-click on the desktop and select “Personalize”.
- Go to “Lock screen” and then “Screen saver settings”.
- Choose a screensaver that displays the time, like “3D Text” where you can customize it to show the time.
Using Third-Party Software
- Rainmeter:
- Download and install Rainmeter.
- Choose or download a skin that includes a clock widget.
- Customize it as per your preference.
- Other Desktop Gadgets:
- Search for desktop gadgets or widgets software that includes a clock feature.
- Download and install the application.
- Choose the clock gadget and place it on your desktop.
Remember, using third-party software always carries some level of risk, so make sure to download from reputable sources.
How to display more than one clock with different time zones on the Windows 10 desktop
In case you have the need and want to display more than one clock with different time zones on the Windows 10 desktop proceed in this way. Start and adjust the first clock by typing for example the name Rome (Italy time zone), then click with the right mouse button anywhere on the desktop and from the context menu that opens, choose the Gadget item then start another clock from the window that opens.
Once you have opened the other clock gadget on the desktop, place the mouse pointer on it and open the Options (icon in the shape of a bolt wrench). Now in the window that opens type the name London and of course on the Time zone drop-down menu set London then press the Ok button at the bottom to confirm. As you can see now you have two clocks with different time zones placed on the desktop. Repeat the same steps to open multiple watches with different time zones.
