Learn how to put AAA batteries in a laser pointer with this easy-to-follow guide. Follow these steps to power up your device in no time!Inserting AAA batteries into a laser pointer is a straightforward process, but it’s important to do it correctly to ensure that your device functions properly and safely. Here’s a step-by-step guide on how to install AAA batteries in a laser pointer:
How to Put AAA Batteries in a Laser Pointer; Step By Step Guide.

Step 1: Gather Your Materials
Make sure you have the following items:
- Your laser pointer
- Fresh AAA batteries (check your laser pointer’s manual for the correct number and type)
- A small Phillips or flathead screwdriver if the battery compartment is secured with screws
Step 2: Turn Off the Laser Pointer
Before you begin, ensure that the laser pointer is turned off to prevent any accidental activation during the battery installation.
Step 3: Locate the Battery Compartment
Find the battery compartment of the laser pointer. This is typically at the end of the laser pointer, often near the area where the beam emits. In some models, the compartment might be along the side or require unscrewing a cap at one end of the pointer.
Step 4: Open the Battery Compartment
- If the battery compartment is secured with a cap, unscrew the cap by turning it counterclockwise. Some models might have a small notch or arrow indicating which way to turn.
- If the compartment is held by a screw, use your screwdriver to remove the screw and then take off the cover.
Step 5: Remove Any Old Batteries
If there are old batteries inside, take them out. Be sure to dispose of or recycle the old batteries properly.
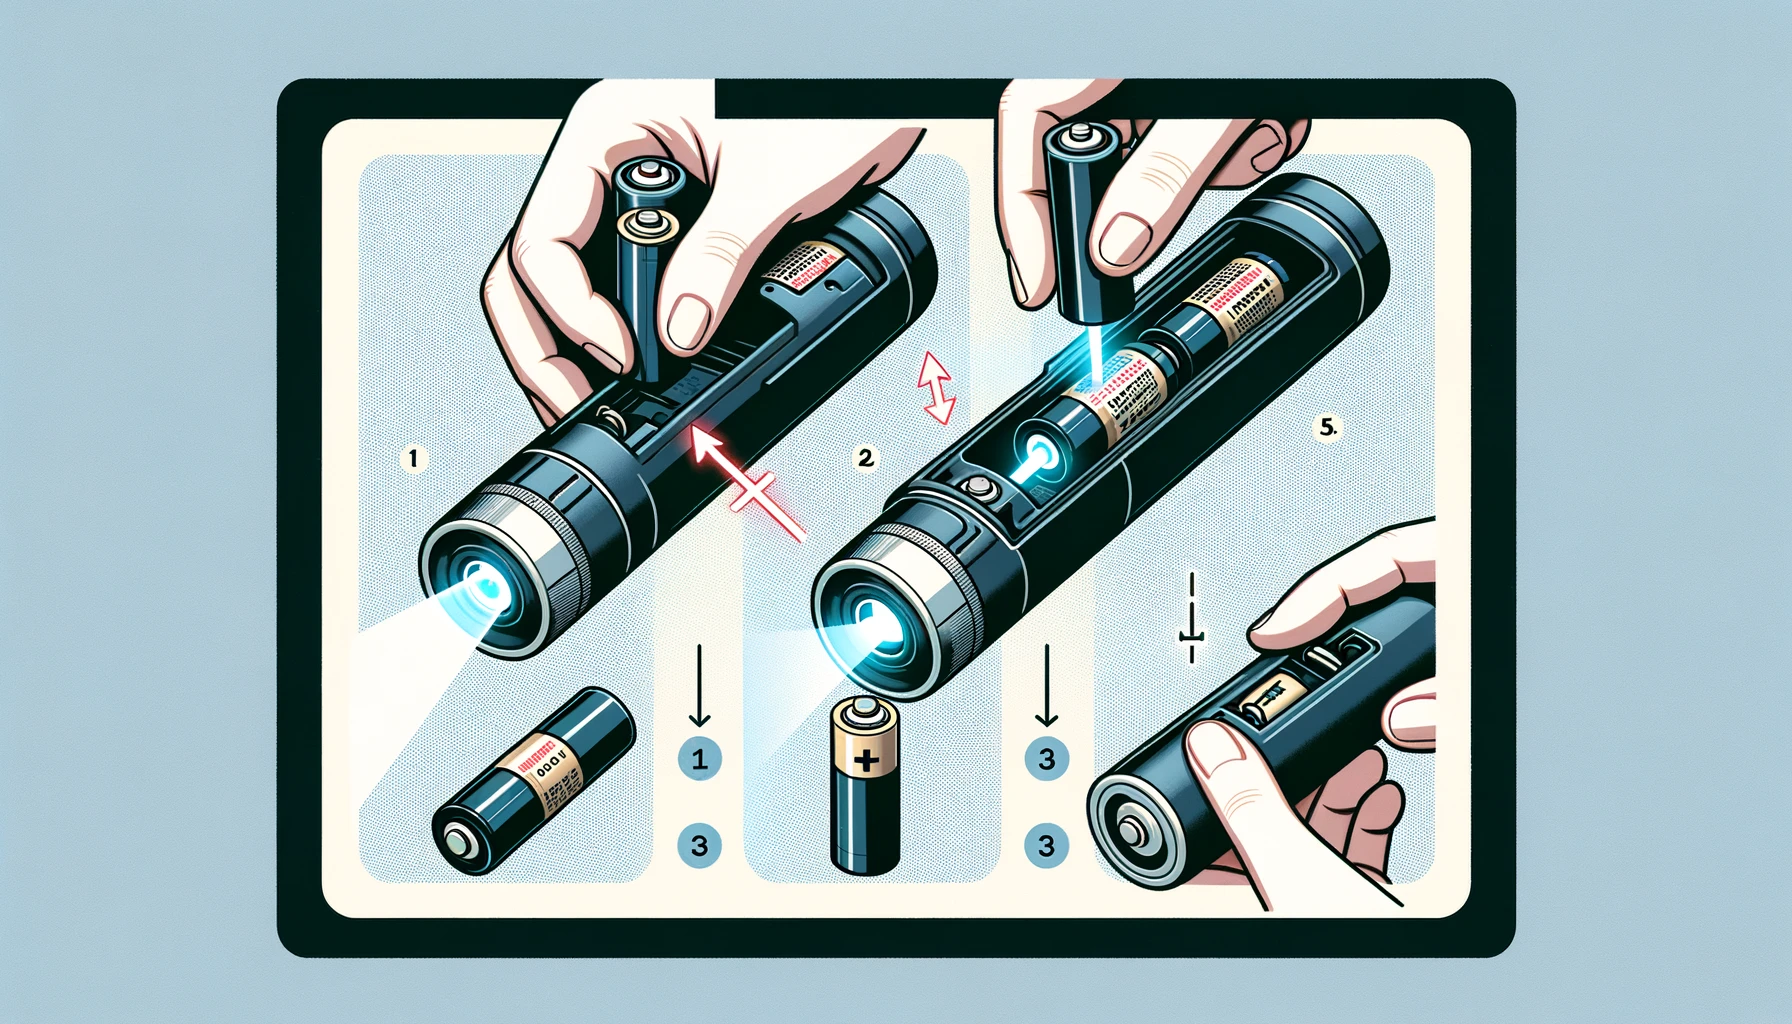
Step 6: Insert the New AAA Batteries
Look for the polarity signs (+ and -) inside the battery compartment or on the compartment cap. Insert the new AAA batteries in alignment with these signs:
- The positive (+) end of the battery should align with the + sign on the compartment.
- The negative (-) end should align with the – sign.
Step 7: Close the Battery Compartment
Once the batteries are correctly in place, replace the cap or compartment cover:
- If it’s a screw cap, place it back and turn it clockwise until it’s snug.
- If it’s a compartment with a screw, replace the cover and tighten the screw without over-tightening.
Step 8: Test the Laser Pointer
Turn on the laser pointer to ensure it’s working. If the laser does not emit a beam, double-check that the batteries are properly inserted and that they are fresh.
Step 9: Store Properly
When not in use, store your laser pointer in a safe, dry place out of reach of children and pets. If you won’t be using the laser pointer for an extended period, consider removing the batteries to prevent leakage.
By following these steps, you should be able to successfully install AAA batteries in your laser pointer, ensuring it is ready for use whenever you need it.
Conclusion
By following these simple steps, you can easily put AAA batteries in your laser pointer and ensure that it is ready for use whenever you need it. Remember to always have extra batteries on hand so you can quickly replace them when needed. Now go ahead and enjoy using your laser pointer for all your presentation or entertainment needs