How to download the program, create a scene, add a character to it and program his movements, we tell in a detailed instruction.
Many of you have heard of the Unity game engine, the video game development platform that has gained popularity around the world thanks to iconic projects such as Cuphead, Pokémon GO, Kerbal Space Program and many others. In this article, the Pixel School of Programming for Kids will show you how to create your first Unity game and publish it online.
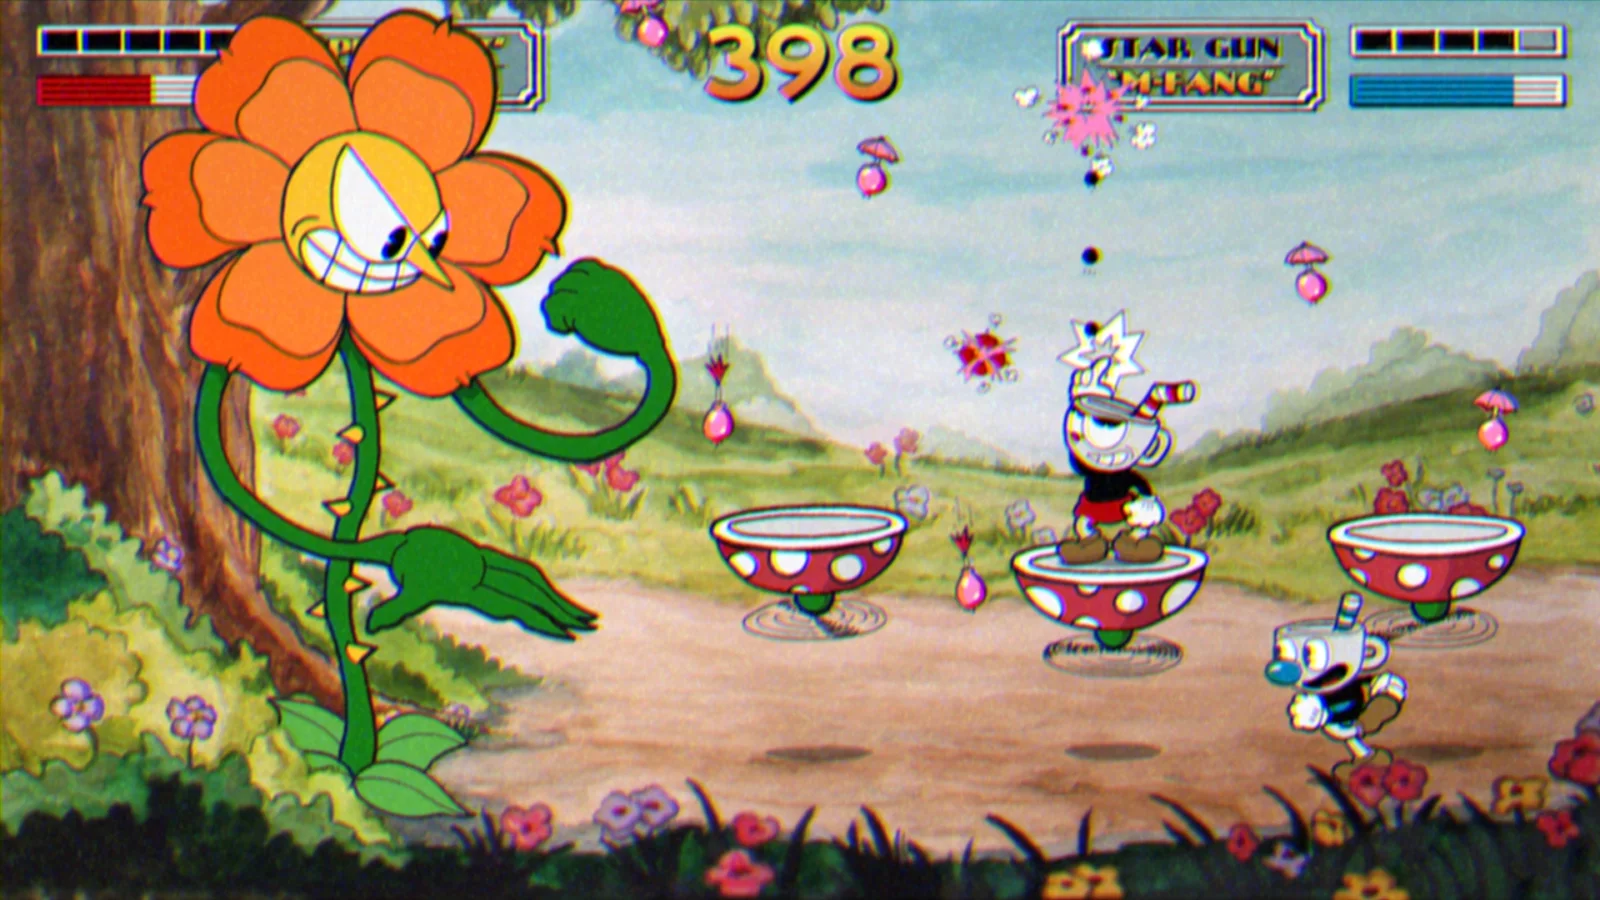
CupHead platformer game
Unity is not just a platform for developing online games, but a universal tool that opens access to game development for everyone. You can start creating projects on Unity even in adolescence: from the age of 10, children are able to master the modeling of 3D objects and scripting in C # (C Sharp).
How to find templates for games: Unity Asset Store
A novice developer can create a Unity game based on pre-installed templates that contain ready-made sets of rendered 3D models. Among them are templates for characters, backgrounds, sounds, voices and other components of the game world. You can find such blanks in the Unity Asset Store online marketplace .

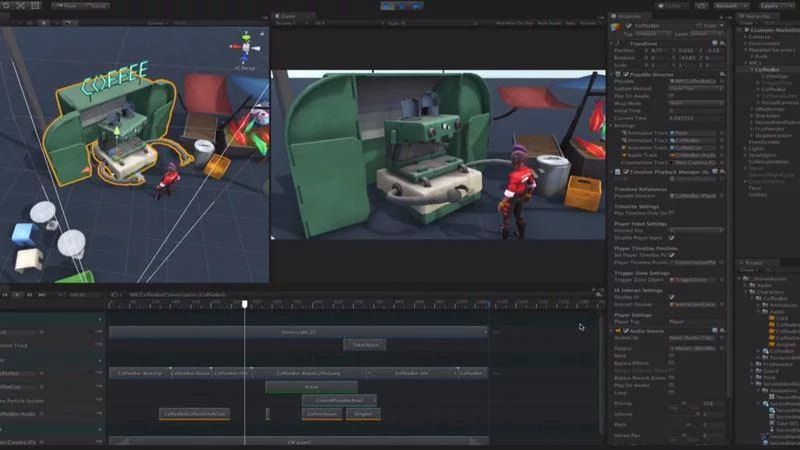
An example of an asset with rendered elements in 3D
The Unity platform is free for beginner developers and provides free access to its tools. Another feature of the platform is its cross-platform nature: projects created on this game engine can be run on a variety of devices, from consoles to tablets and smartphones.
As for the Unity Asset Store, the developer can monetize the game, application or asset he created by uploading it to the online store for a fee. More than 100,000 different projects are available on the asset marketplace, including 2D and 3D models, fonts, textures, audio and video files.
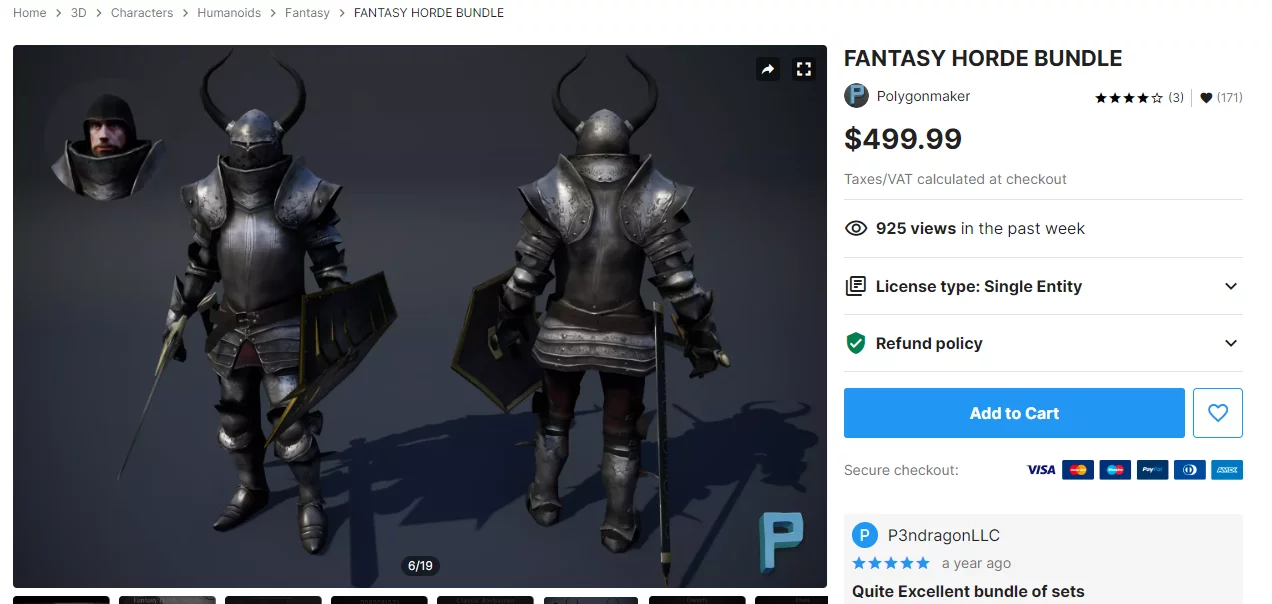
Examples of rendered characters in 3D format available for download and installation in your project
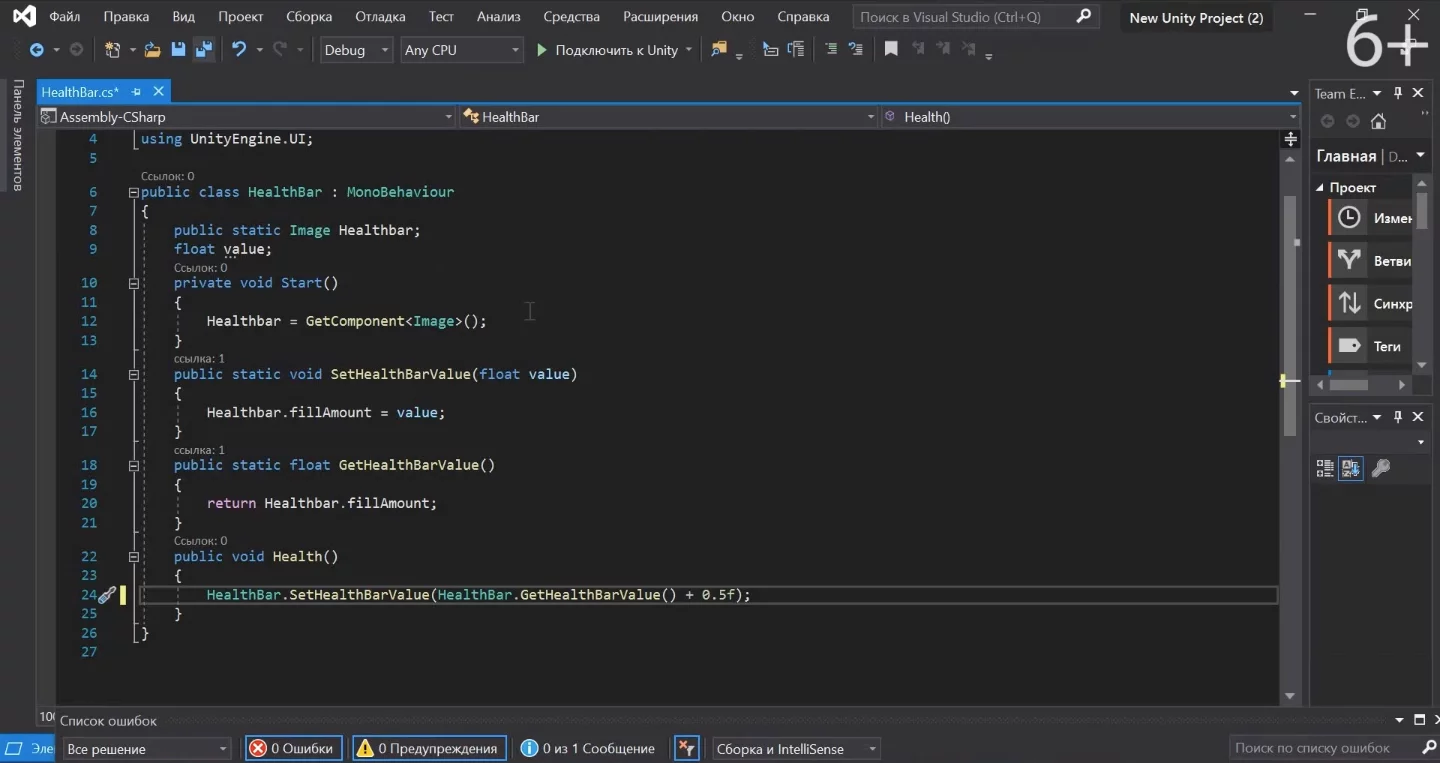
C# Programming in Unity
Let’s try to develop the first project on Unity.
Getting to know the interface and features of game development on Unity
First you need to download and install Unity 3D – an engine for creating games. Watch a short video tutorial on installing and unpacking the program:
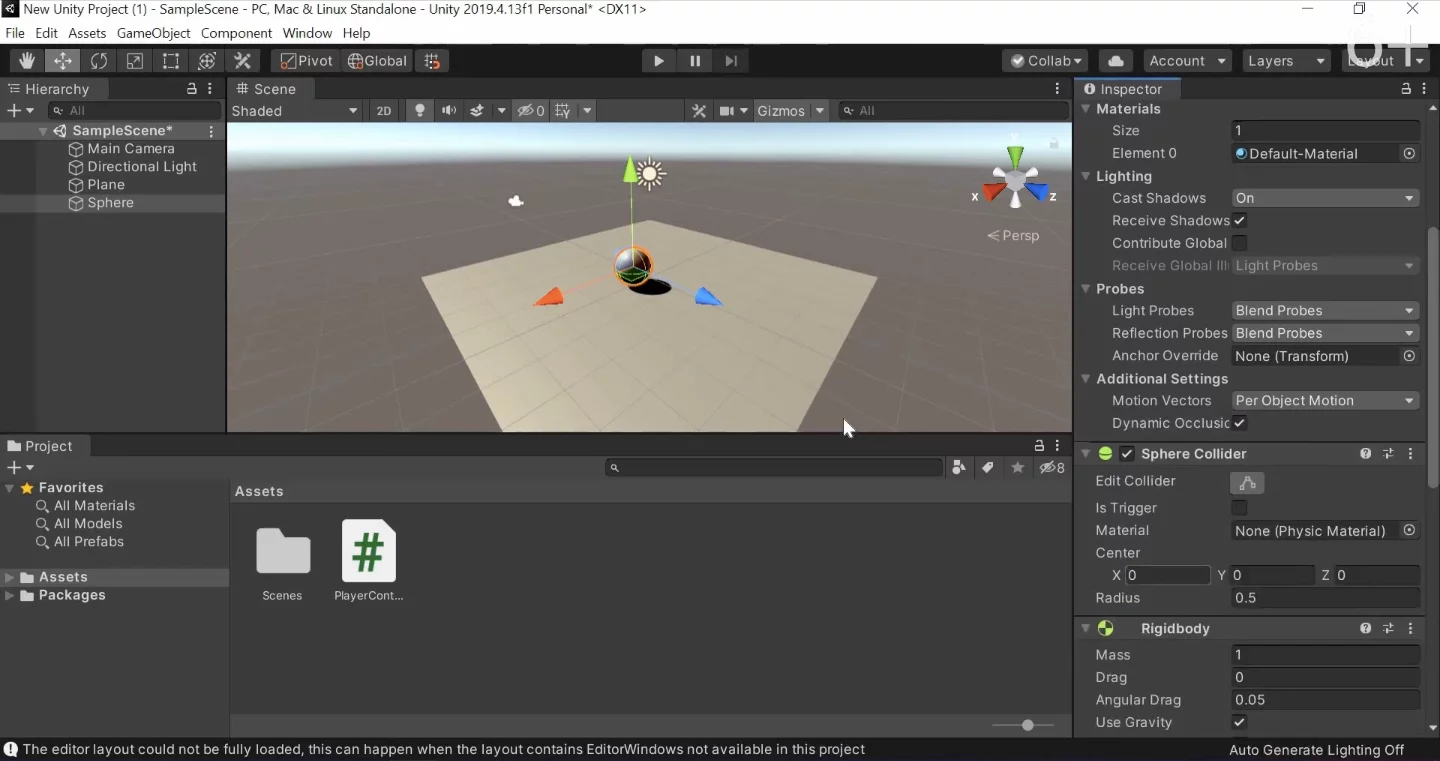
Next, let’s start studying the interface of the program.
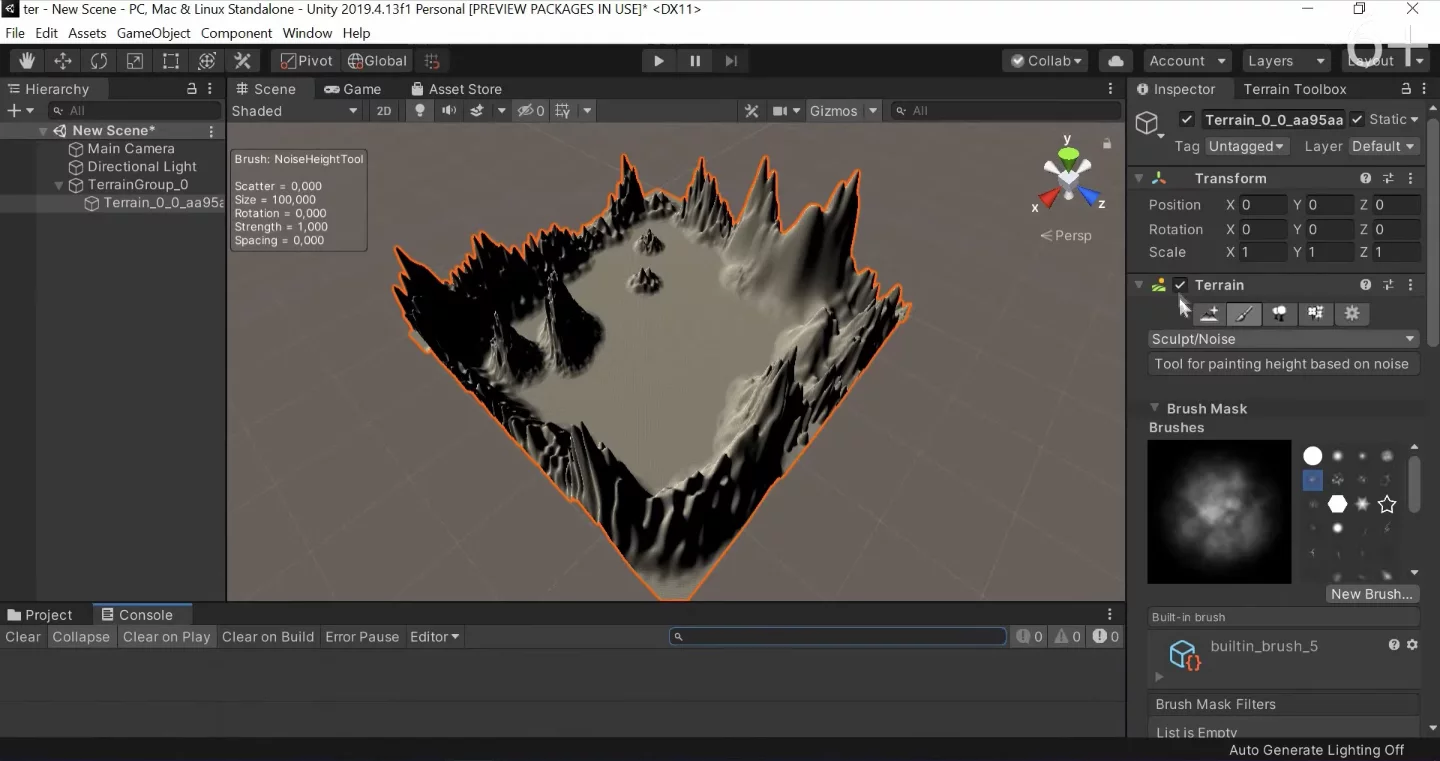
The first thing you see here is the game scene, which contains the game objects and their components. Each element-object has its required components. For example, the Transform element, which is responsible for the location of the object on the game stage. Or the Rigidbody responsible for the simulation.
Programming in Unity 3D is based on creating custom classes that just act as components for game objects.
To make it clearer, we list the main game classes:
Audio – responsible for playing music and the presence of sound effects when moving;
Settings – is responsible for ensuring that the current state of the game matches the current settings;
Data – responsible for storing user data;
Serializable Settings – responsible for saving the game settings;
Player – responsible for the behavior of the player’s character;
Health – is responsible for the health of the player’s character;
Scrolling – responsible for the constant movement of the background and background objects.
To learn more about the concepts of classes, variables and functions in Unity, watch the video tutorial:
Another feature of the Unity 3D interface is the use of several game scenes – workspaces for launching games. You can create as many as you need, and even move between them.
Creating your first Unity project: how to make character control in 3D
After installing the program, let’s try to create our first game engine project. We will make the basis for a 3D game: we will design a simple scene, add a character and teach him how to move.
By the way, for convenience, we have prepared a detailed video instruction, you can find it here:
First we need to prepare the scene. You can choose the usual Plane (plane) as a map and Sphere (sphere) as a character. To add these 3D objects, you need to click on the left menu (it is called Hierarchy or Hierarchy) on +, then on 3D Object → Plane (or Sphere).

Let’s divide the game scene into two components. The first of them will become a platform on which our character will move. You can adjust the location of the sphere by dragging the arrows.
Playing field for programming the movement of the character-sphere
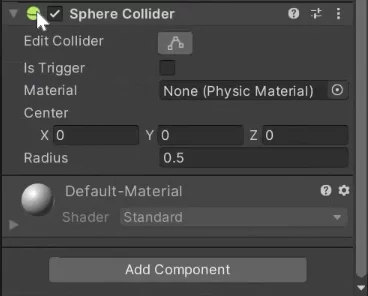
It is necessary that the character has a Collider connected. In this case, during collisions (collisions), our hero will move. The collider is added in the lower right corner, for this you need to check the box.
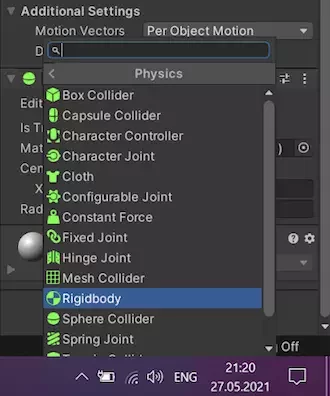
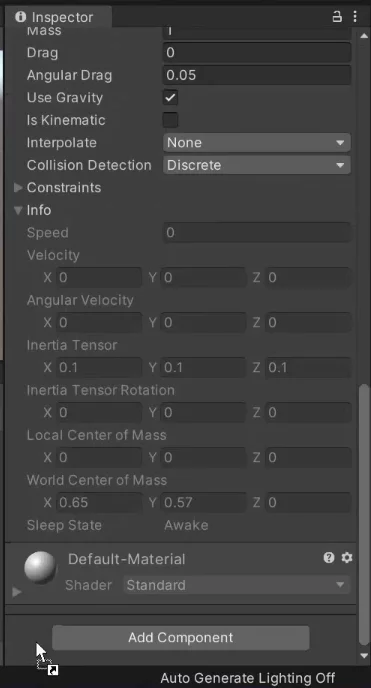
Next, we need a Rigidbody component to animate the character. Rigidbody is responsible for the physics of the hero, that is, for his physical behavior, reaction to gravity. In the settings in the lower right corner of the screen, select Add Component → Physics → Rigidbody.
Next, we will write a script for character movement in C#.
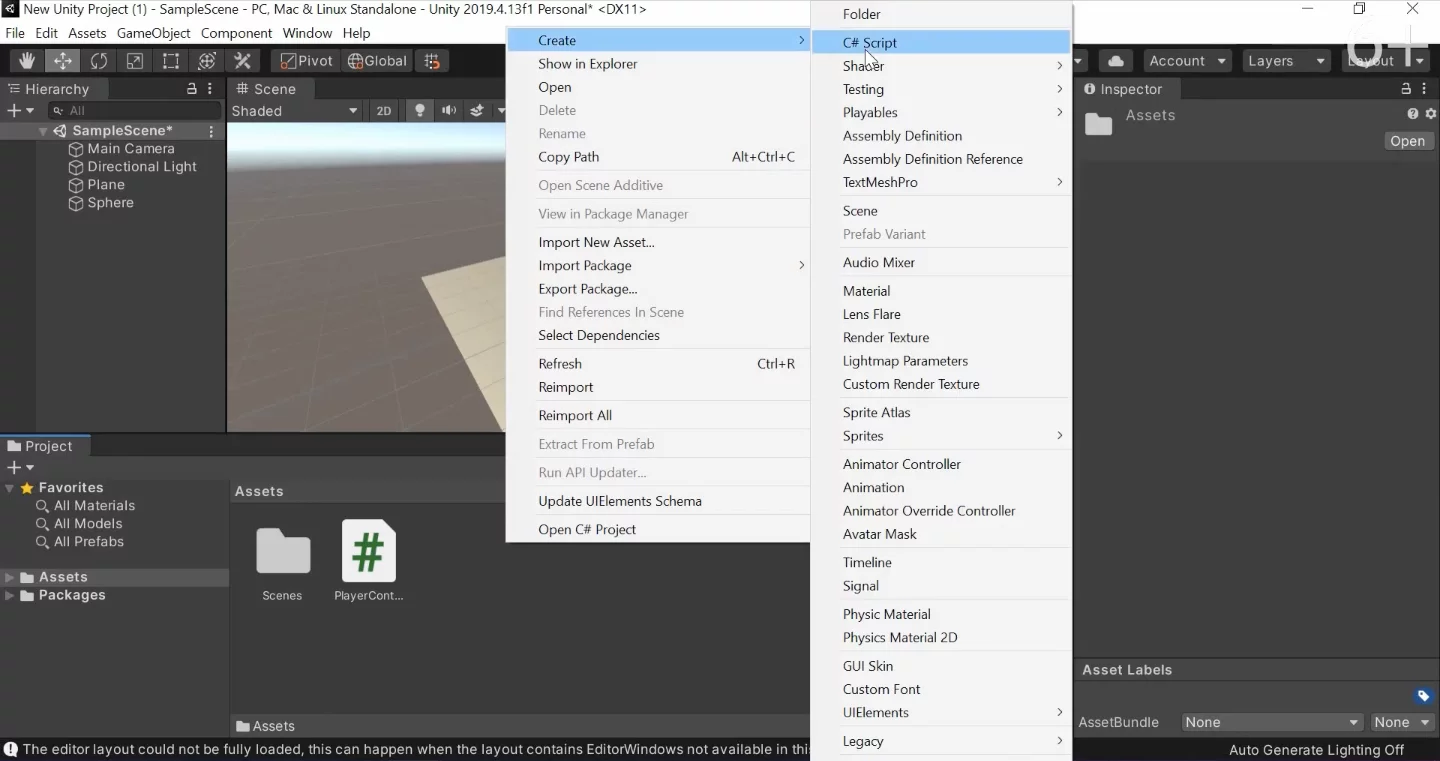
To create a script, you need to right-click in the scene area. Next, in the window that opens, select Create → С# Script. We give the script a name, it must be in English. Our program is named PlayerController.
We write four variables of type float in the script, on which the speed of the character’s movement along all coordinate axes will depend.

In our program, variables such as movementSpeed (movement speed), turningSpeed (turning speed), vertical (vertical movement) and horizontal (horizontal movement) will be used.

Then, in the horizontal variable, we will write the horizontal movement multiplied by the turn rate and Time.deltaTime (this will help smooth out the actions). Our object will be rotated along the Y axis.
With the vertical variable, everything is very similar: we record the vertical movement multiplied by the movement speed and by Time.deltaTime. Thanks to this variable, our character will move along the Z axis.
Be sure to save the program using the keys Ctrl + Shift + S. The script is ready, it remains to move it to the sprite. To do this, you need to literally drag the script to the right menu in Unity using the mouse.
Click on the start icon at the top and check what happened.

How to make a simple 2D character control program
In Unity, you can create both 3D and flat games. Let’s try to make a similar project, only in 2D.
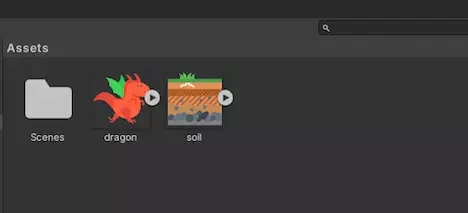
To do this, you need to add a sprite-character and a sprite-ground to a new scene, you can download our materials from the link or find others in the Asset Store.
Drag the character and the ground onto the stage with the mouse. Using the keys Ctrl + D and the Move tool (located in the upper left corner) you can duplicate part of the ground and thus stretch the surface to the entire scene.
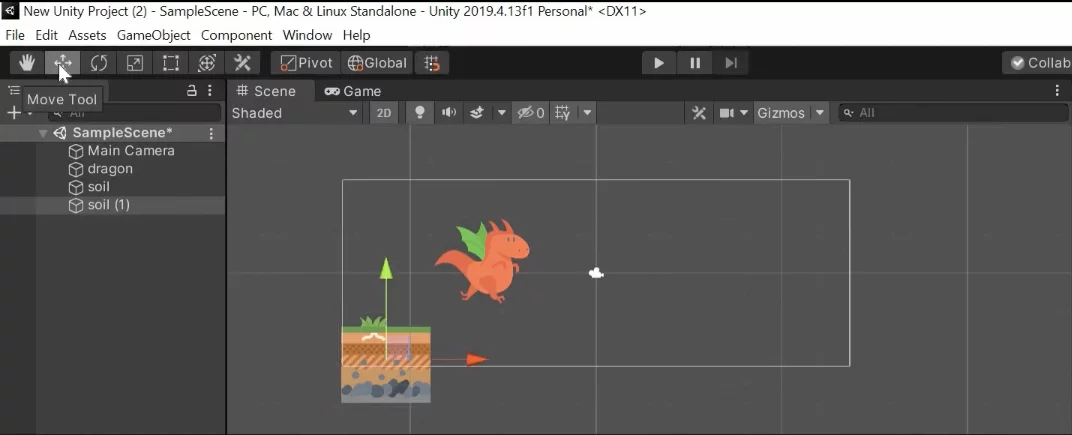
Move Tool
Next, we need to merge all the parts of the ground to make it easier to add components to the entire platform at once. To do this, create an empty object (click on + and select Create Empty) and transfer all the duplicated parts of the earth into it.
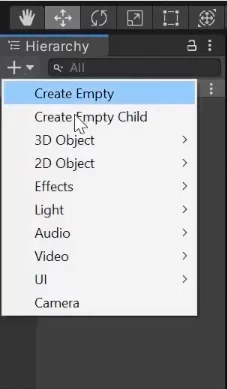
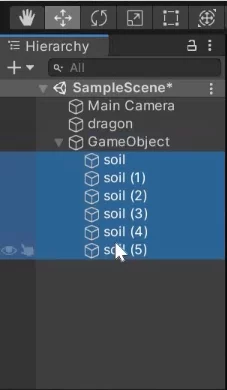
Now the entire surface on which the hero will move is located in the Game Object folder, with which we will continue to work.
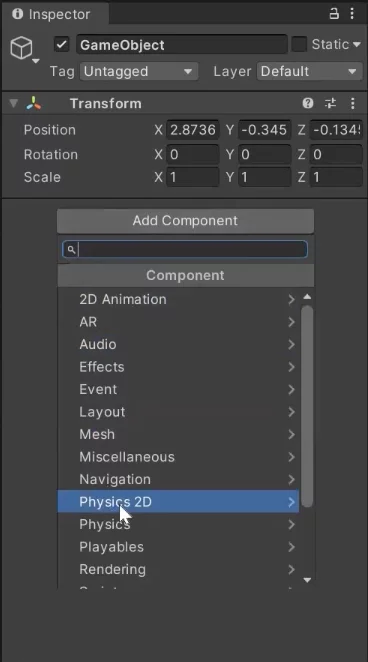
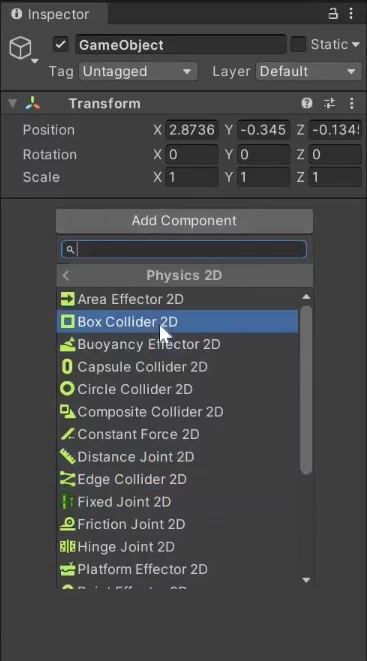
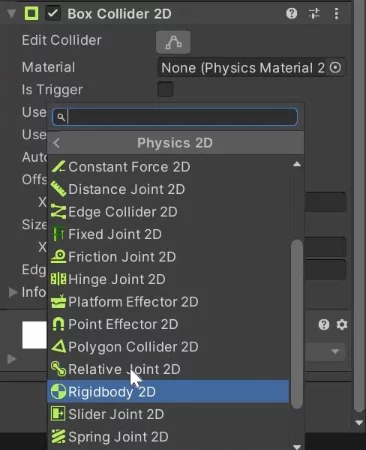
Select the Game Object and in the lower right corner click on Add Component → Physics 2D → Box Collider 2D.
The collider will appear on the scene, but at one point. We need to stretch it all over the earth. To do this, in the right menu, click on Edit Collider.
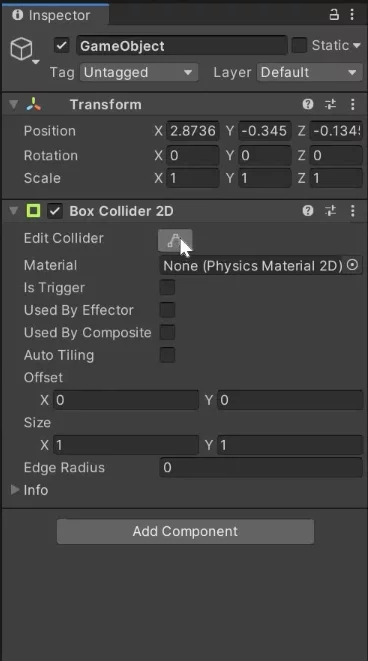
And then we take the edges and stretch the Collider over all the ground.
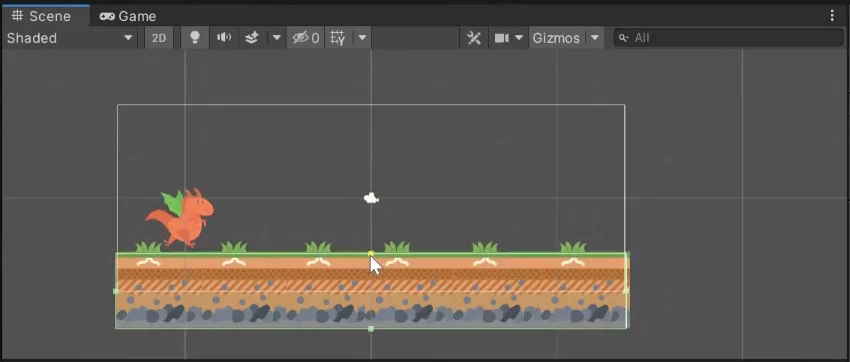
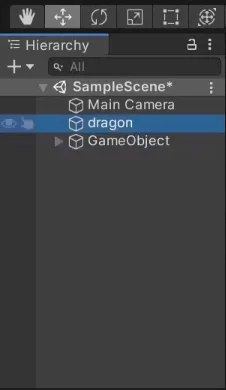
We need to do the same with the character. In the “Hierarchy” we select the object of the character, in our case it is called dragon.
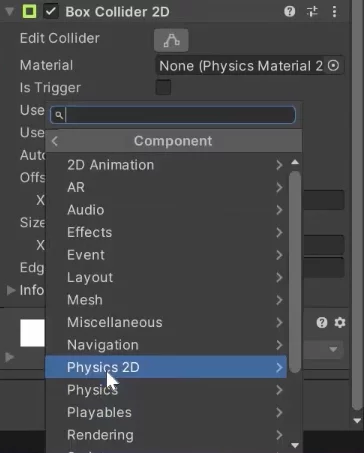
Add a Box Collider 2D to it and stretch it over the entire sprite. Using the mouse wheel, you can get closer to the hero on the stage, and thanks to the Edit Collider, you can carefully adjust the boundaries of the Collider. It remains only to add “physics” to our object, for this we go to Add Component → Physics 2D → Rigidbody 2D.
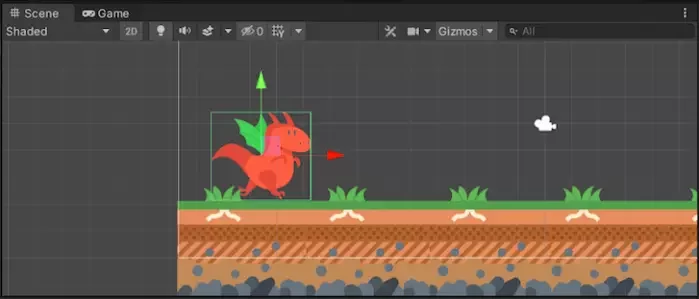
Examples of the created game in 2D format
The next step is to write the script in C#. Right-click and click Create → С# Script. We declare variables in the code:
- maxSpeed - the speed of the character, assign it 10;
- flipRight – helps to flip the sprite along the X (horizontal) or Y (vertical) axis. We need to make an X reflection depending on which direction the hero will go.

We turn to the Rigidbody component and create a horizontal movement multiplied by the speed (apply a force along the X axis).
We indicate with the help move the direction of movement of the hero horizontally. We do this with the if-else operator: if the player presses the “left” key, then the character moves to the left (in the script, -1 is returned to us), if “to the right”, respectively, the sprite moves to the right (1 is returned to us).


Save the script and move it to the dragon hero. Let’s try to run the resulting project.

It will take no more than half an hour to create a full-fledged game in 2D. You can develop a project in the runner genre using our video tutorial:
How to save the game and upload it to the Play Market
It takes half the time to add your project to the Unity Asset Store or Play Market. Watch our video tutorial:
***
Be sure to try to implement other projects on this game engine and publish them on the Internet. Explore game development with Unity, an exciting online game creation tool, create your own projects and develop in the chosen direction.
Also watch useful video courses on project development in Unity and scripting in C#: