Are you looking to boost your network speed and performance? One way to achieve this is by connecting two NIC cards in one computer. By doing so, you can increase your bandwidth, improve network stability, and efficiently handle heavy network traffic. This article will guide you through the process of connecting two NIC cards in one computer, enabling you to enhance your network capabilities.
Table of Contents
ToggleHow to Connect Two NIC Cards in One Computer

Connecting two Network Interface Cards (NICs) in one computer involves both hardware installation and software configuration. Here’s a general guide on how to do it:
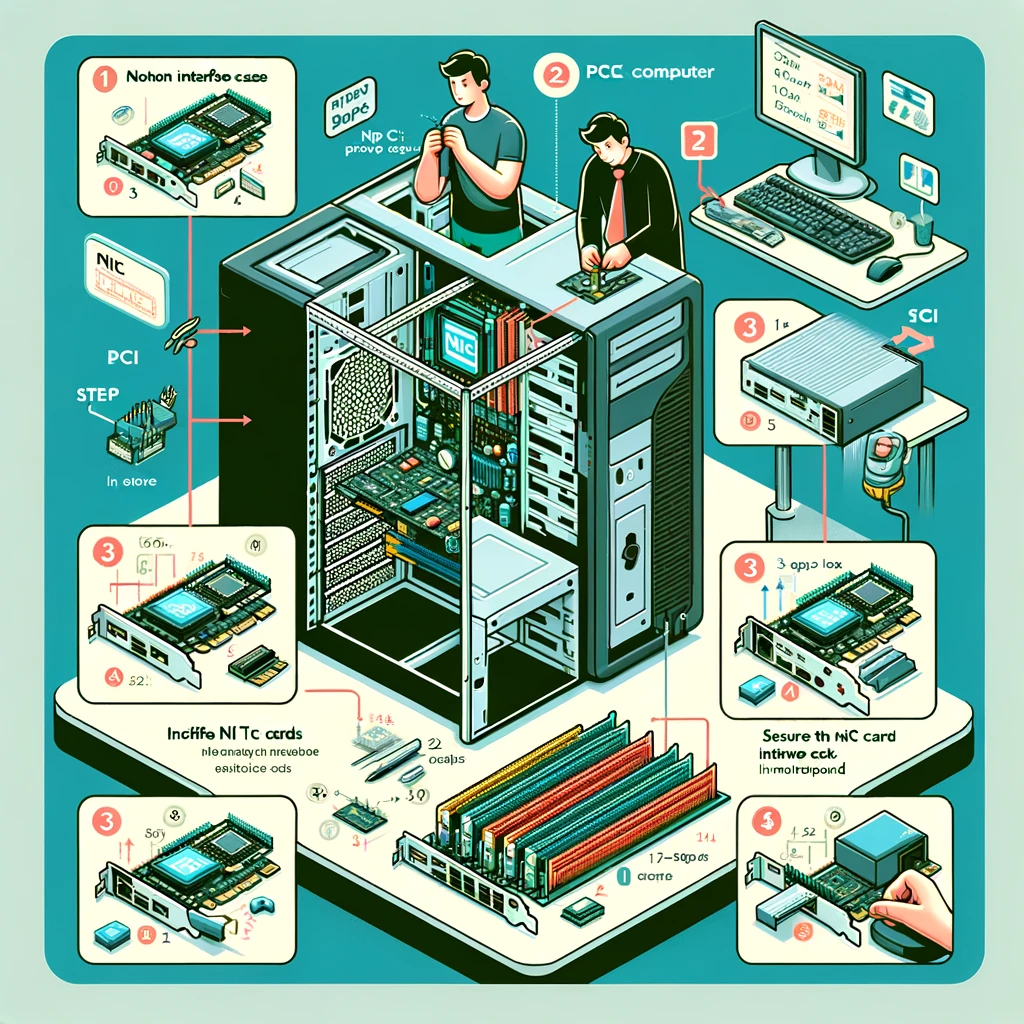
Hardware Installation
- Power Off the Computer: Ensure the computer is turned off and unplugged from the power source.
- Open the Computer Case: Remove the side panel of your computer case to access the motherboard.
- Identify Available Slots: Locate available PCI or PCI-E slots on the motherboard where the NICs can be inserted.
- Install the NICs: Carefully insert the NICs into the slots, ensuring they are securely seated. Use screws if necessary to fix them in place.
- Close the Computer Case: Once both NICs are installed, reattach the side panel of your computer case.
- Power On the Computer: Plug in and turn on the computer.
Software Configuration
- Install Drivers: The operating system may automatically recognize the new NICs and install the necessary drivers. If not, you’ll need to install the drivers manually, which are usually provided by the NIC manufacturer.
- Configure Network Settings:
- Windows: Go to ‘Control Panel’ > ‘Network and Sharing Center’ > ‘Change adapter settings’. Right-click on each network adapter and select ‘Properties’ to configure IP addresses and other settings.
- Linux: Network settings can be configured using network manager tools or manually by editing network configuration files like
/etc/network/interfaces.
- Assign IP Addresses: Assign different IP addresses to each NIC if they are on the same network, or configure each NIC for different networks as required.
- Advanced Configurations:
- Load Balancing: Some operating systems allow you to use both NICs for load balancing to increase network bandwidth.
- Redundancy: You can set up one NIC as a backup in case the other fails.
- Different Networks: Each NIC can be connected to different networks, for example, one for internet access and another for a local network.
- Test the Configuration: Test each connection to ensure the NICs are functioning properly. You can use tools like
pingor check the connection status in the network settings.
Considerations
- Compatibility: Ensure the NICs are compatible with your motherboard and operating system.
- Purpose: Determine why you need two NICs (e.g., for redundancy, segmentation, increased bandwidth) as this will guide your configuration.
- Network Speed: Ensure your network infrastructure (like switches and routers) supports the speed of the NICs.
Remember that the exact steps might vary slightly depending on your computer’s hardware and the operating system you are using. Always refer to the NIC’s user manual and your computer’s documentation for specific instructions.
Final Thoughts
Connecting two NIC cards in one computer is a great way to enhance your network capabilities. By aggregating bandwidth, improving network stability, and optimizing network load balancing, you can achieve a faster and more reliable network connection. Follow the step-by-step guide and configuration instructions provided in this article to successfully connect and configure two NIC cards in your computer. Enjoy improved network performance and unlock new possibilities for your computer networking needs.
