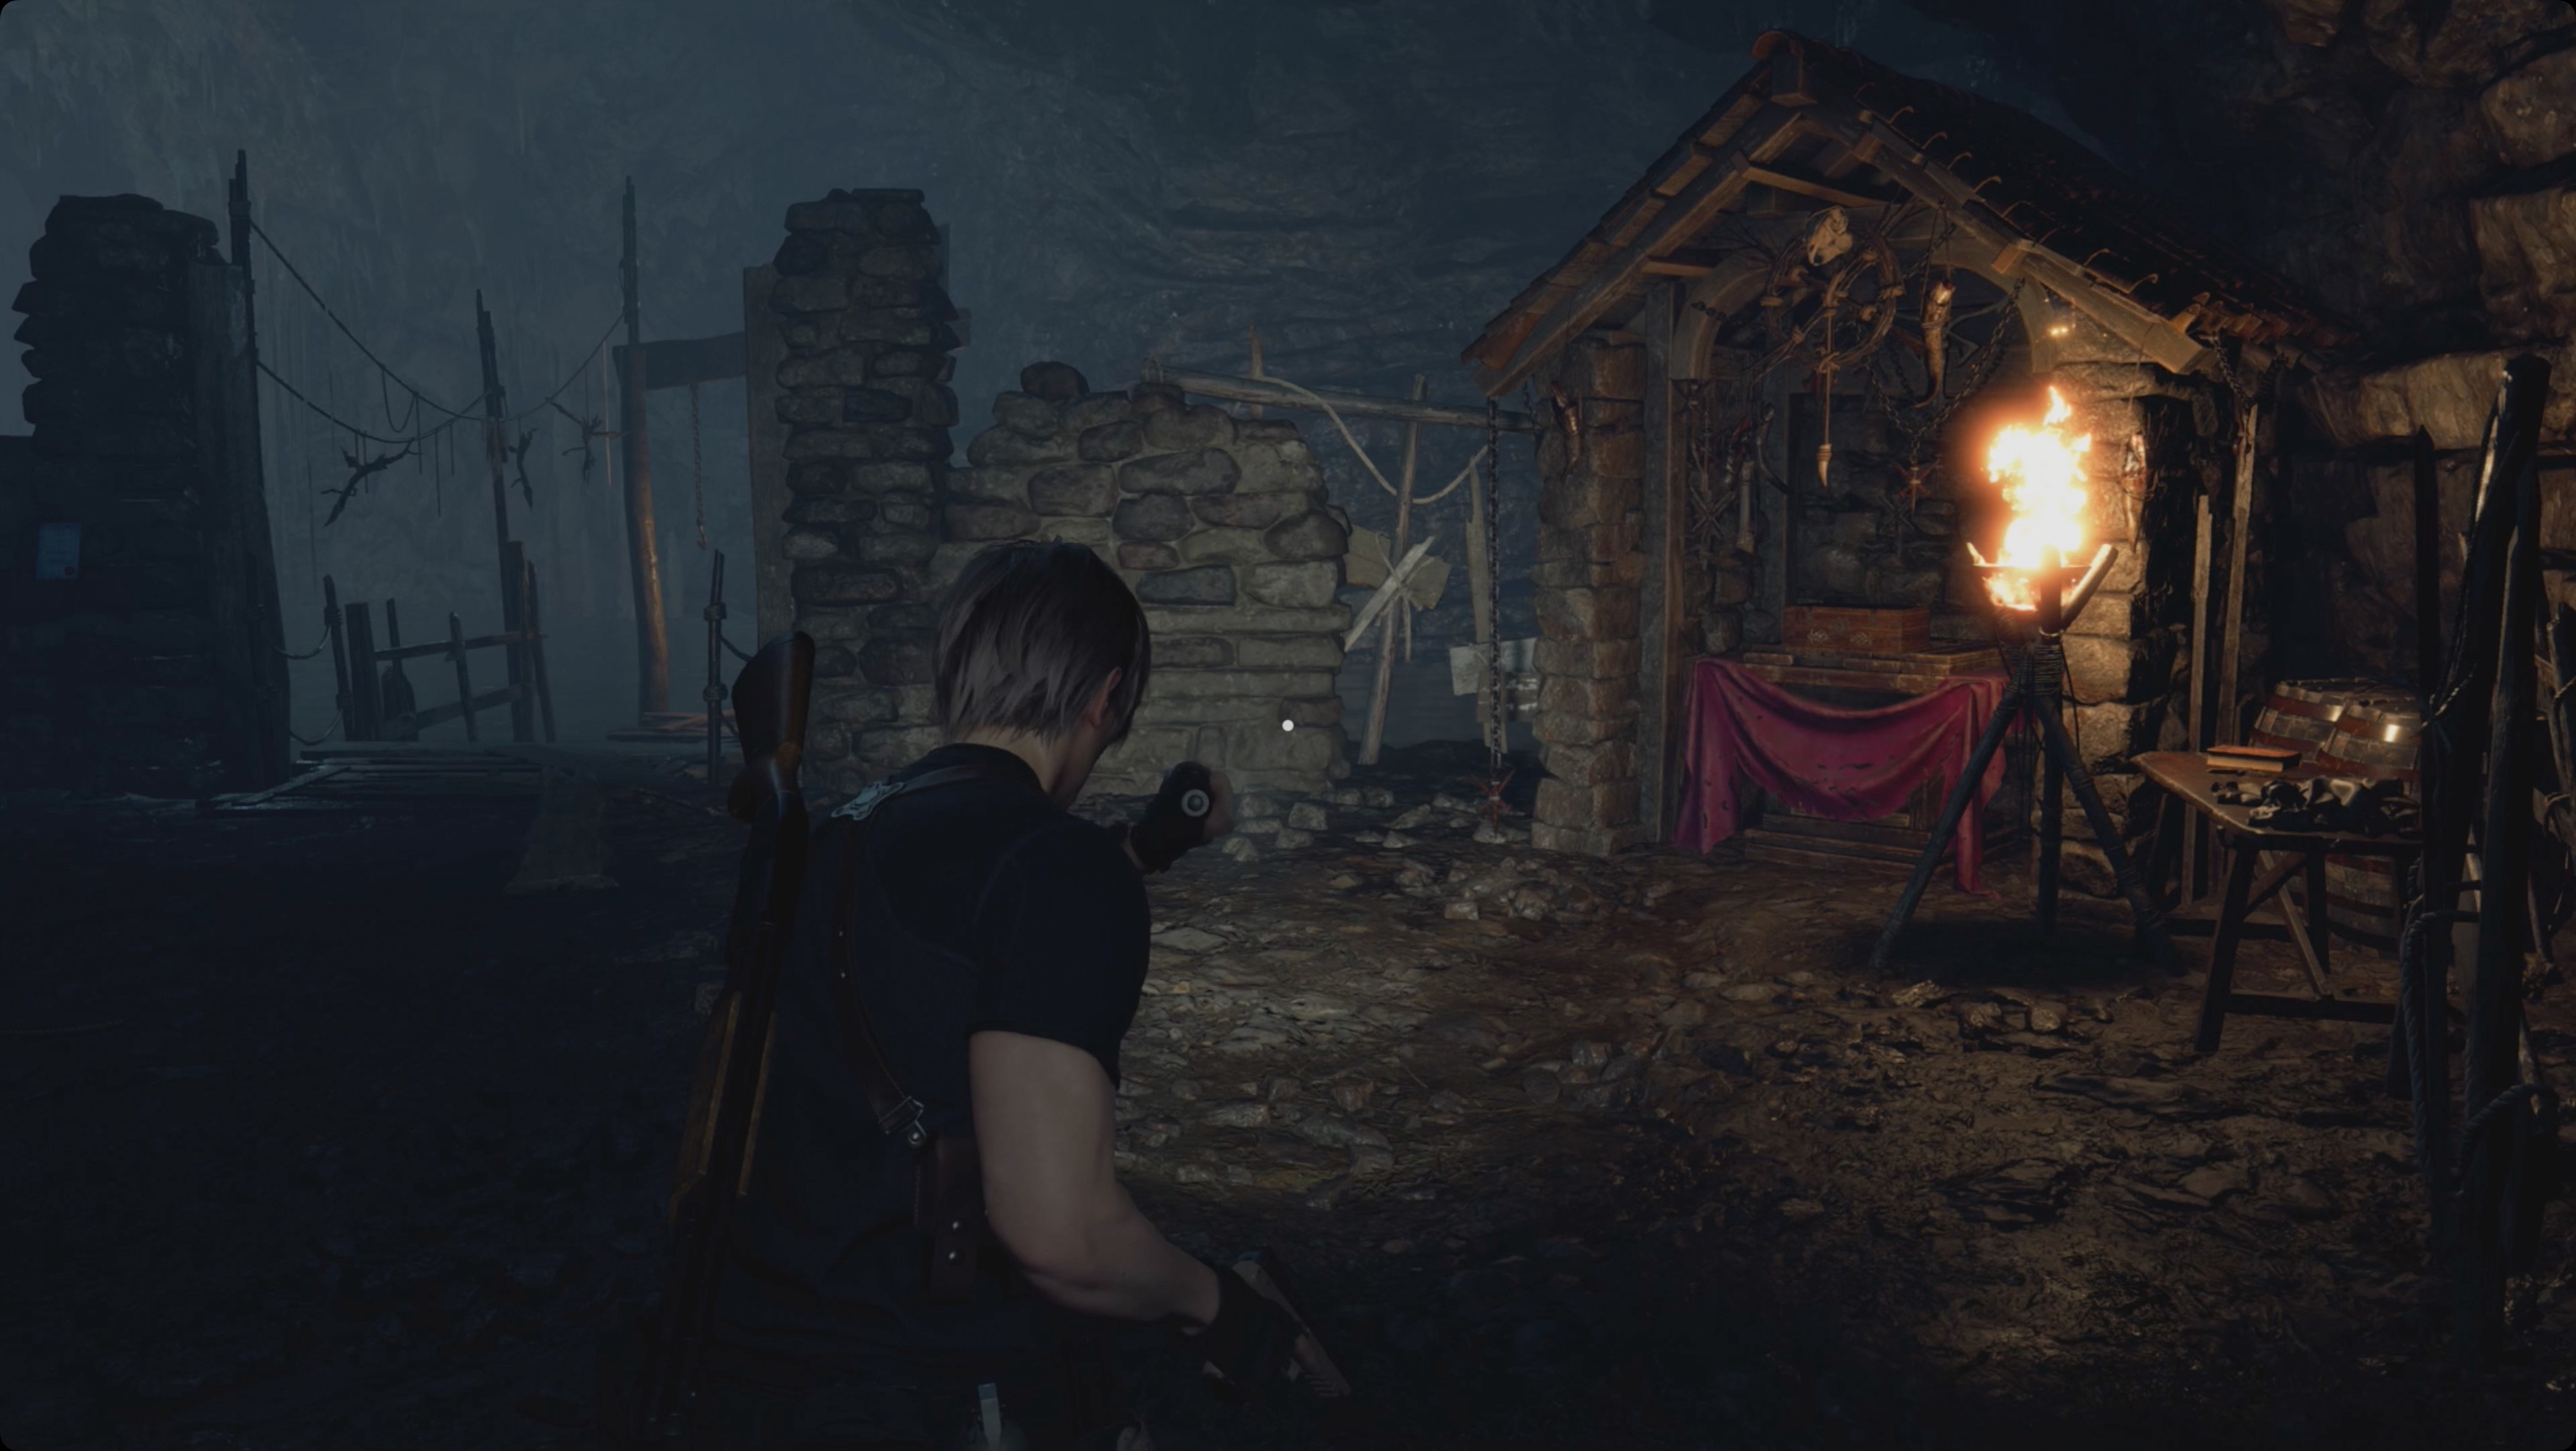
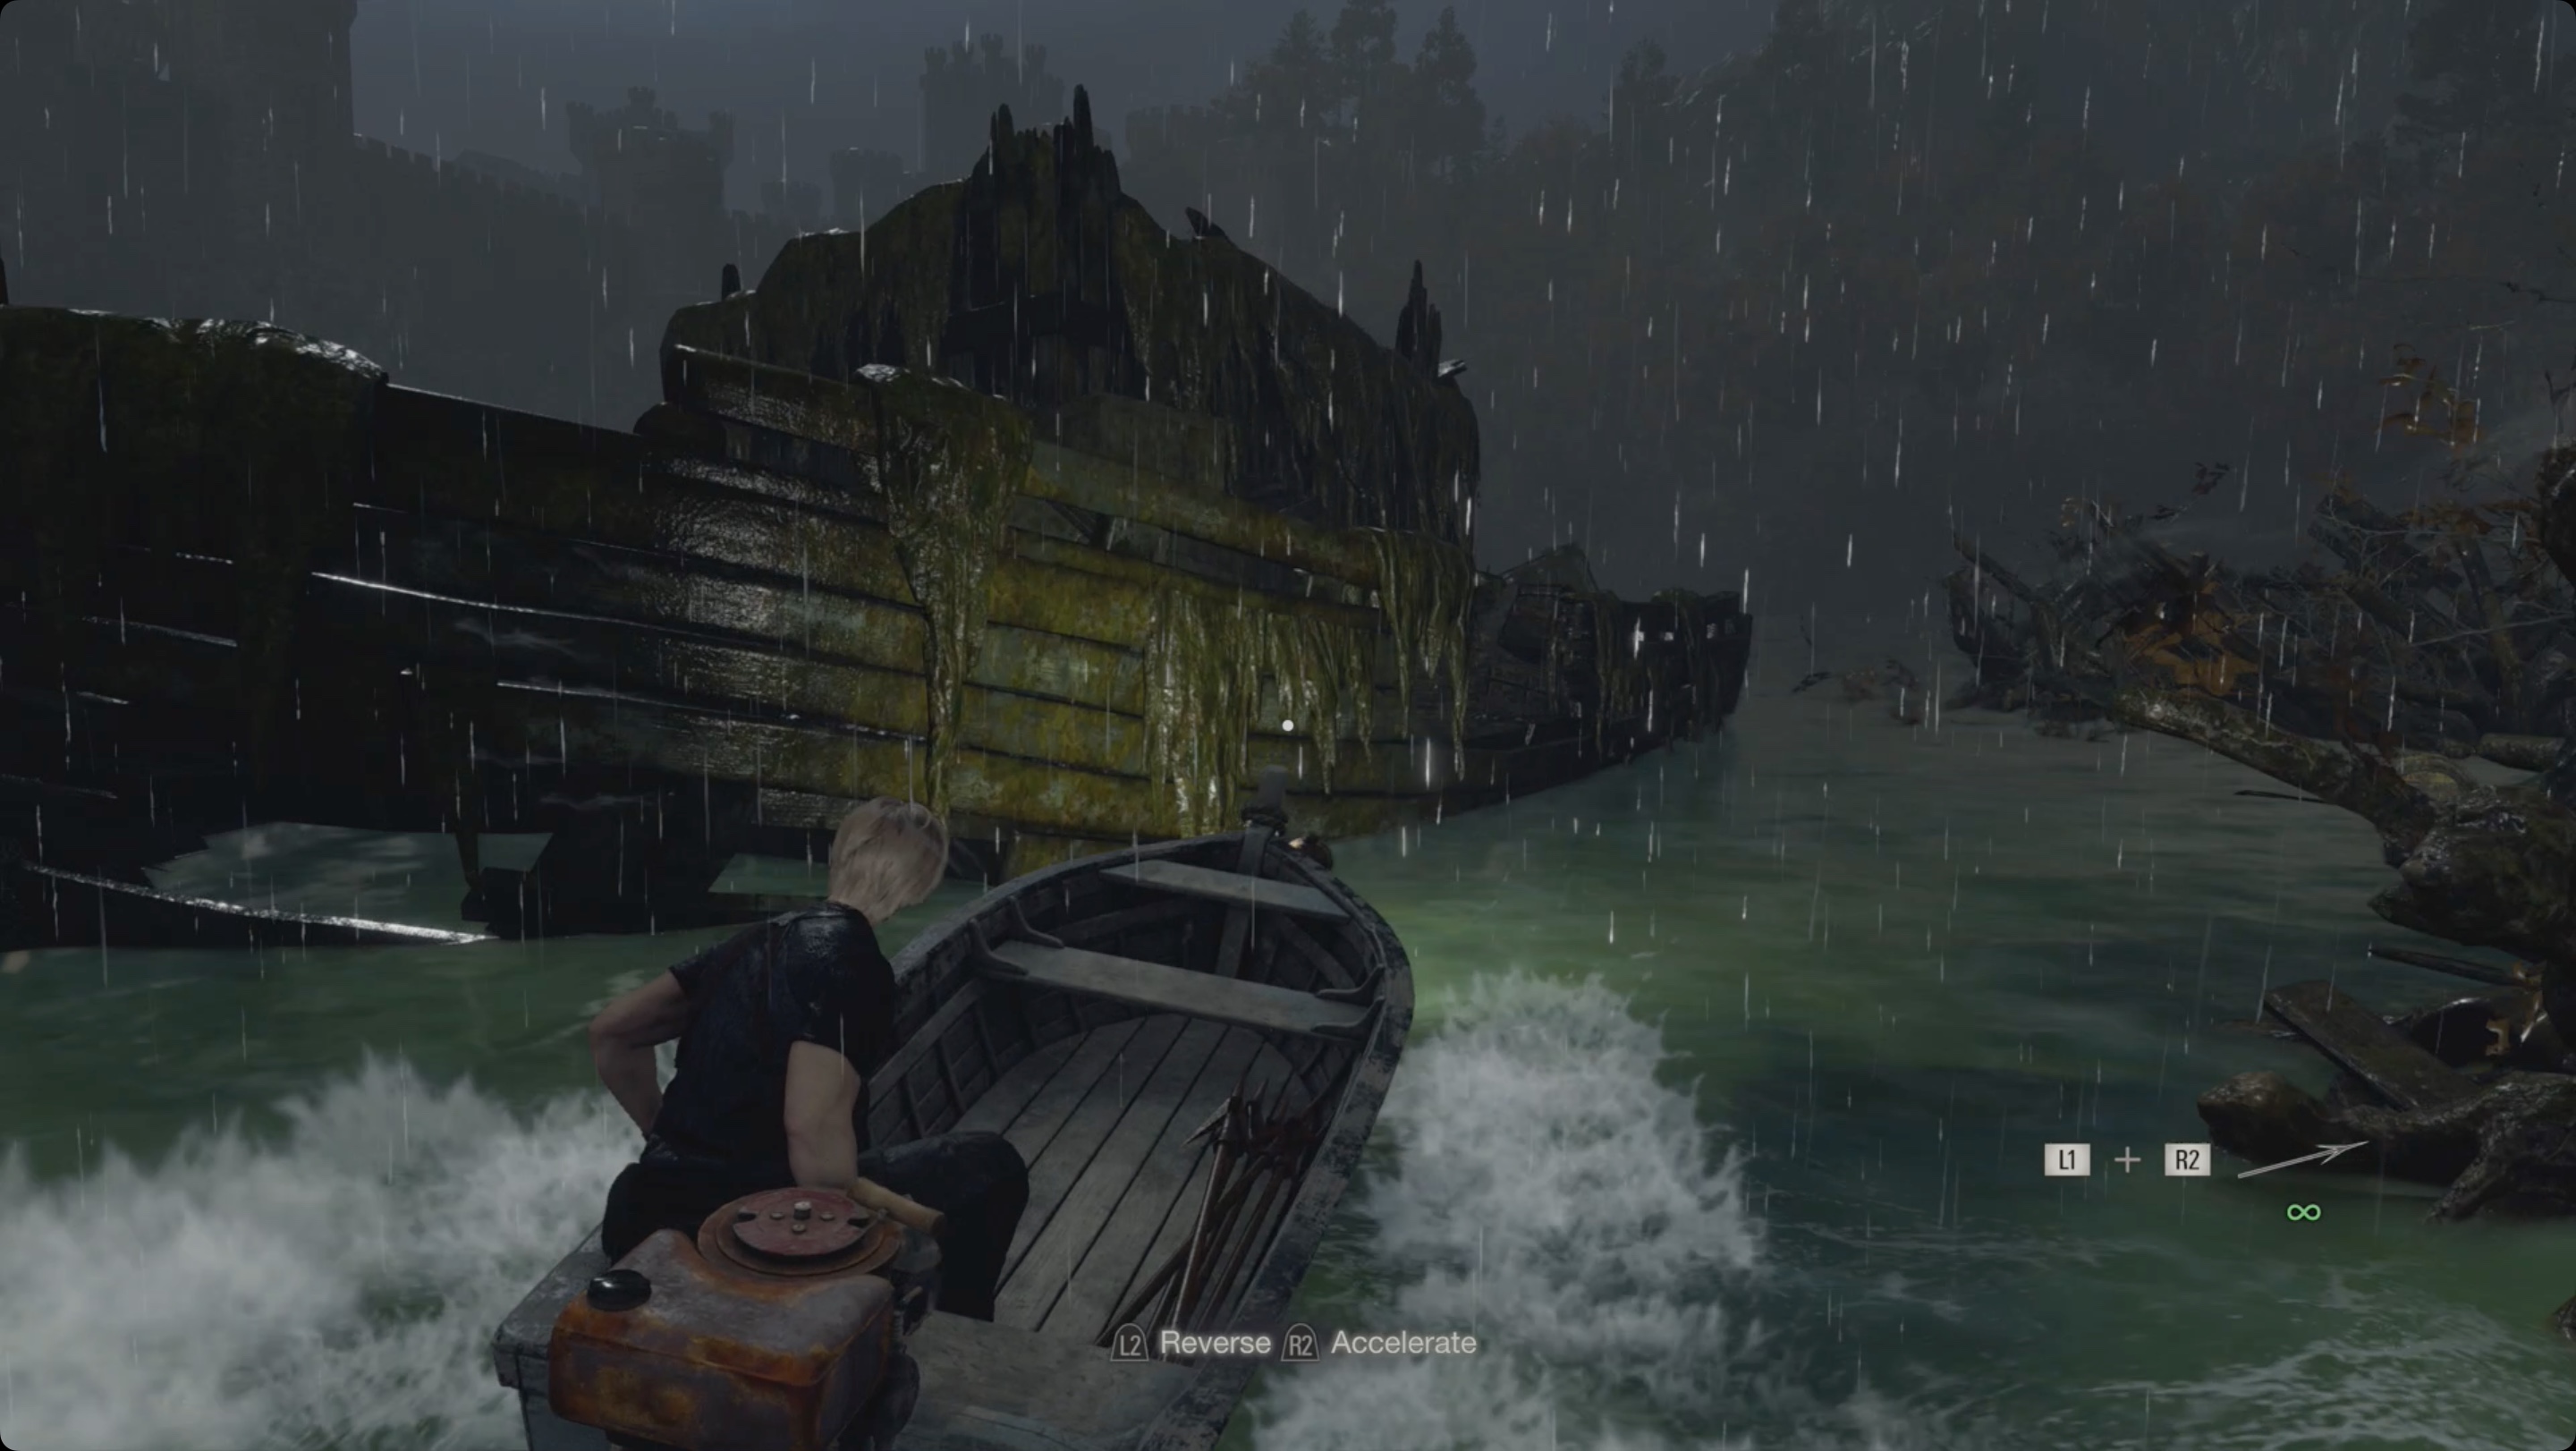
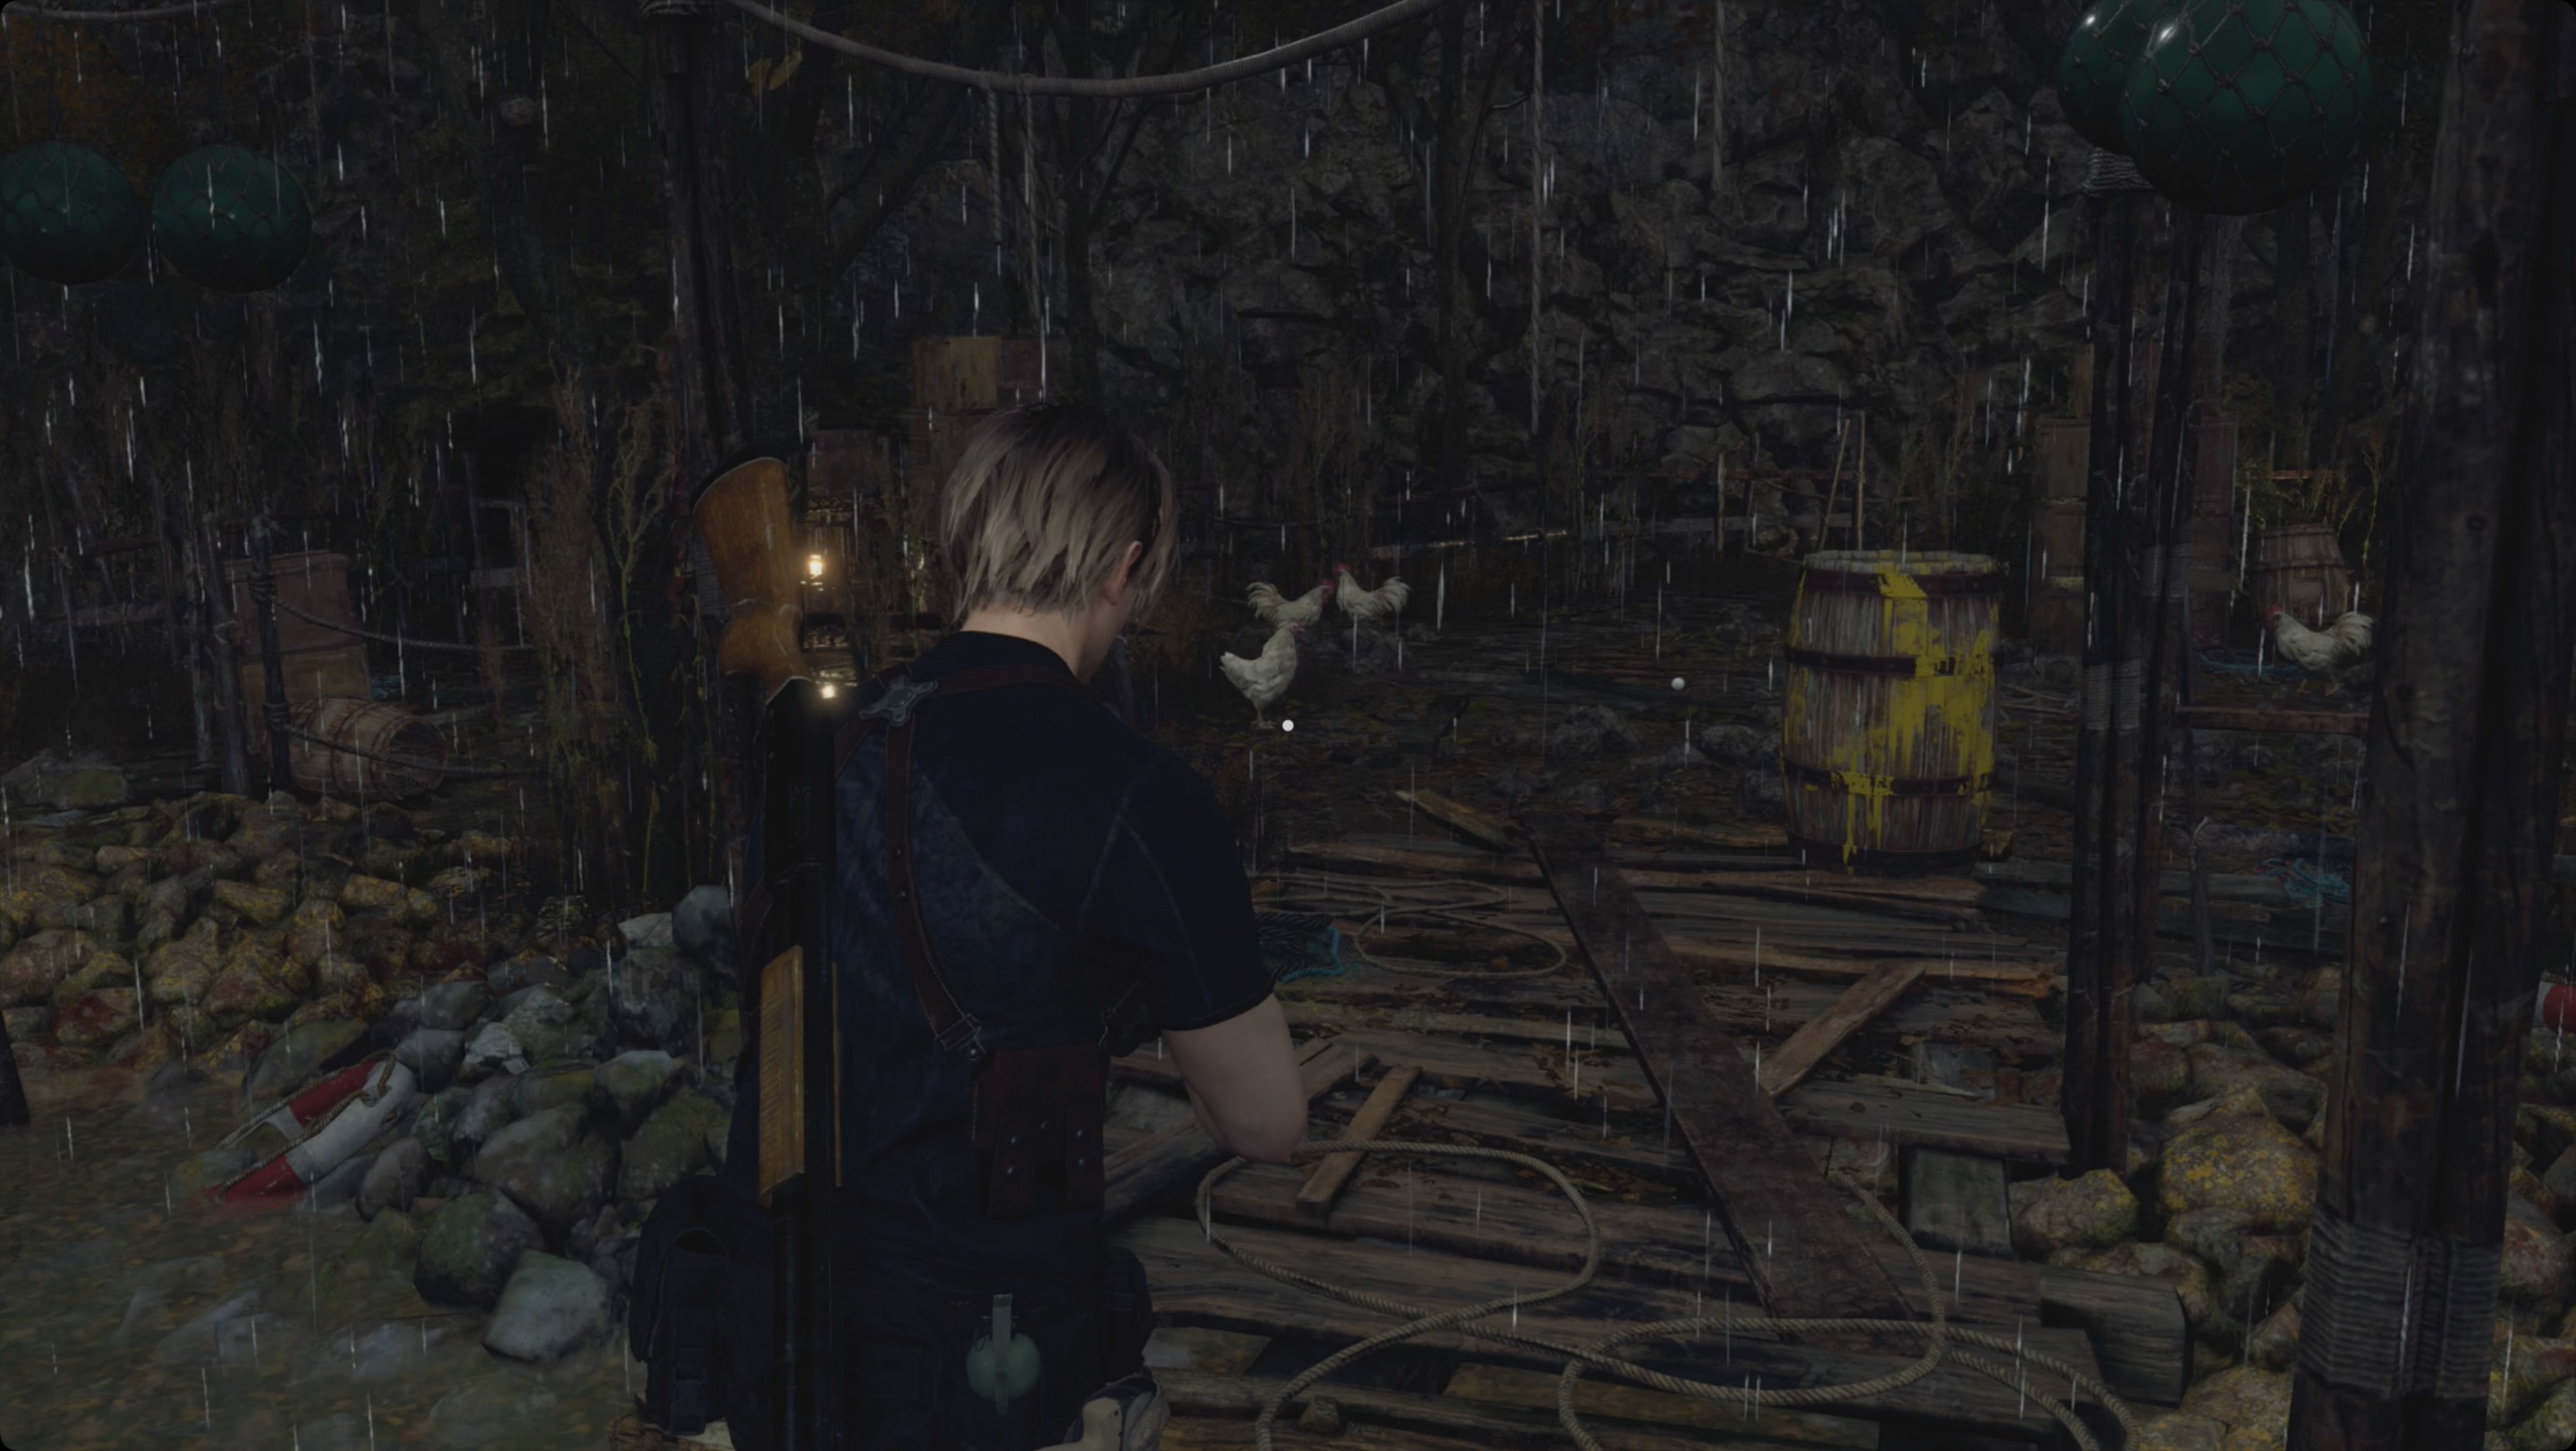
In this guide, we present detailed instructions for completing each chapter, exploring all locations, boss battles in Resident Evil 4 Remake. We briefly point out the location of treasures and artifacts, new weapons, completing orders for a merchant, and so on. More detailed information on optional aspects will be presented in the form of separate guides.
Other game guides:
- Clockwork Keepers guide in Resident Evil 4 (2023)
- Resident Evil 4 Remake Beginner’s Guide – 13 Useful Tips Before Starting
Chapter 1
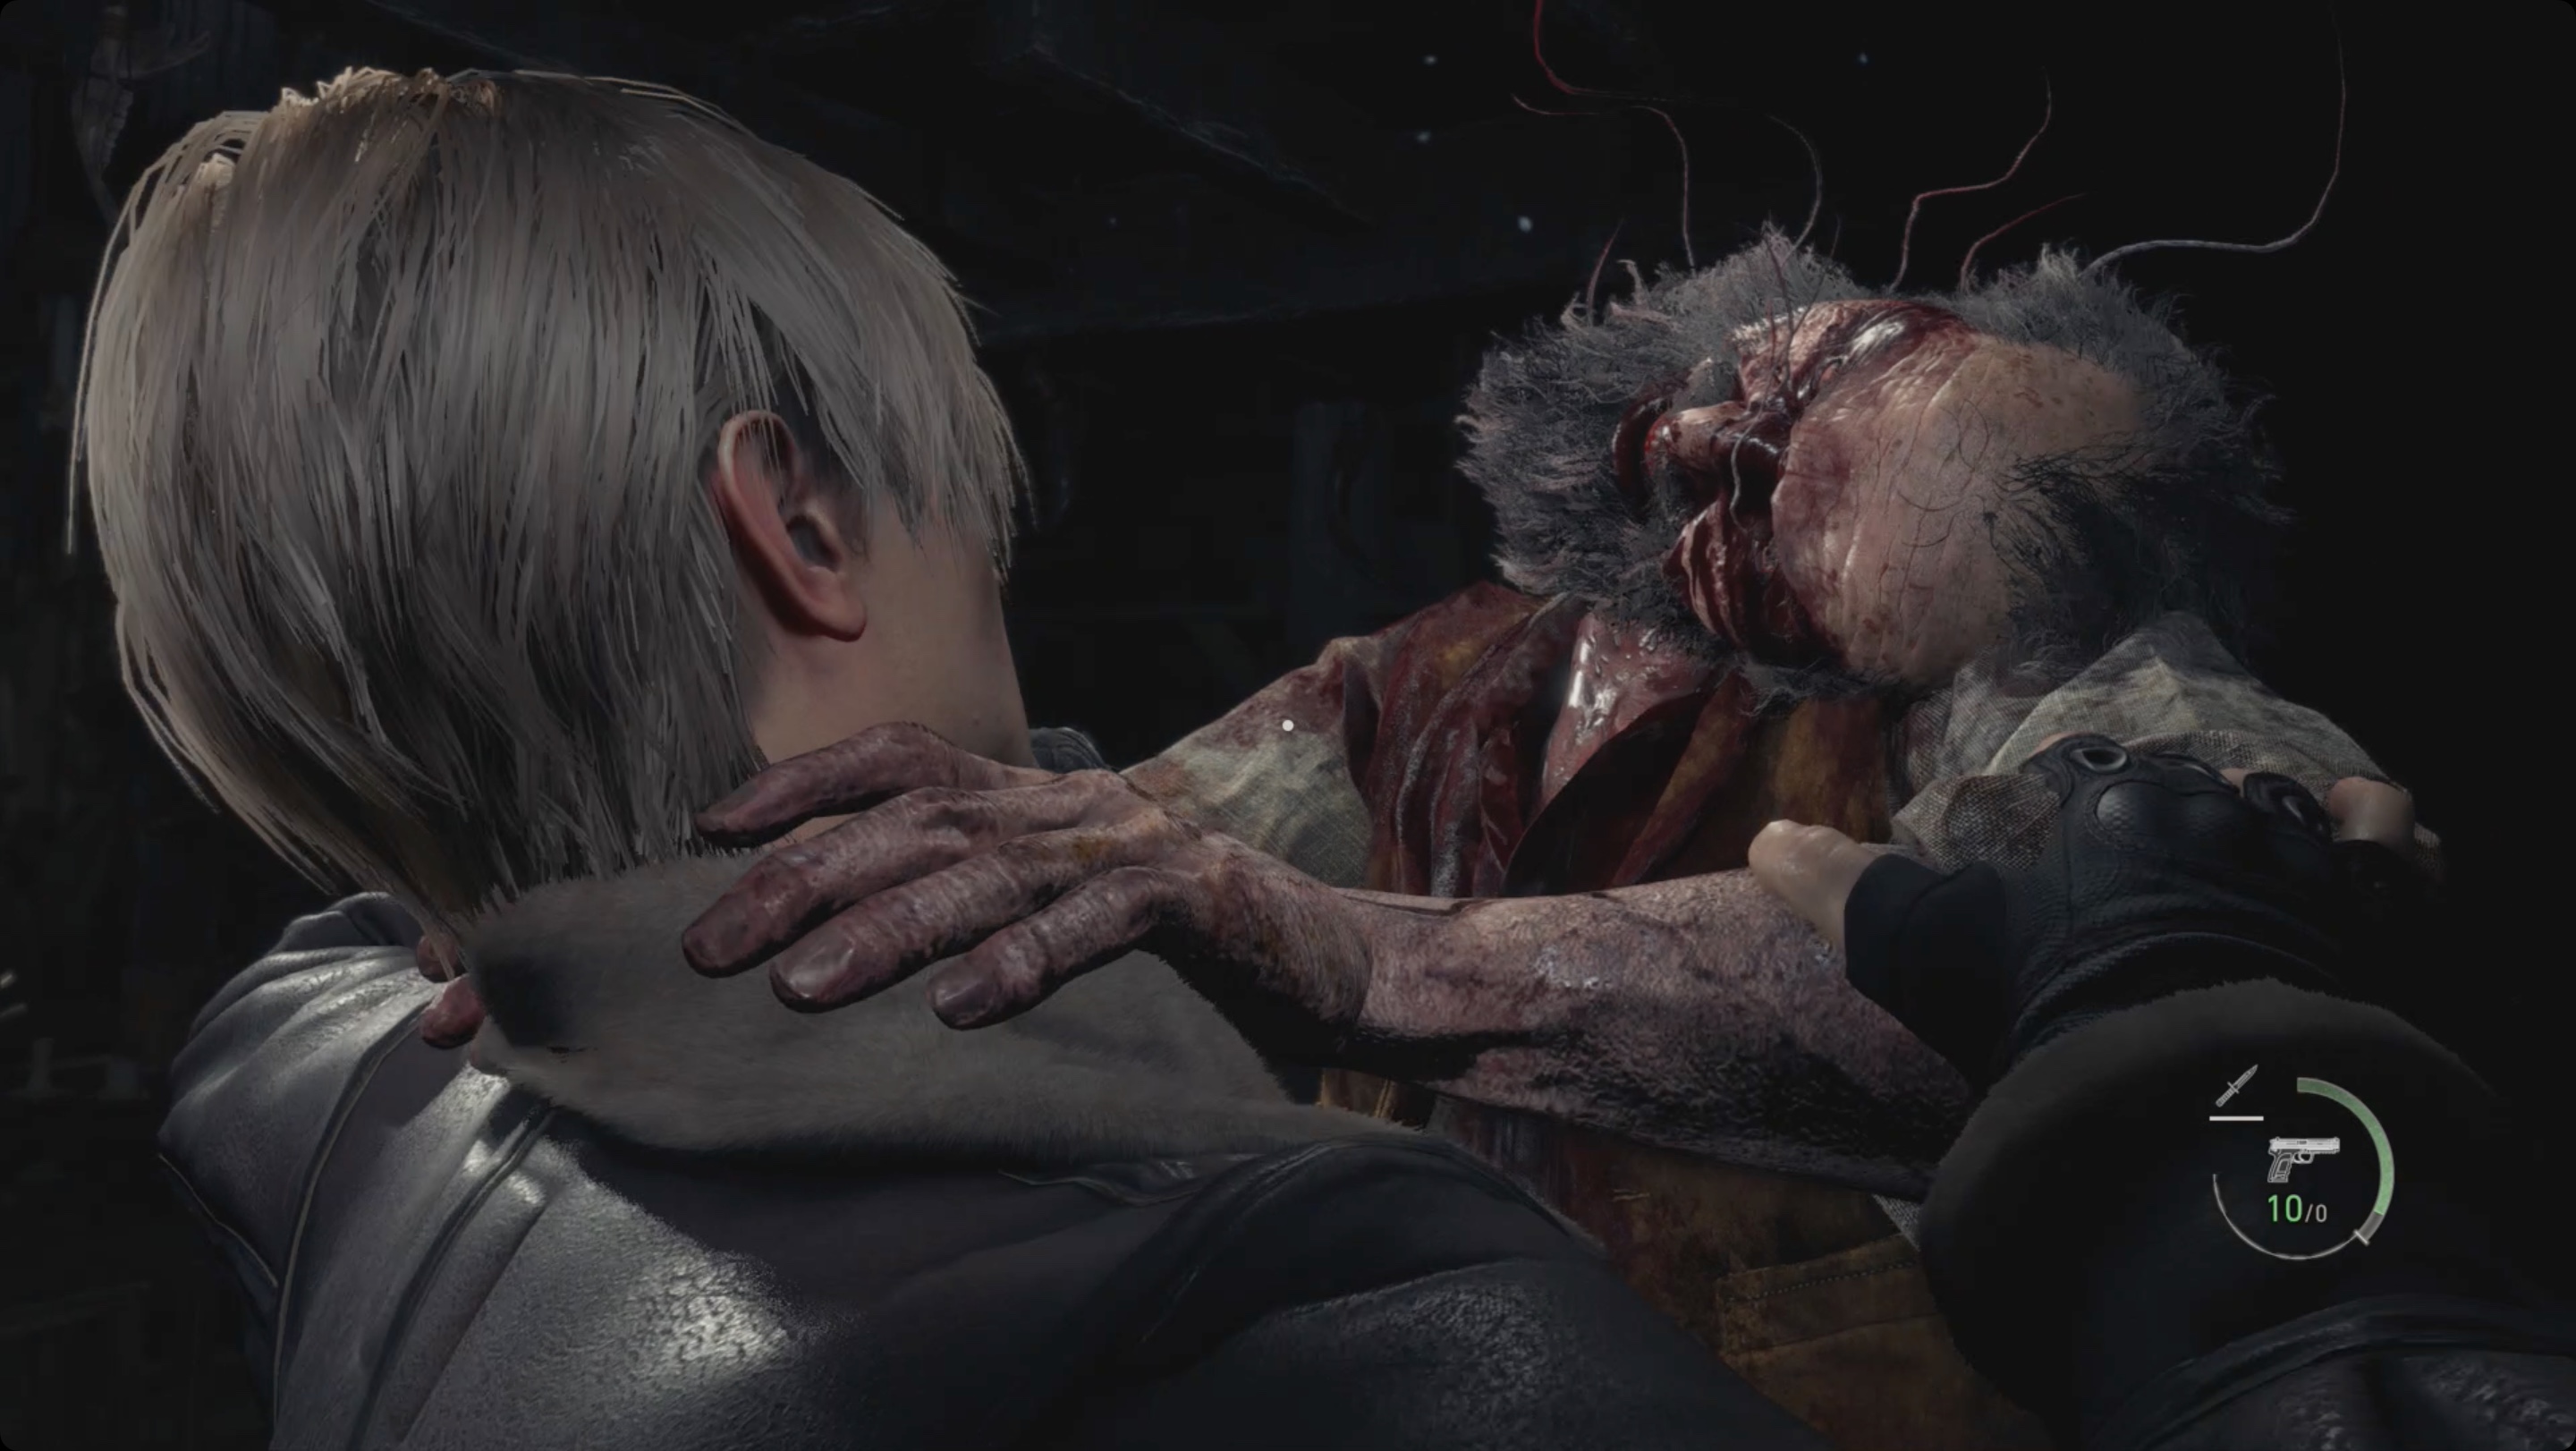
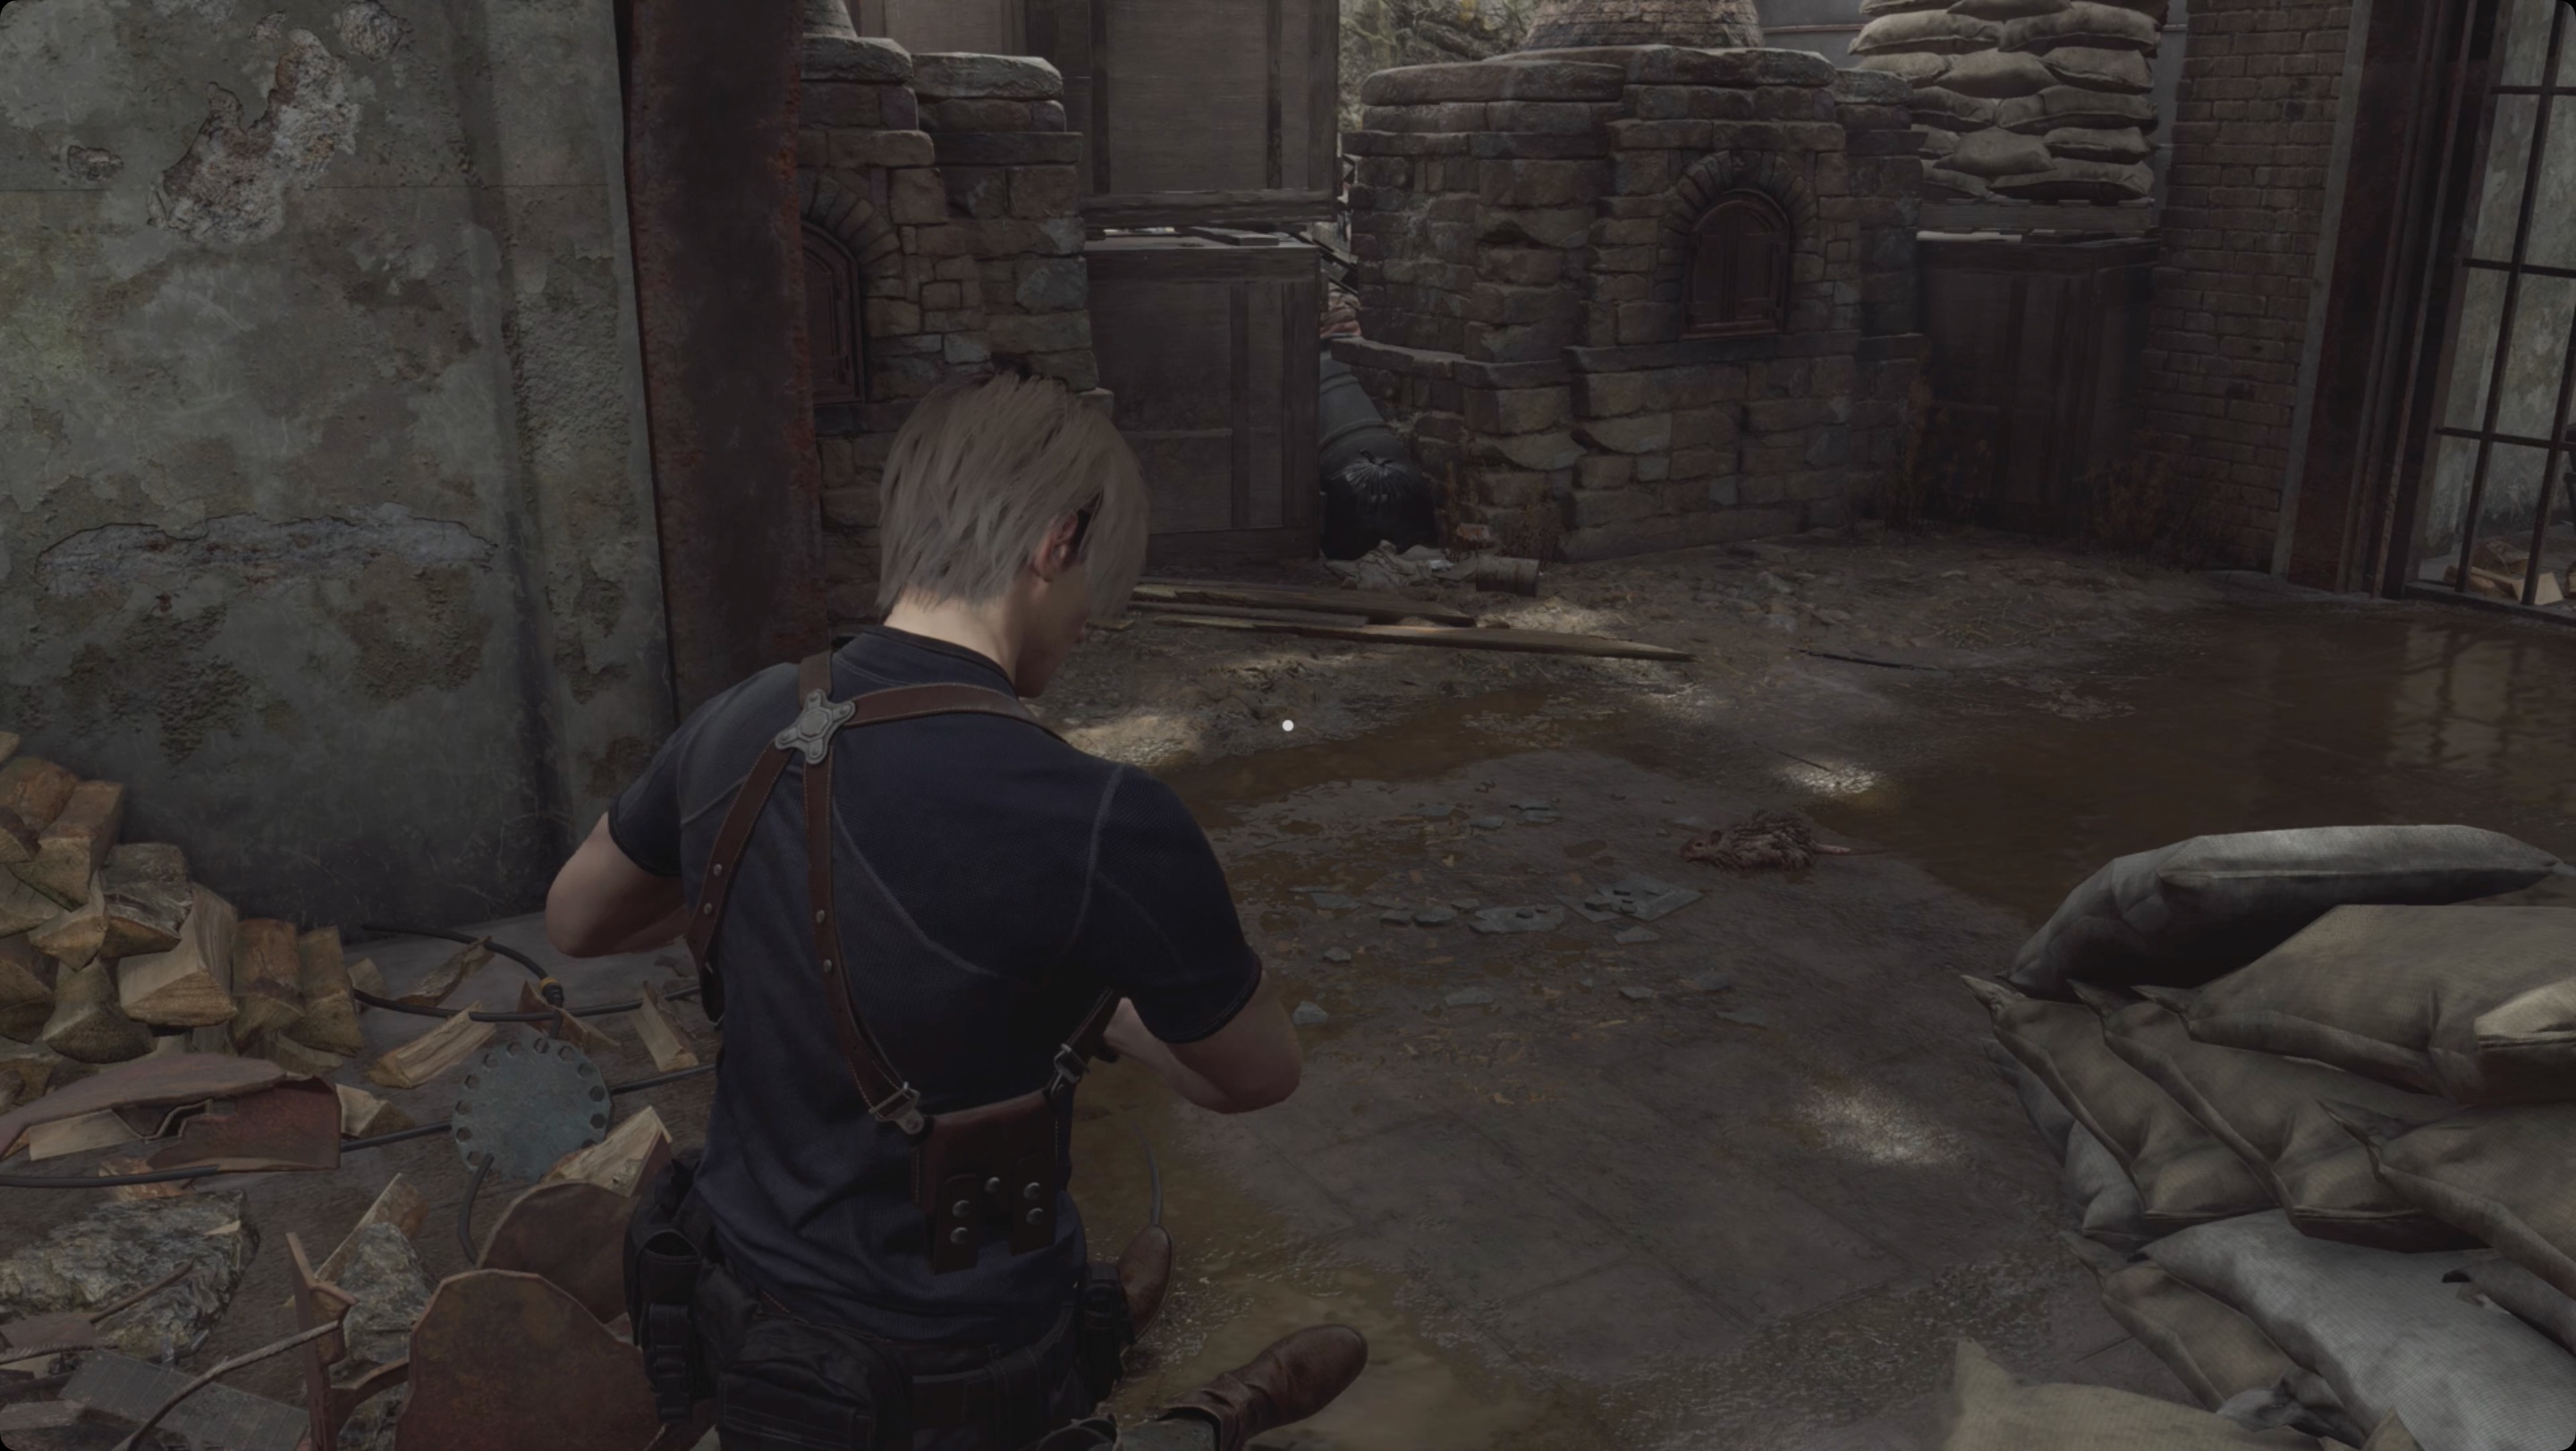
After the introductory cut-scenes, you will take control of Leon. We need to find out where the policeman went. Follow the only path until you reach the house. Go inside through the front door. You can look around, but in the story you need to go to the end of the corridor and open the last door. After the cutscene, pick up the dropped key from the floor. Return to the corridor and use it on the door on the right. Go down the stairs and follow to the end of the basement to see another cutscene. After the cut-scene, move back out of the basement. Keep in mind that you will be attacked by mutants, so use the gun to finish off the grandfather from the room above. Go through the broken door that was boarded up earlier, go up the stairs and see another cut-scene. After it, you will find yourself outside the hunting house.
Follow to another building. Outside will be the first destructible barrel. Get closer and interact by pressing the button that appears. You can also press LMB to attack the barrel with a knife. Enter the house and save with the typewriter. Such devices are used for manual saving (and this is the only way to save on the Professional difficulty level). Keep going until you encounter new enemies. Most mutated humans are fairly easy to kill: just aim for the head to stun them, then run up and finish them off when prompted.
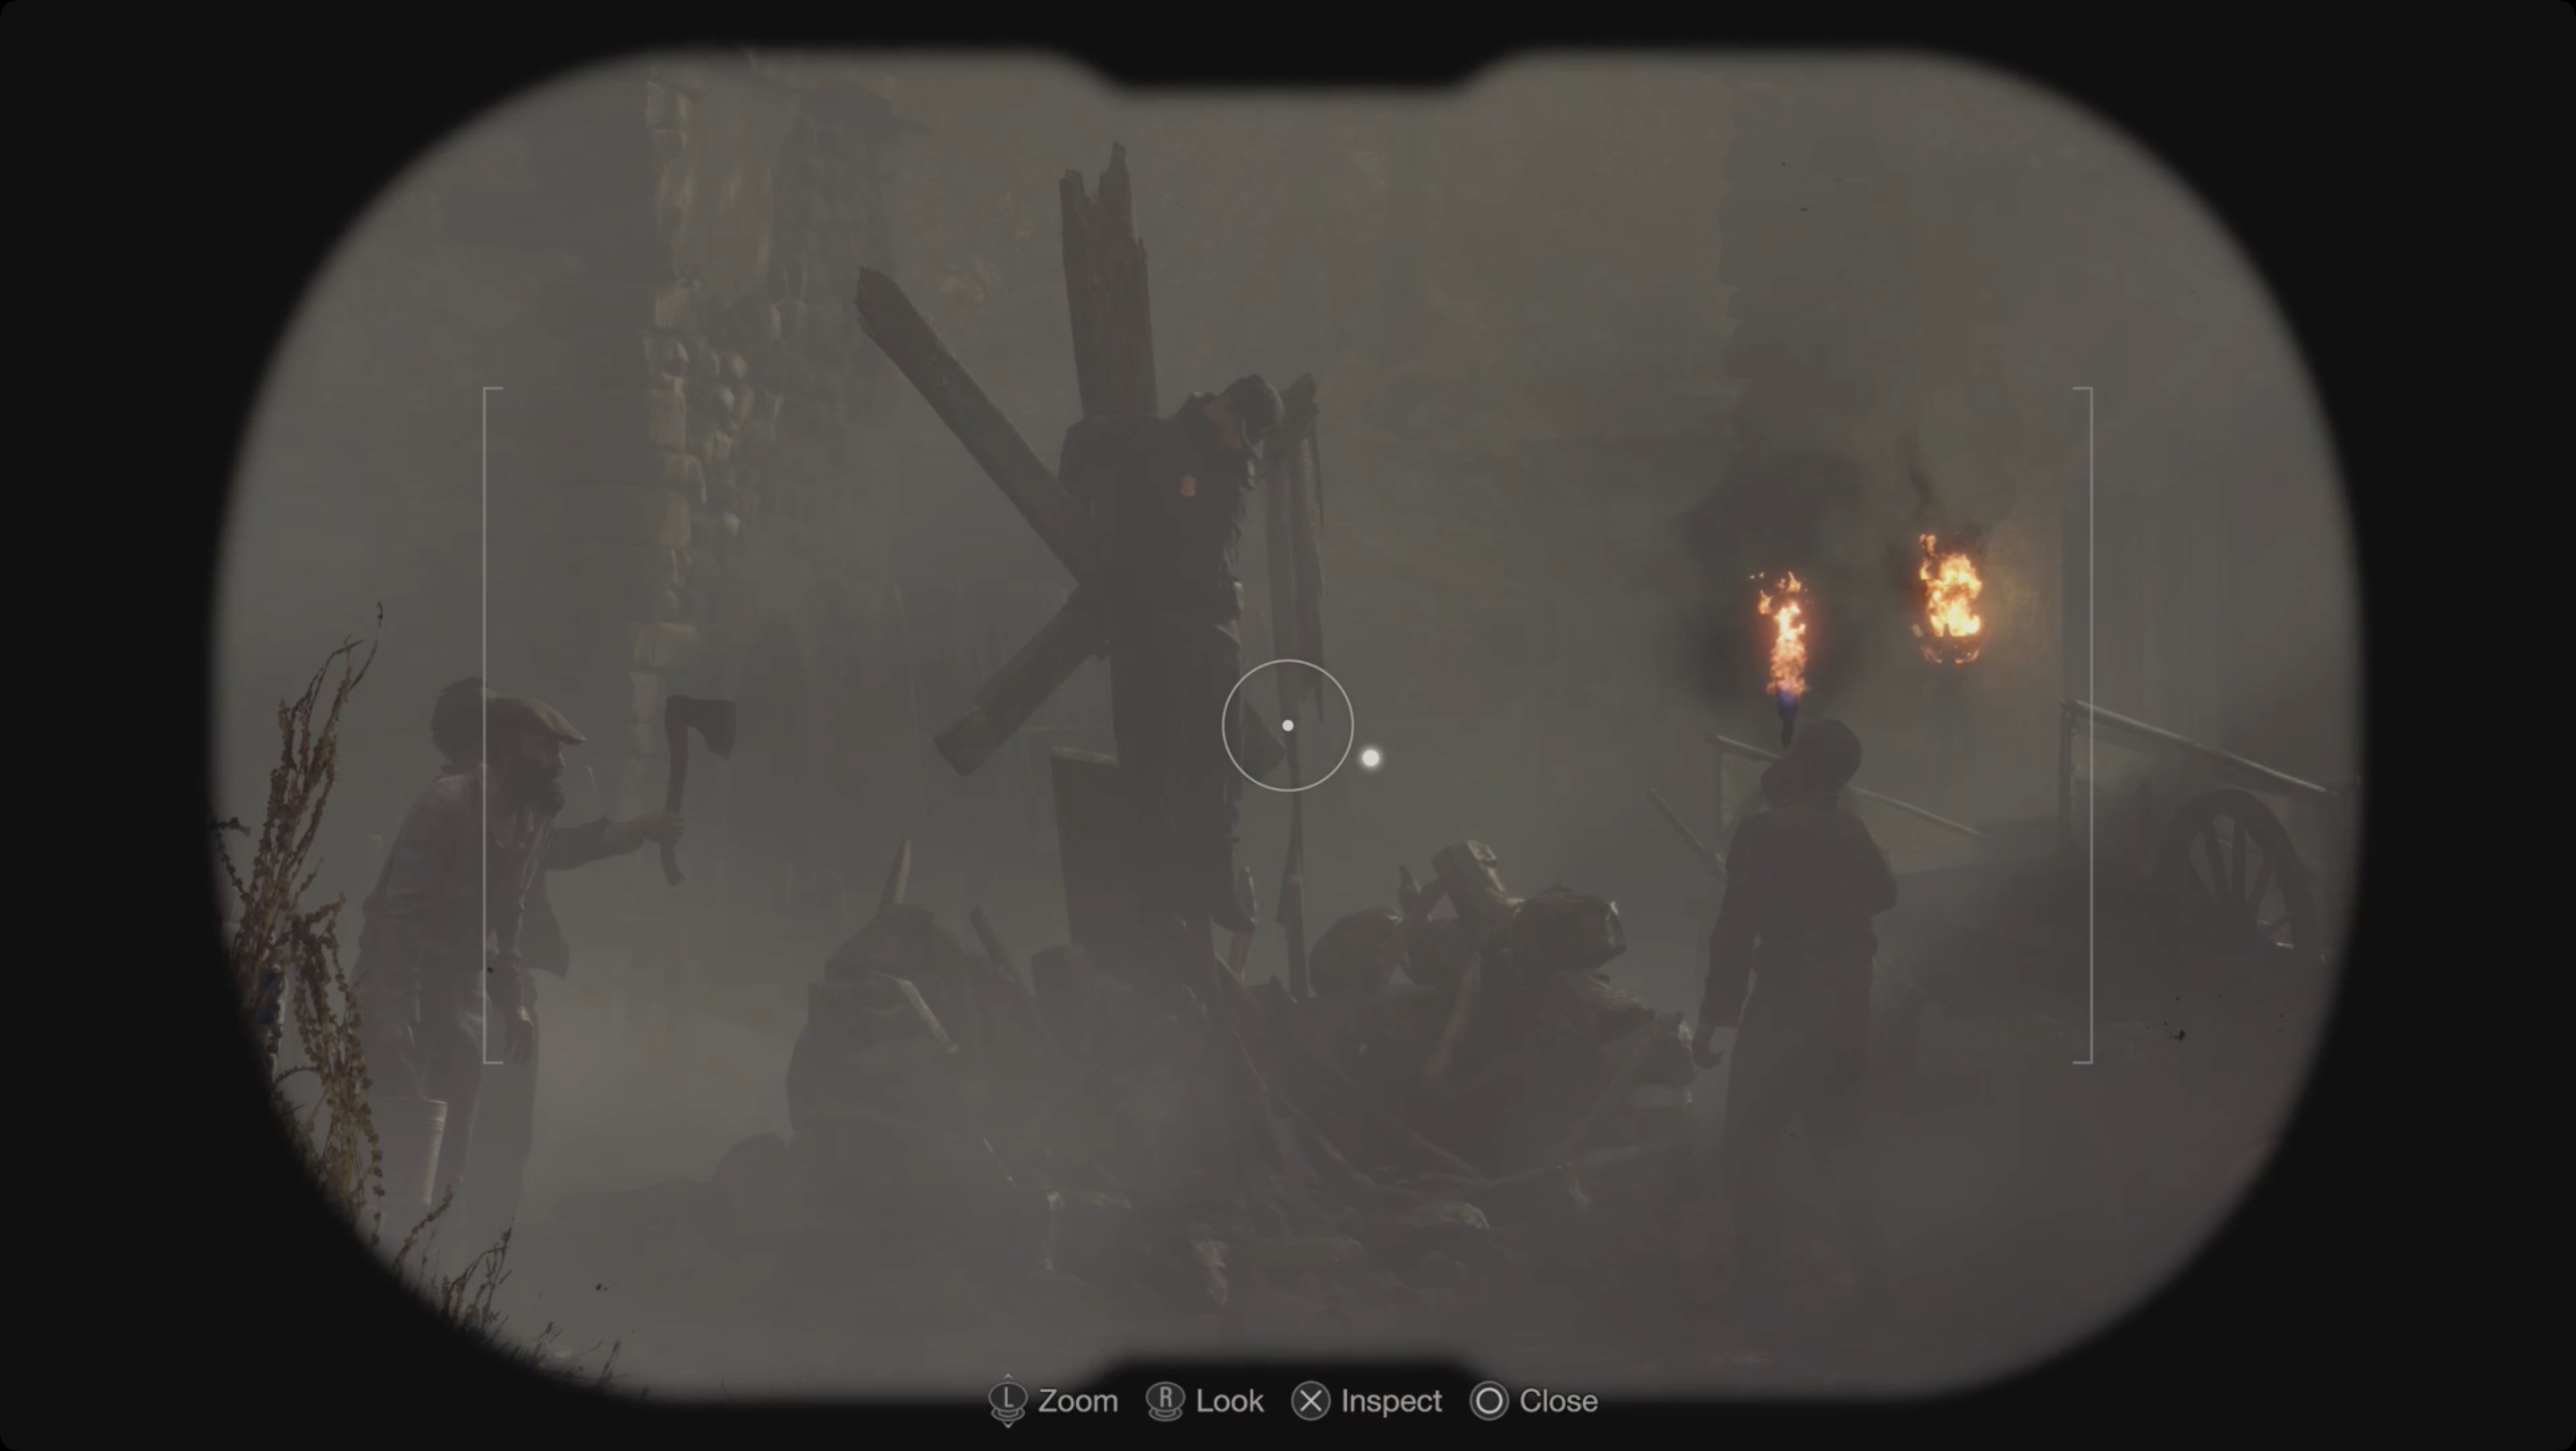
Continue and check the small hut on the left. Go to the big gate at the end of the path to enter the village. In the next area, you will find a serious combat scenario with many enemies, just like in the original. You can go through this section in different ways, but one way or another, you will have to kill some enemies, and also look for ways to wait out the time, since there simply won’t be enough forces to destroy all the mutants. After 4-5 minutes, they will calm down when they hear the bell ringing, and leave for the temple (a cut-scene will start). You can run around the streets, there are more than enough places here. Or you can use buildings.
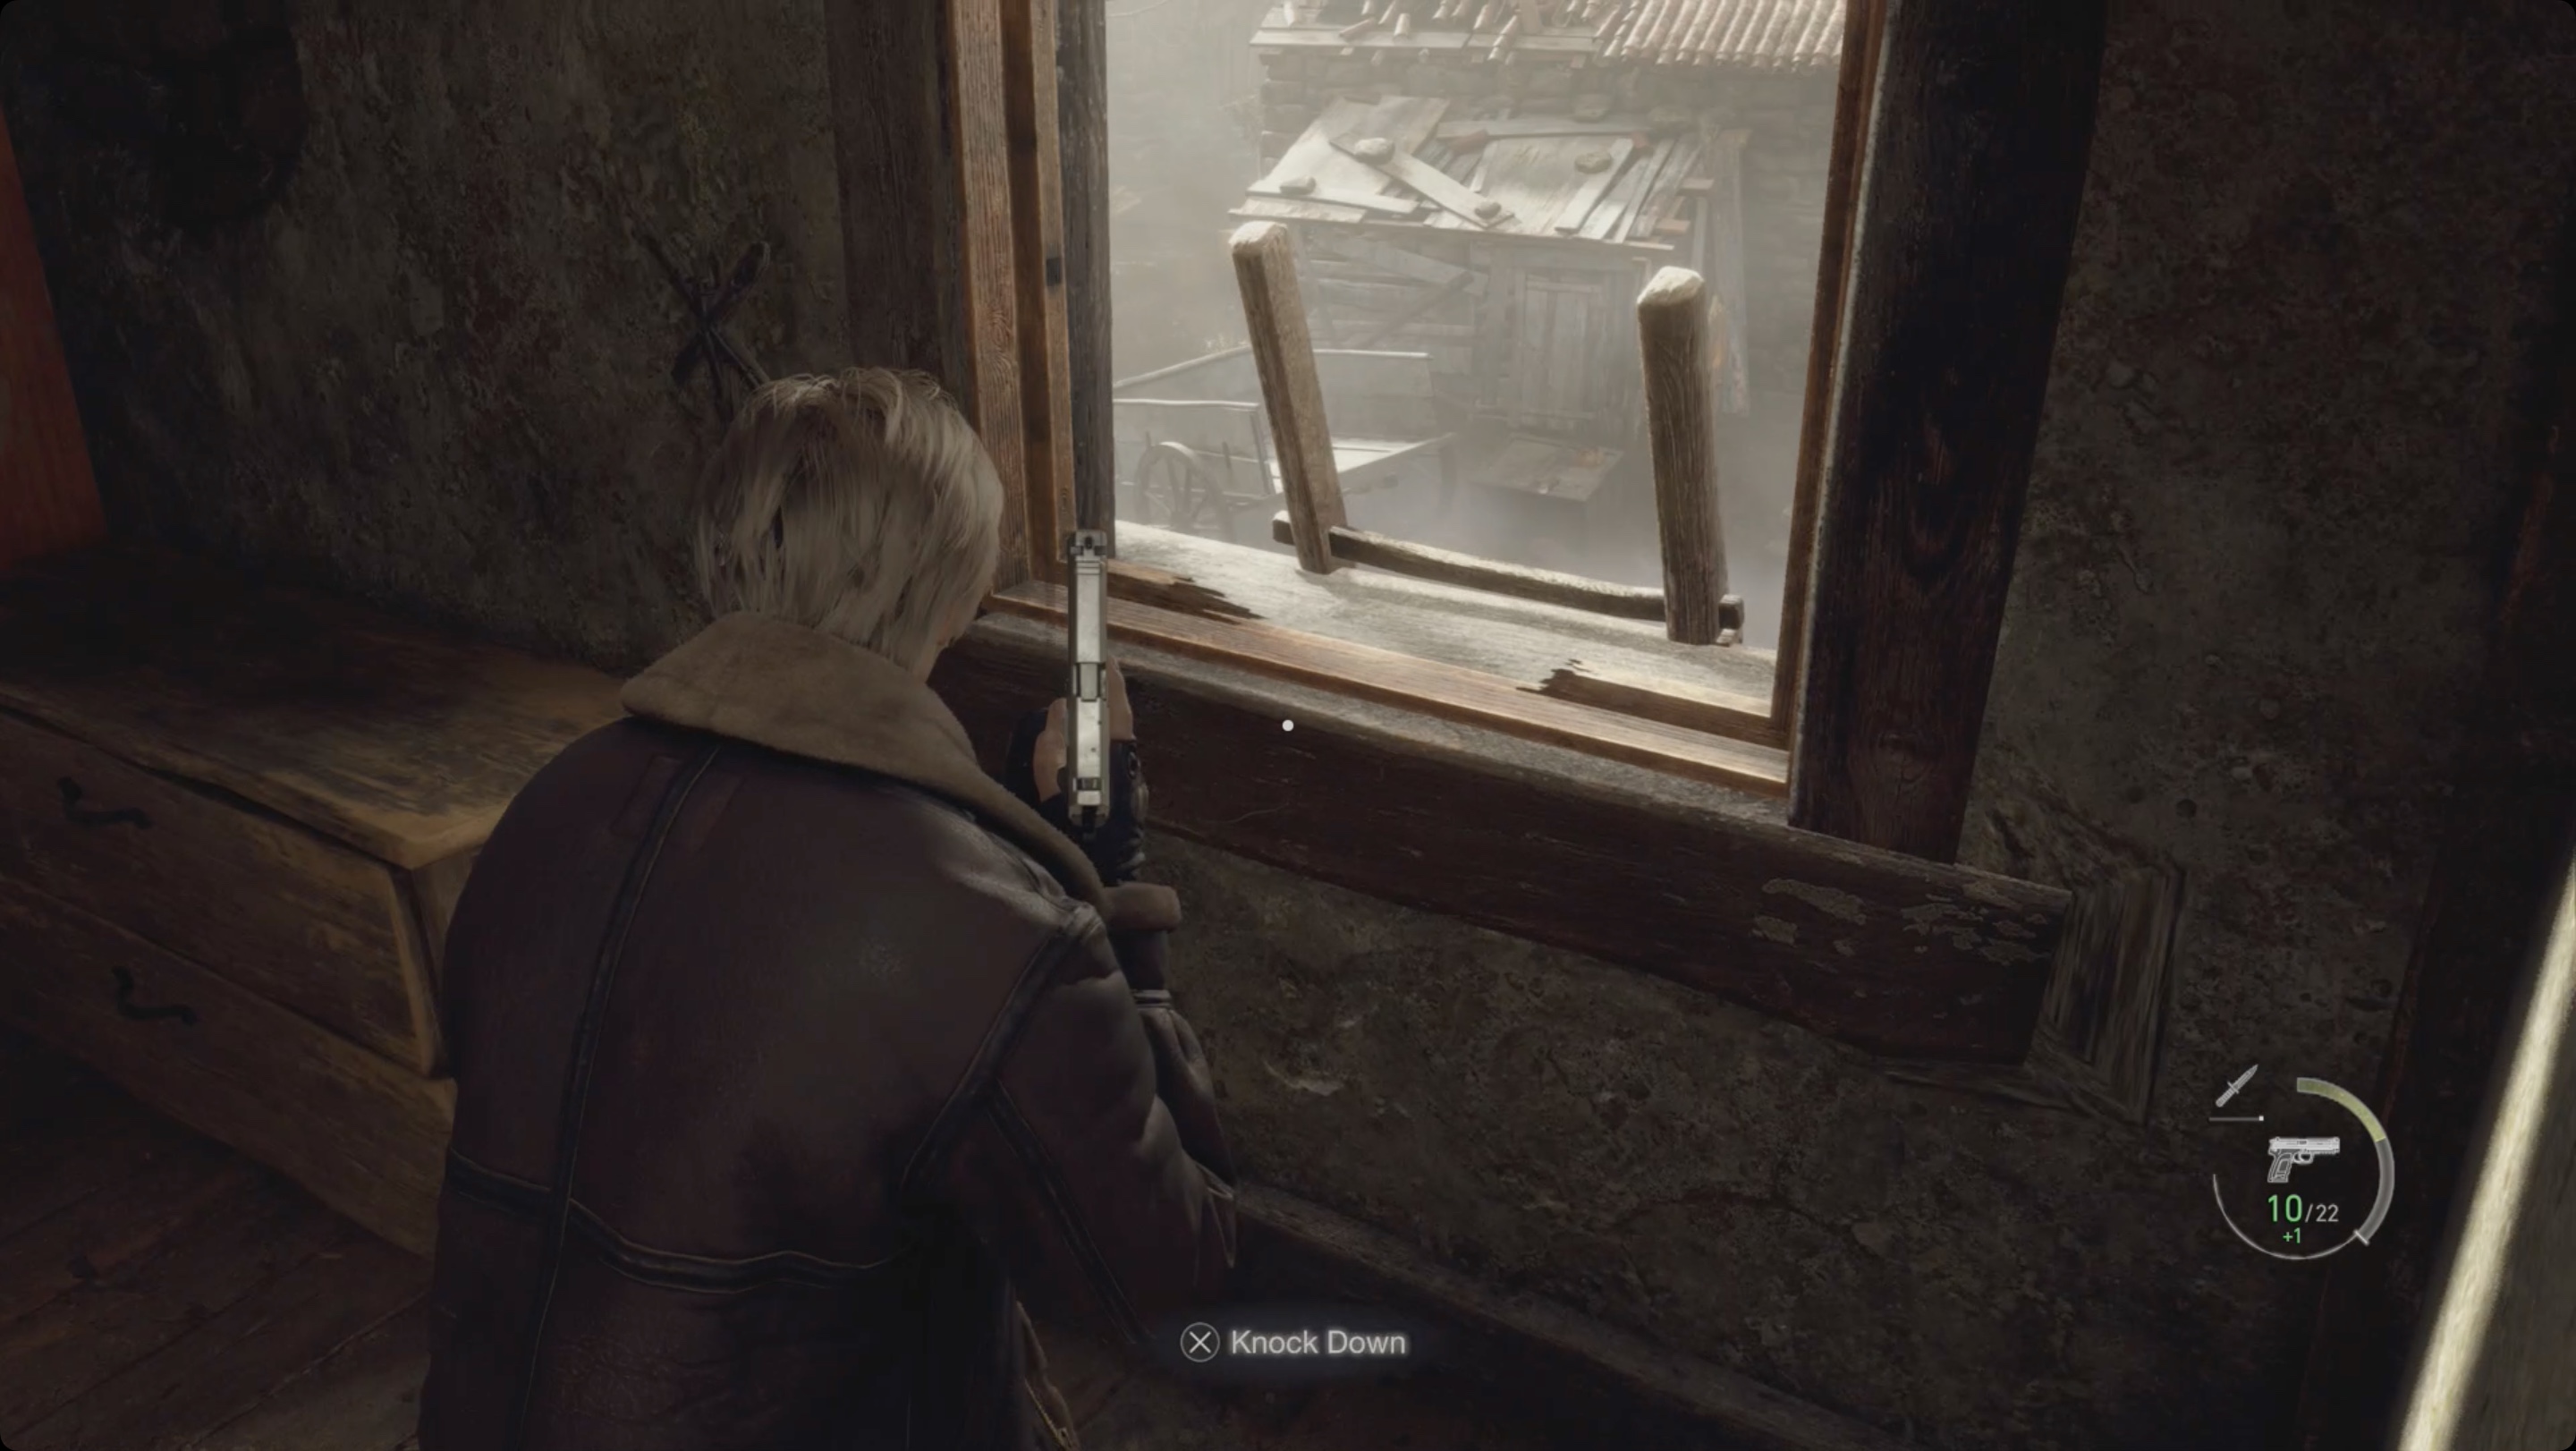
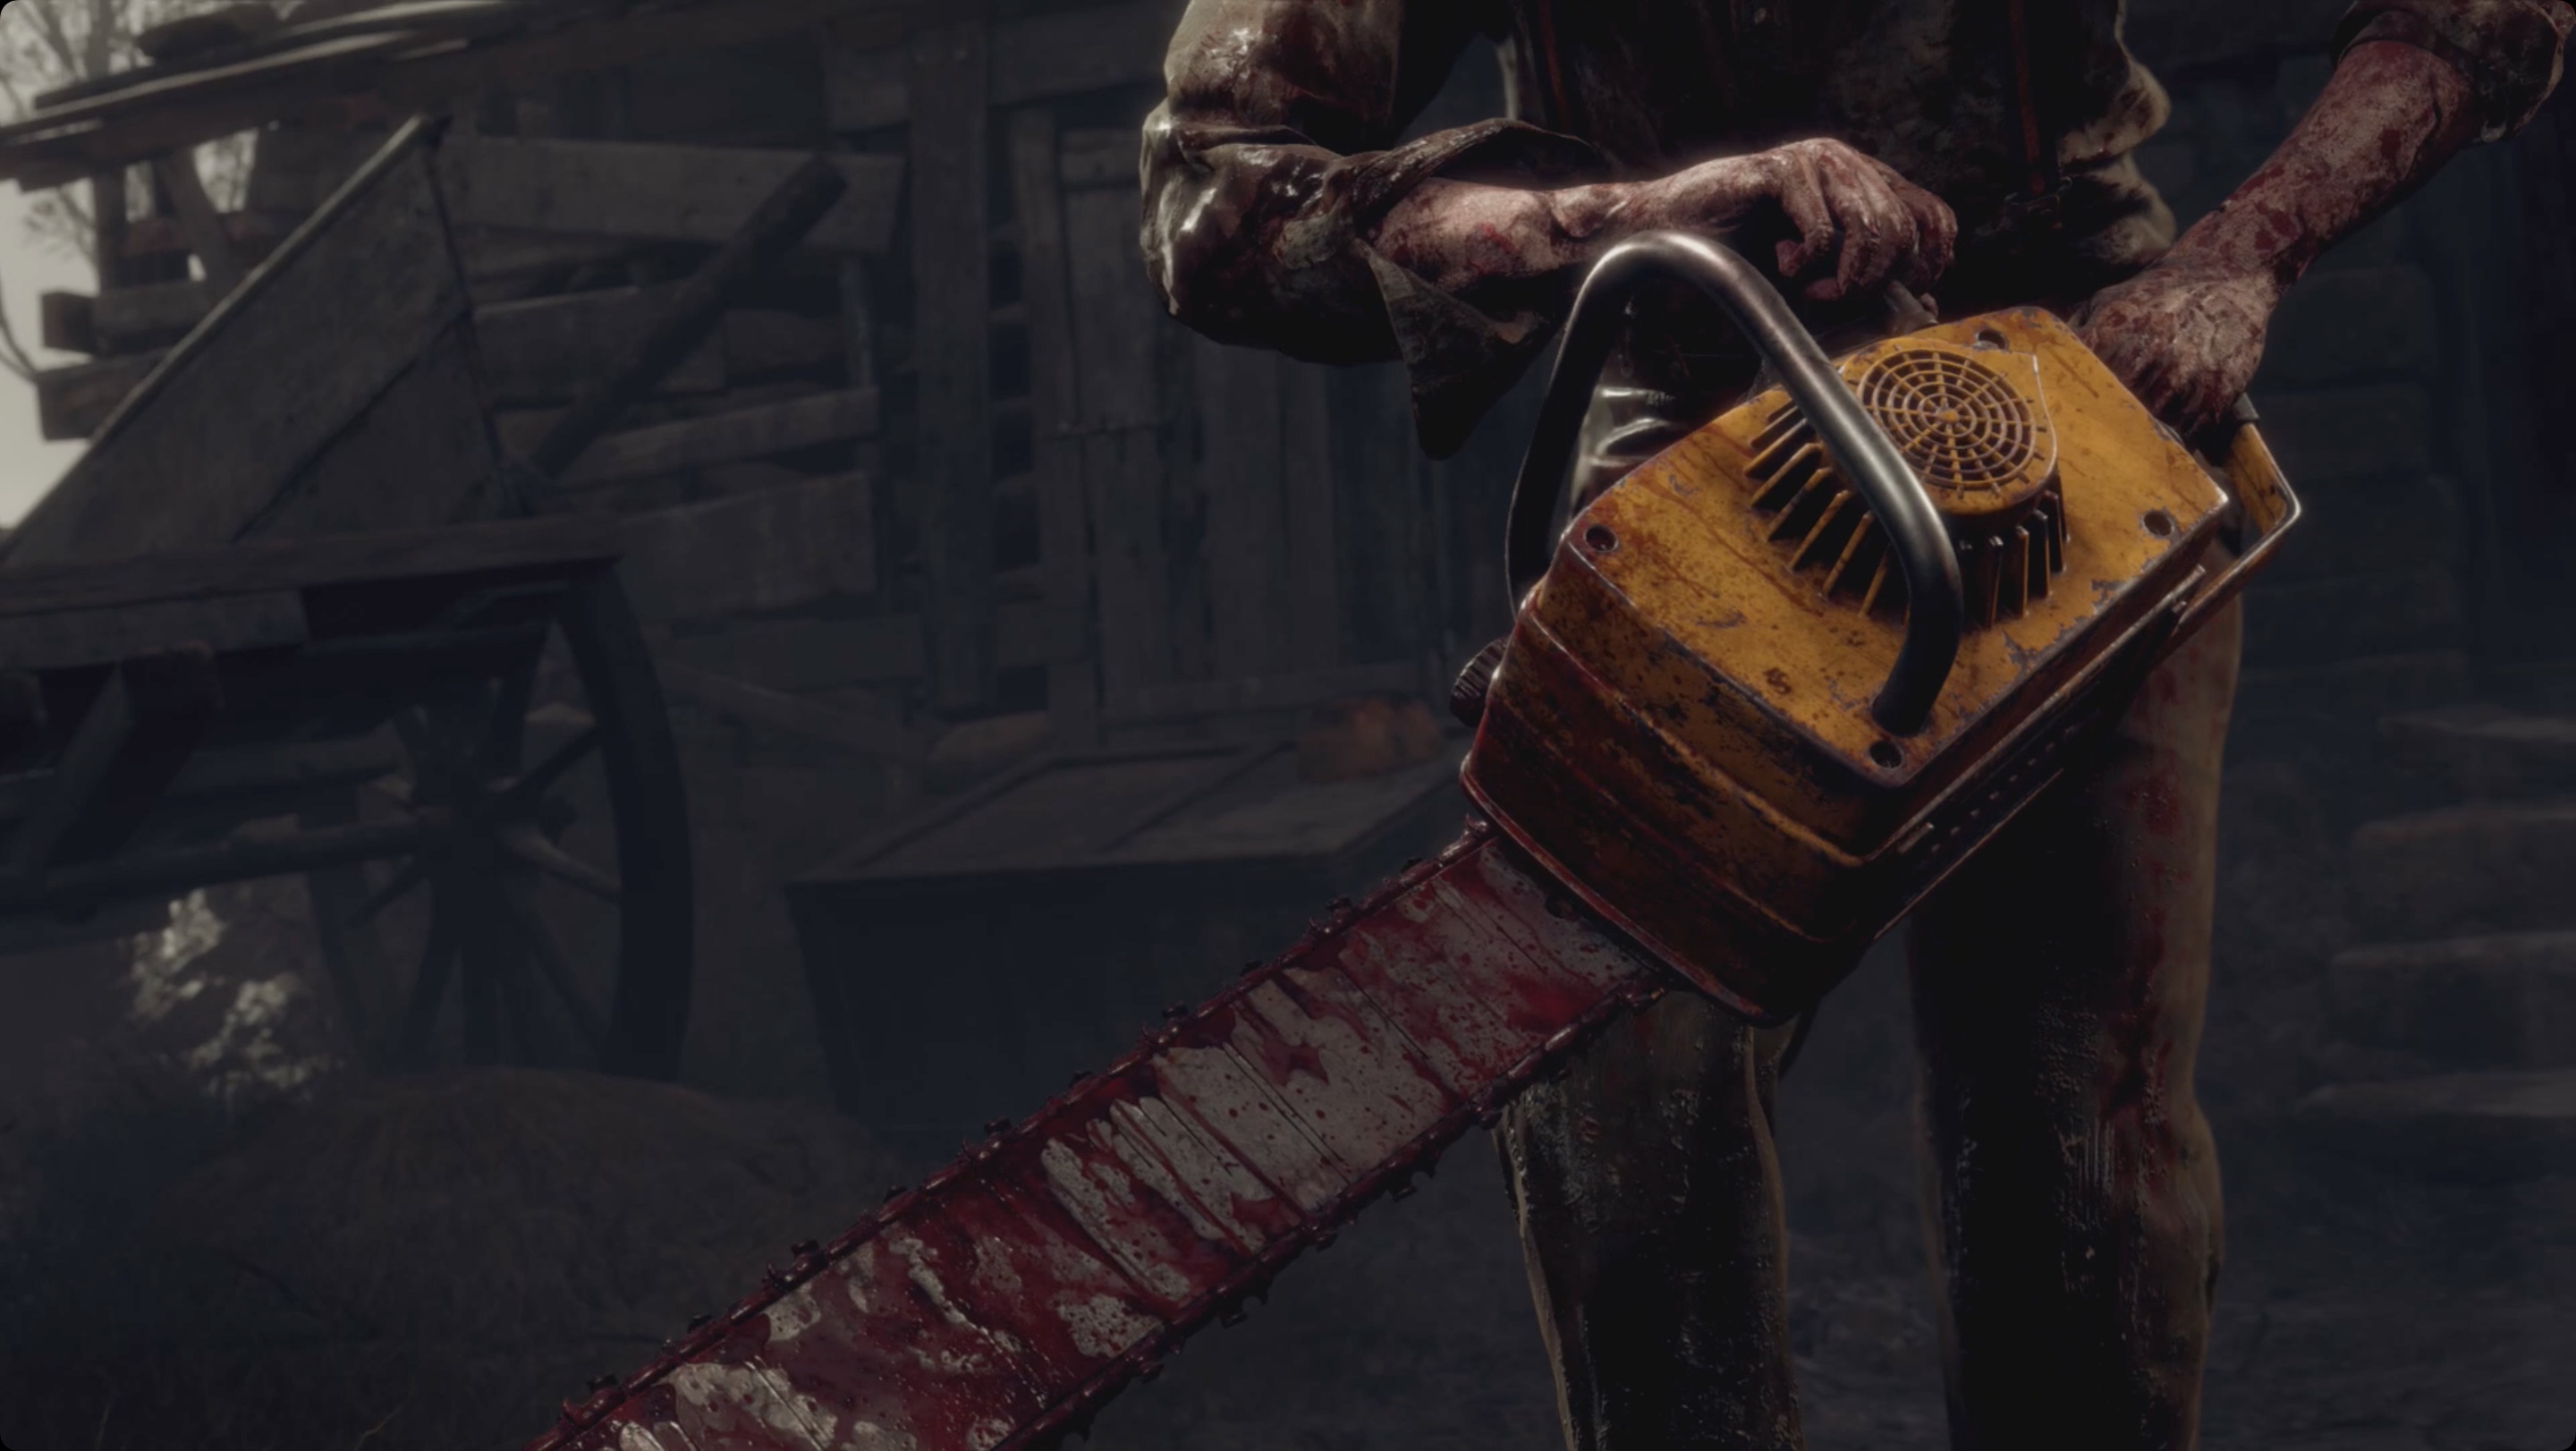
One of the ways to stall time is to enter the last building on the left. Once inside, block the first floor window by moving the cabinet, then go upstairs and remove the W-870 shotgun from the wall. Using this gun and other equipment, you will be able to fend off enemies that climb through the windows and climb the stairs. If you manage to destroy the man with the chainsaw, which is optional, an emerald will fall out of him. Chainsaw Man, like some of the other thugs, are mini-bosses that usually drop gems or other artifacts. You can also run into the barn on the right, run through it and shoot the lamp above the cow, which will kick several opponents.
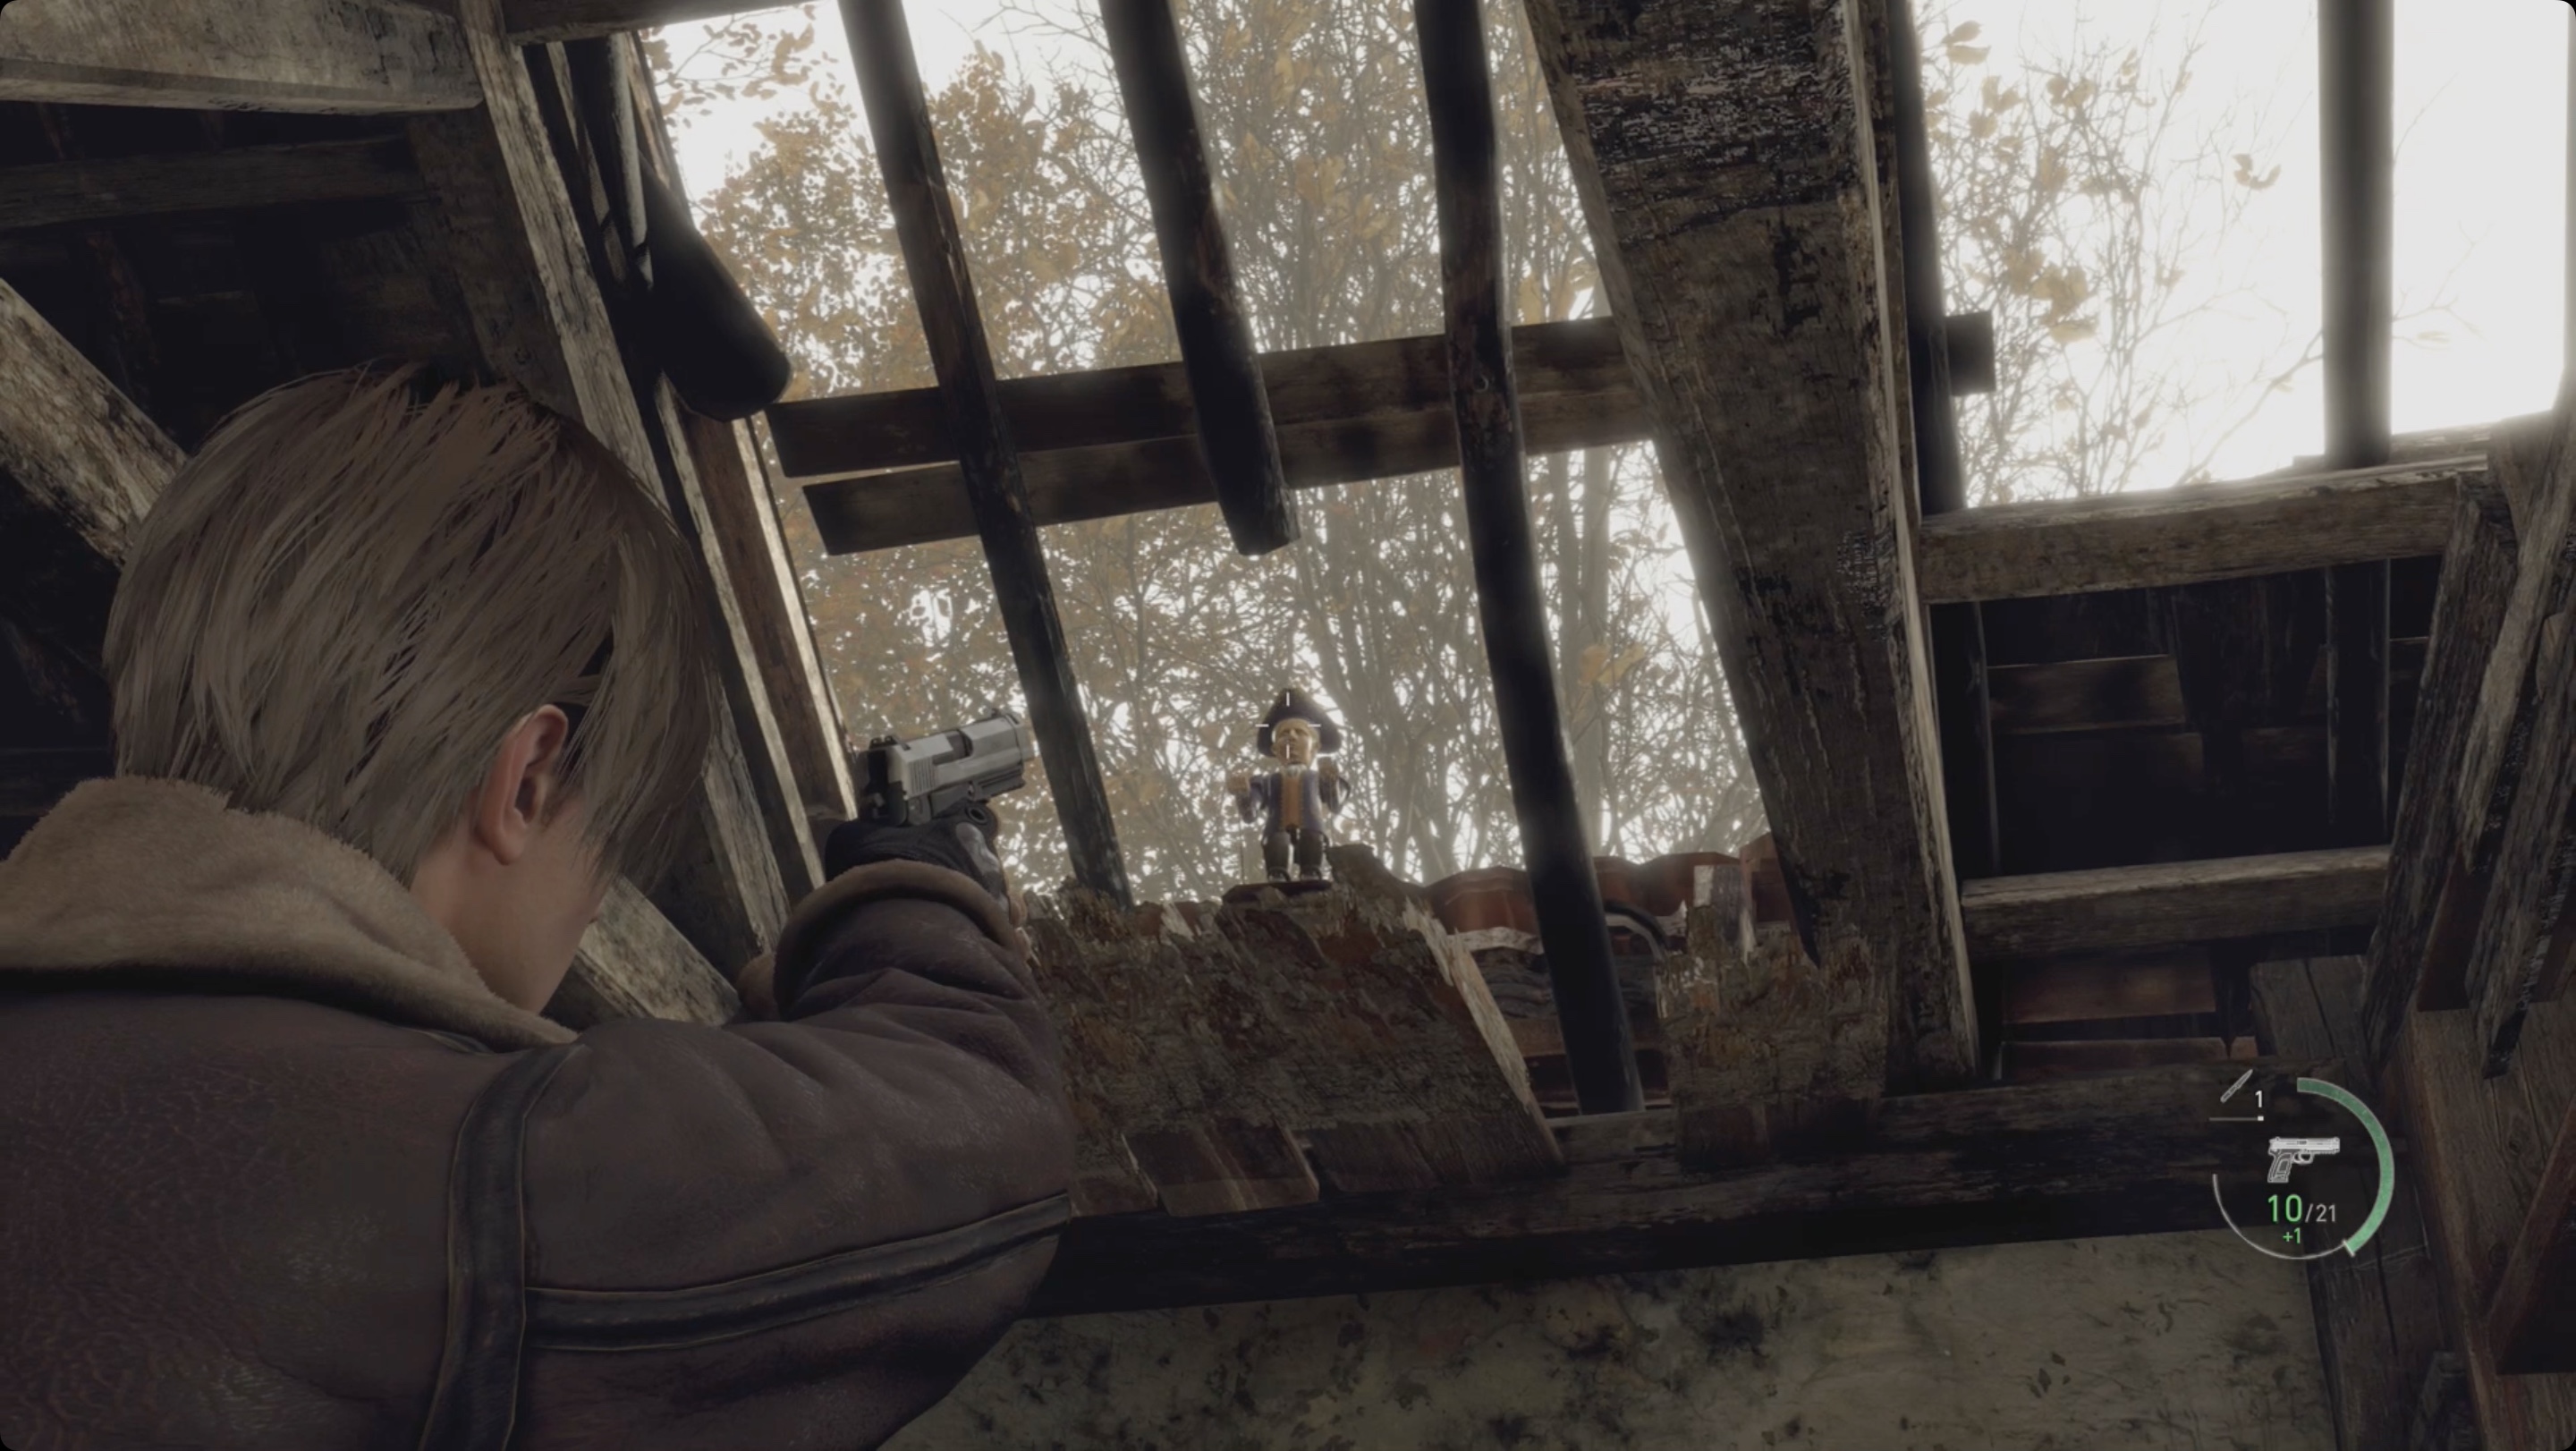
After a while, a bell will ring, and all the enemies will enter the building in the east, and Leon will be left alone. Walk around this area to collect supplies. Before moving on, make sure you take the two treasures. In the building where the W-870 gun is located, there is a window through which you can get out. From the top floor, climb over the roof window and follow to the right to find a velvety gem located right on the roof. Jump down and when you’re ready to continue, follow the path to the northeast. In the last barn on the left, not far from the gate, look for a ruby hidden in a chest to the right of the door.
Go through the gate to get to the farm. In the building on the right behind the entrance there will be a typewriter. There are a few normal enemies in the area that are unaware of your presence, but will attack if you light up. Deal with them, then go to the left side of the farm through the barn. To the left of the barn, look for a windmill with a silver cage. Shoot this cage as there is a treasure hidden inside it. There are many such cells in the game, and all of them make a characteristic sound close to them. Wait for the windmill to spin and the cage to the right, then shoot it to drop a pearl necklace. If you shoot when the cage is on the left, the necklace will fall into the well. You can still pick it up, but in this case, the cost of the necklace will be much lower.
Trader’s Request: Destroy the Blue Medallions
Head to the gate to the north to find a blue piece of paper taped to the wall. This is your first order from the merchant. Think of these quests as side quests that will reward you with a special in-game currency, pink spinel gems, which can be exchanged for items from a separate category (mostly unique items). Most of the quests don’t require you to search for the quest sheets themselves, so if you destroy a few blue medallions beforehand, nothing bad will happen. In this quest, you need to shoot 5 blue medallions scattered around the farm. As soon as you take the quest sheet, markers will appear on the map indicating the location of these very blue medallions. Thus, the task is simplified as much as possible. If you complete the task, you will receive 3 spinels.
-
- Blue Medallion 1. Return to the entrance to the area, and look for the medallion outside, on the north corner of the building with the typewriter.
- Blue medallion 2. Jump over the fence to be next to the barn and look inside through the window to see the second one. Or enter the barn with the cow and shoot straight from there.
- Blue medallion 3. Go through the barn with the cow and look for the medallion in the small building opposite.
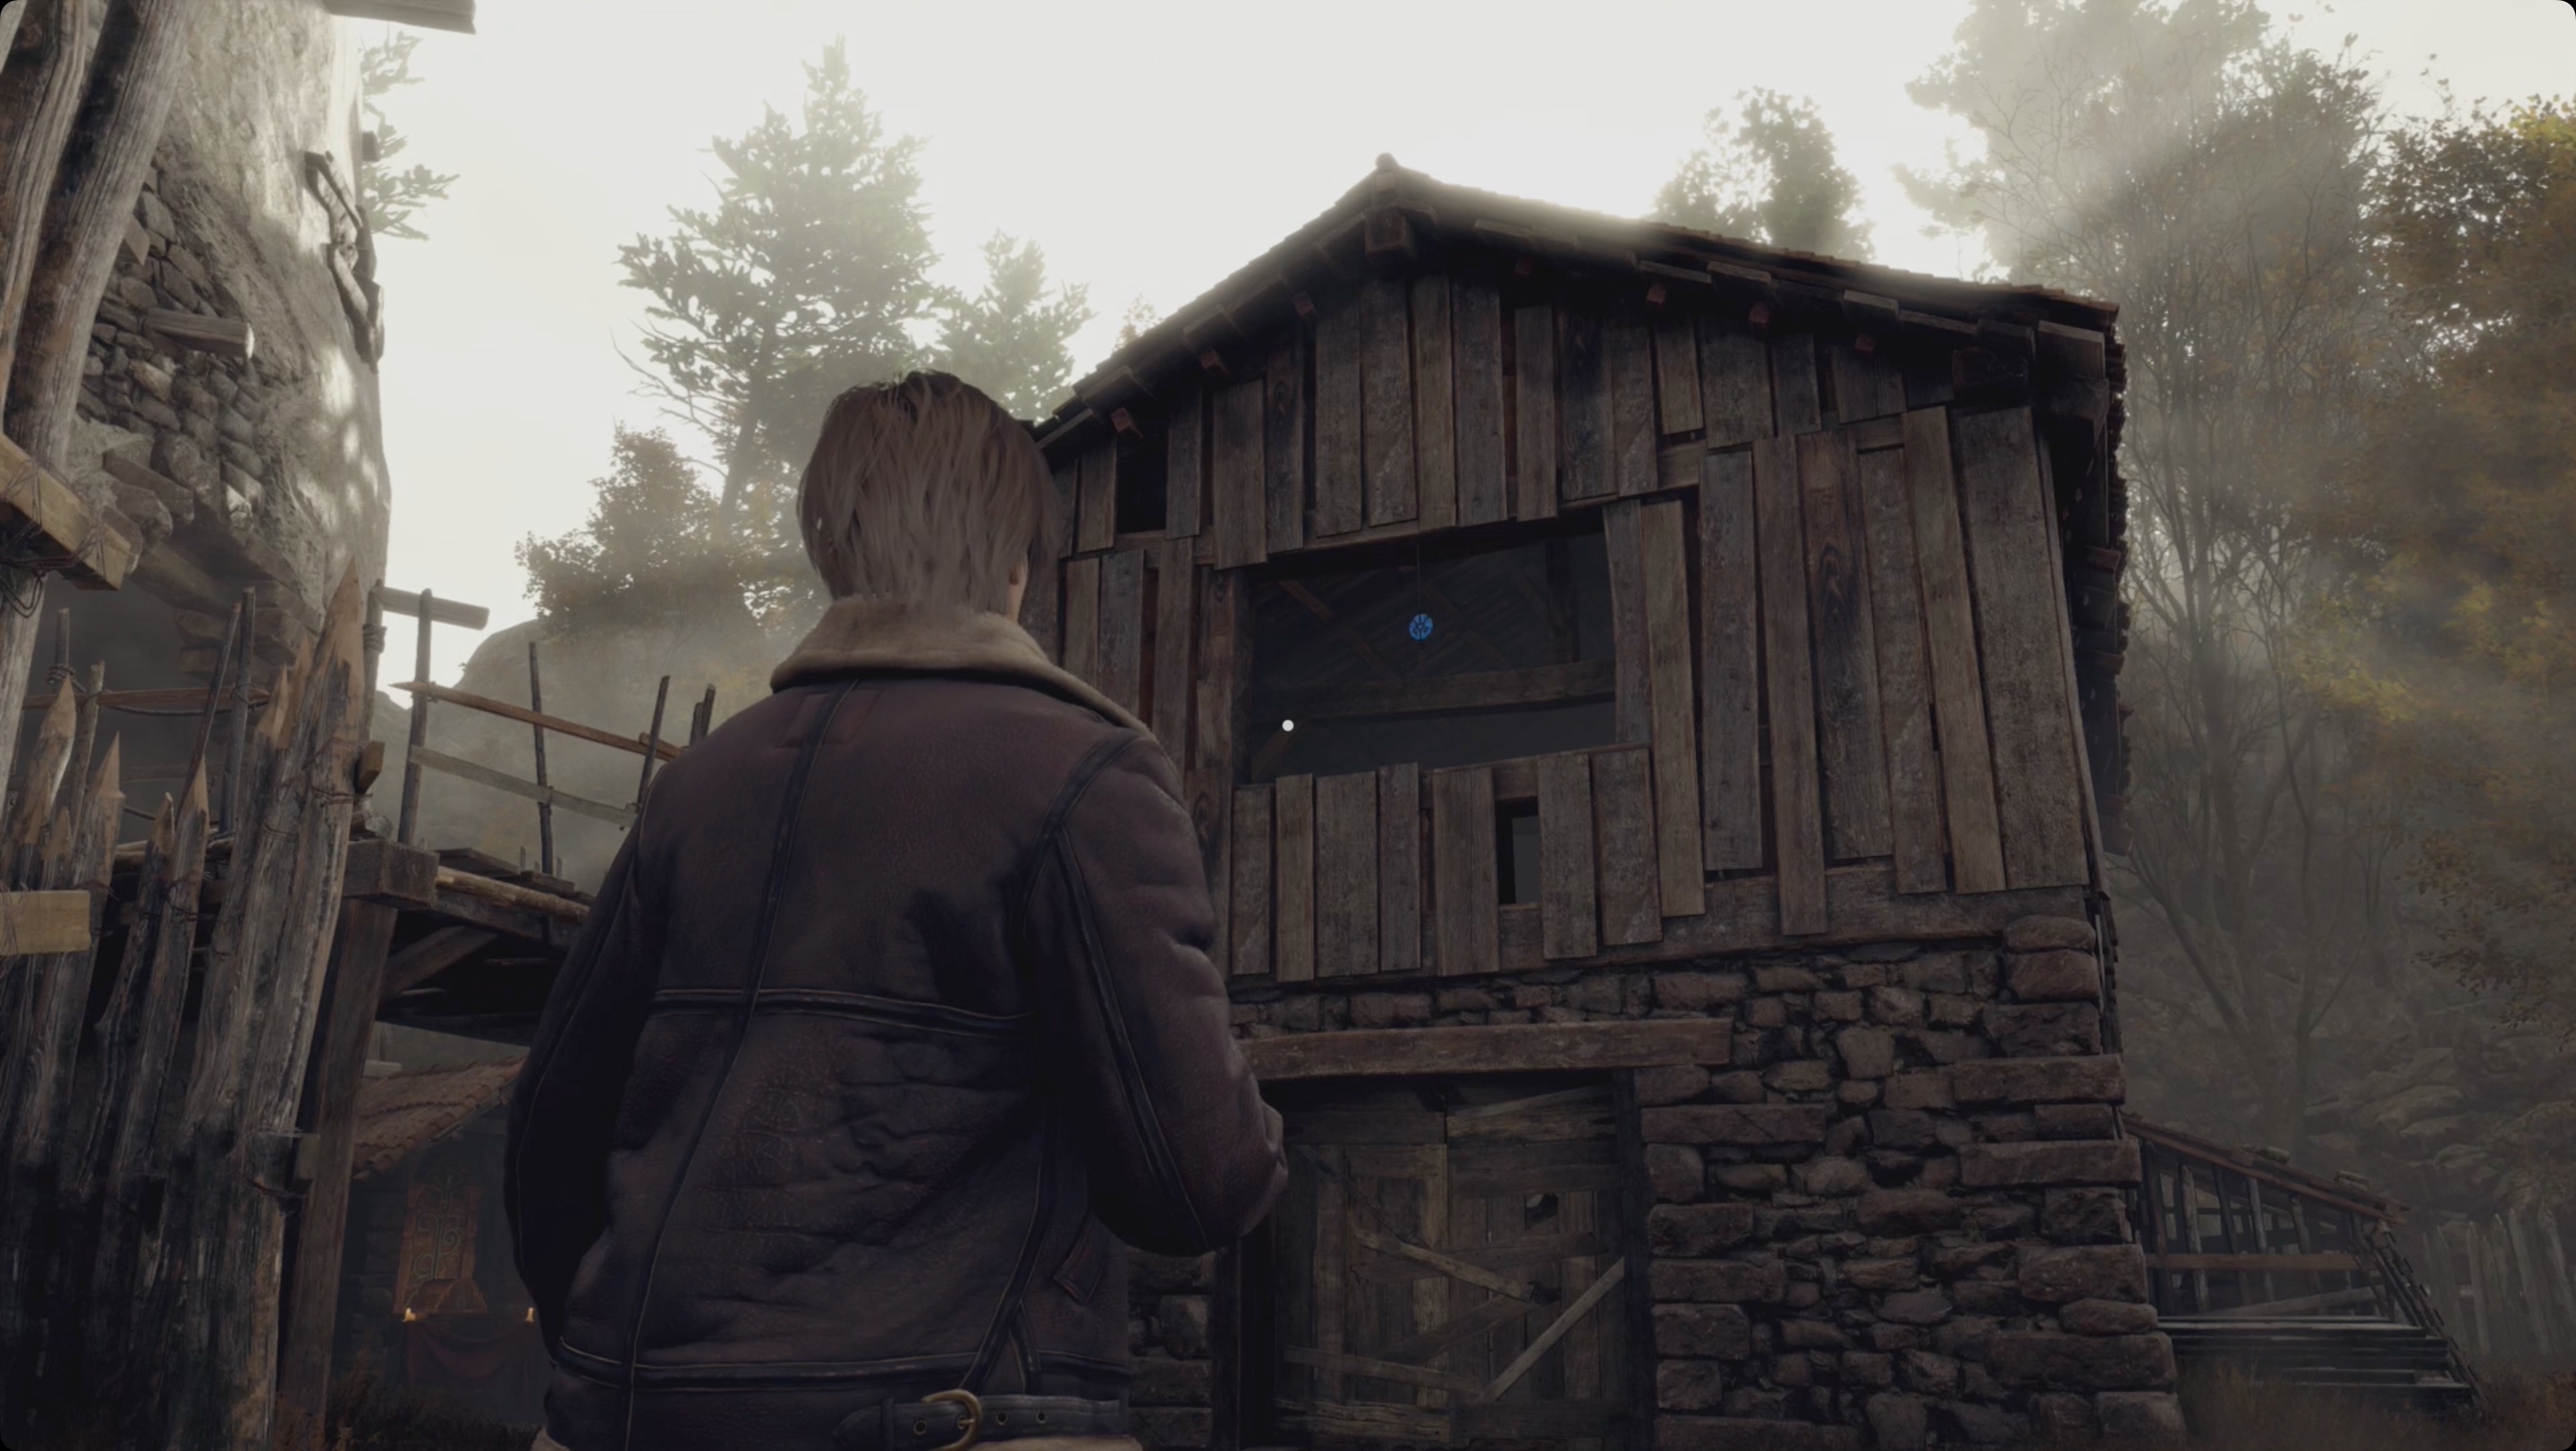
- Blue medallion 4. Follow the gate and look to the right. A blue medallion hangs in the top window of the originally closed barn.
- Blue medallion 5. Finally, when you move from the windmill to the locked shed, from this path you will see the last medallion behind the fence and the street altar.
Return to the large gate where you activated the quest and go through the metal door under the archway. There will be tripwire bombs here (crouch and sneak under the wire, or disable the device, although you still get nothing for it). Climb to the second floor, where the mechanism with the missing gear is located. Leave the mill through the southeast door and jump down from the balcony to find a chest ahead that contains a decanter. You will be told that treasures with empty slots can be improved with stones of different colors. Depending on the combination of these stones, the cost of the item will increase by a certain number of times.
For example:
- Two gems of different colors – x1.1
- Two gems of the same color – x1.2
- Three gems of different colors – x1.3
- Three gems of the same color – x1.4
- Two pairs of gems of two colors – x1.5
- Four gems of different colors – x1.6
- Four gems of the same color – x1.7
- A pair of gems of one color and three gems of another color – x1.8
- Five gems of the same color – x1.9
- Five gems and all of different colors (red, blue, green, purple, yellow) – x2.0
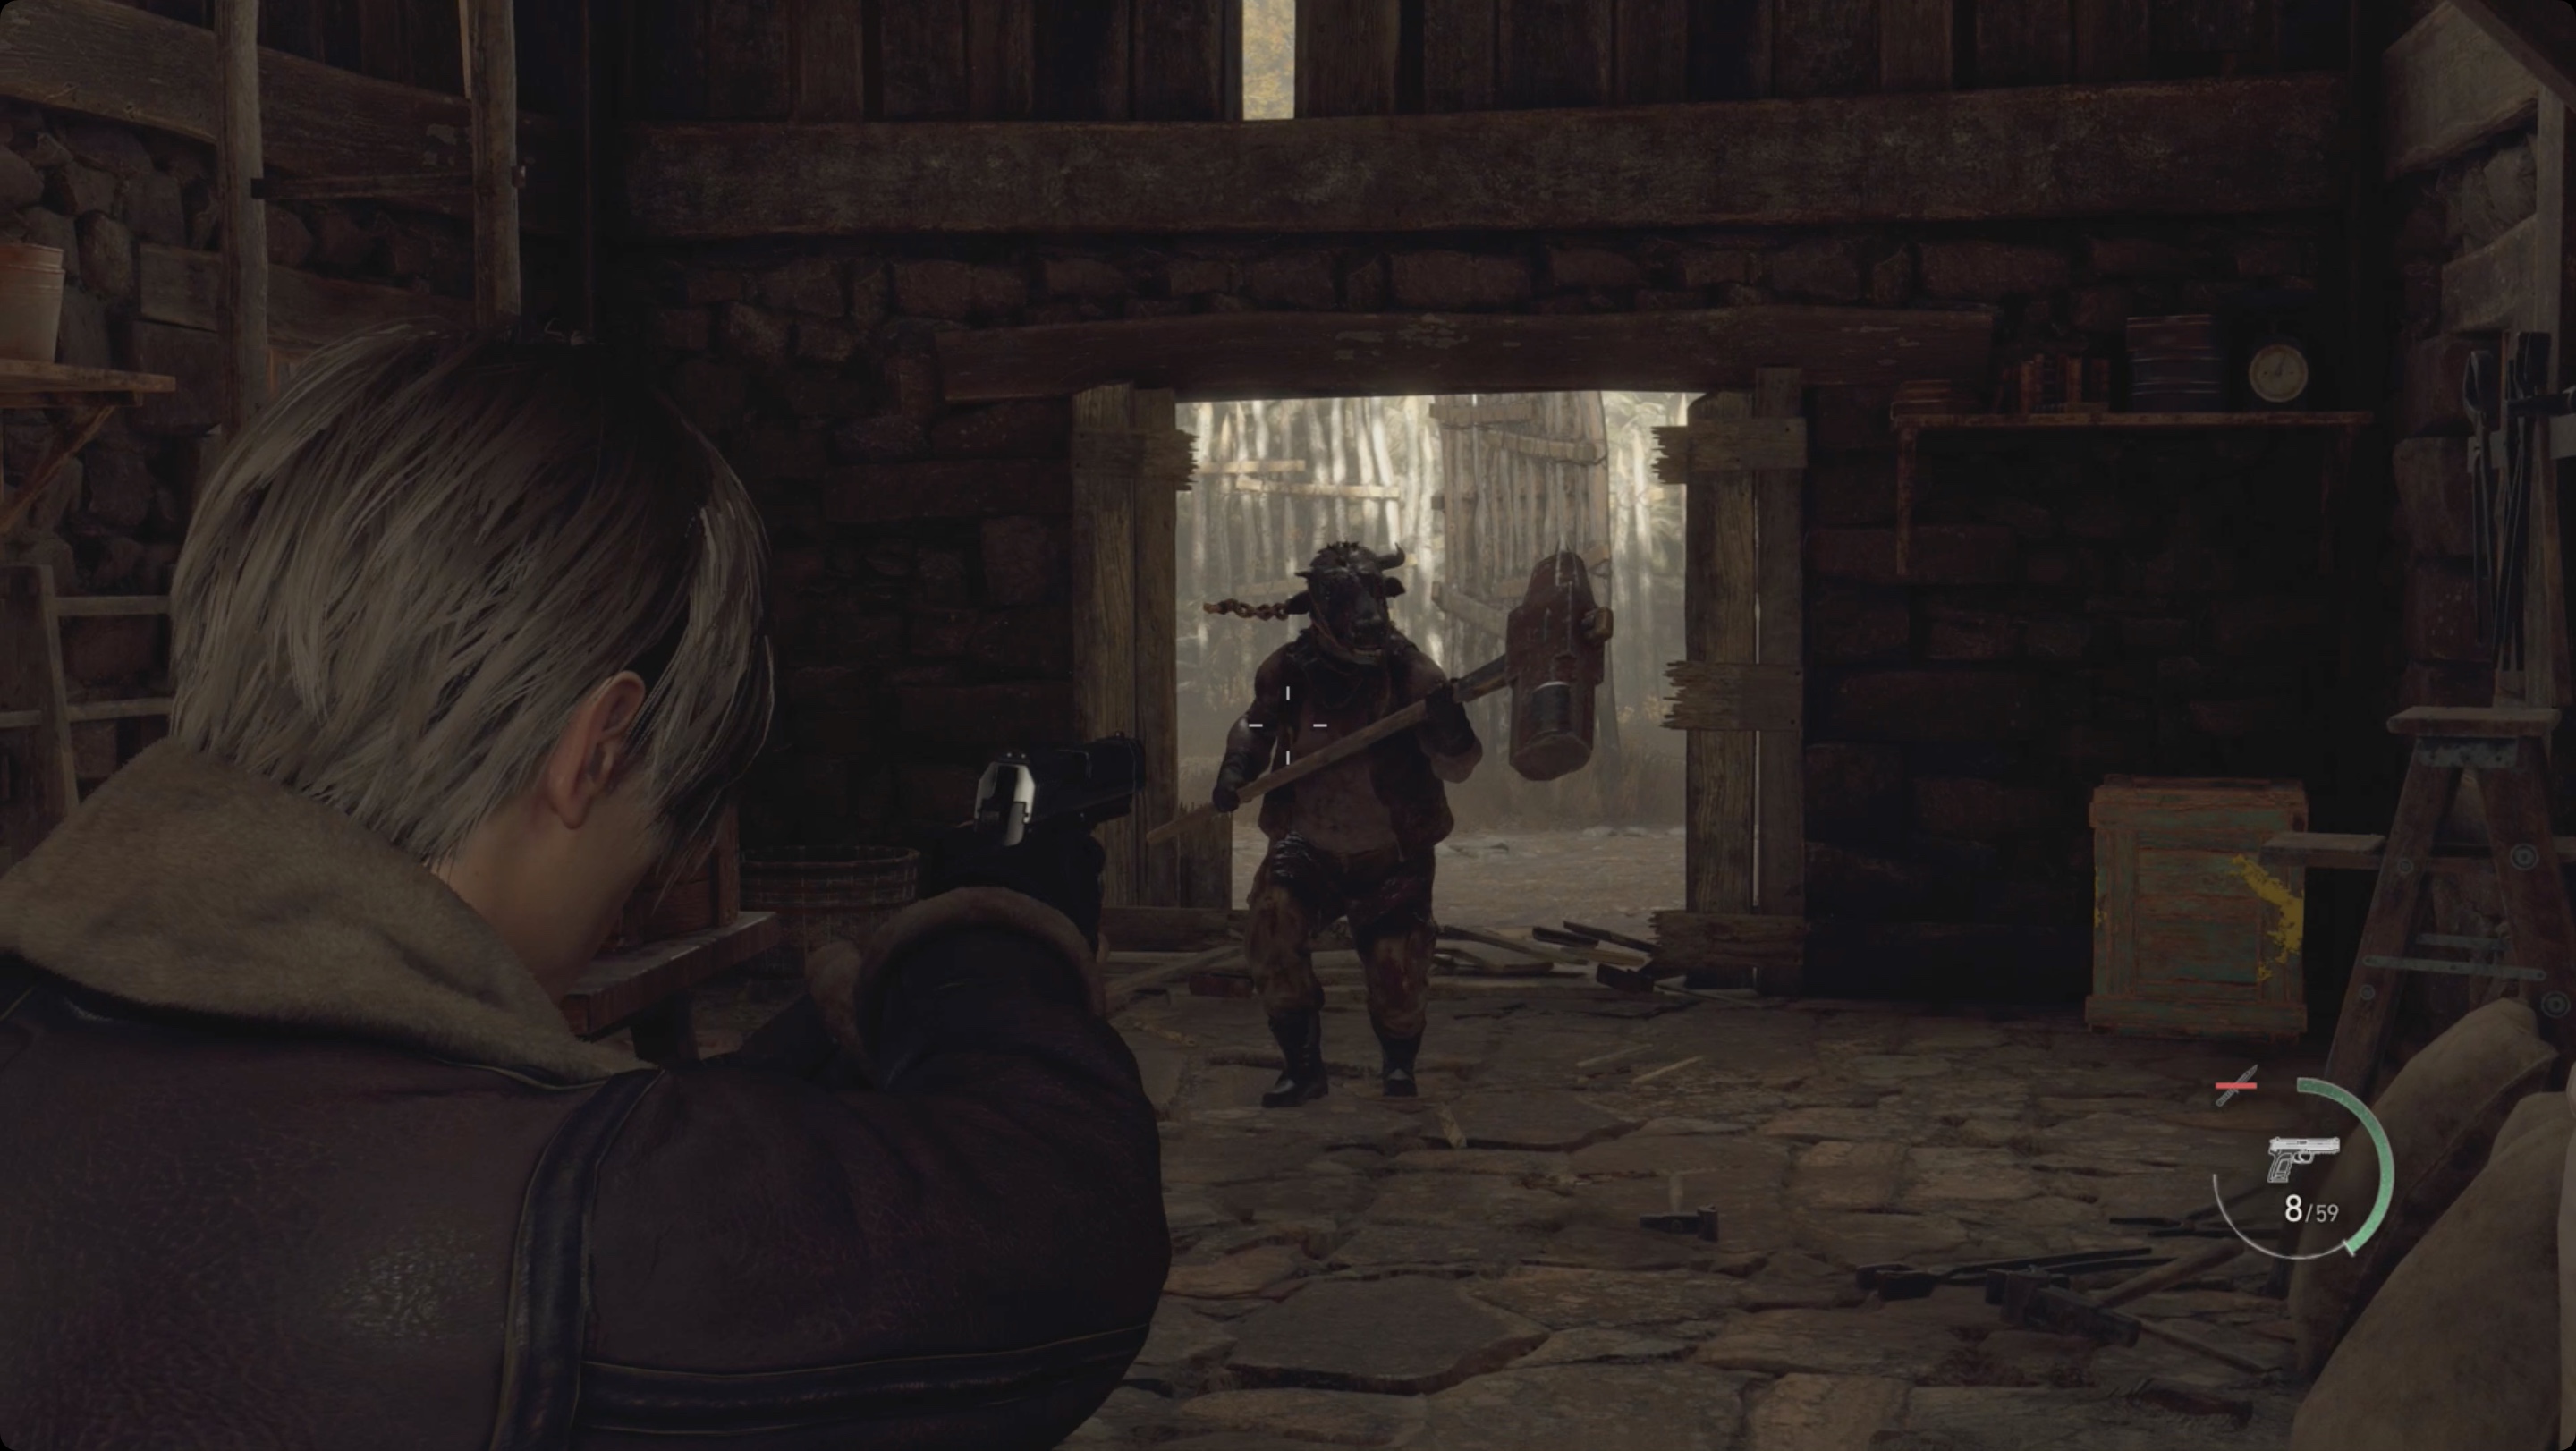
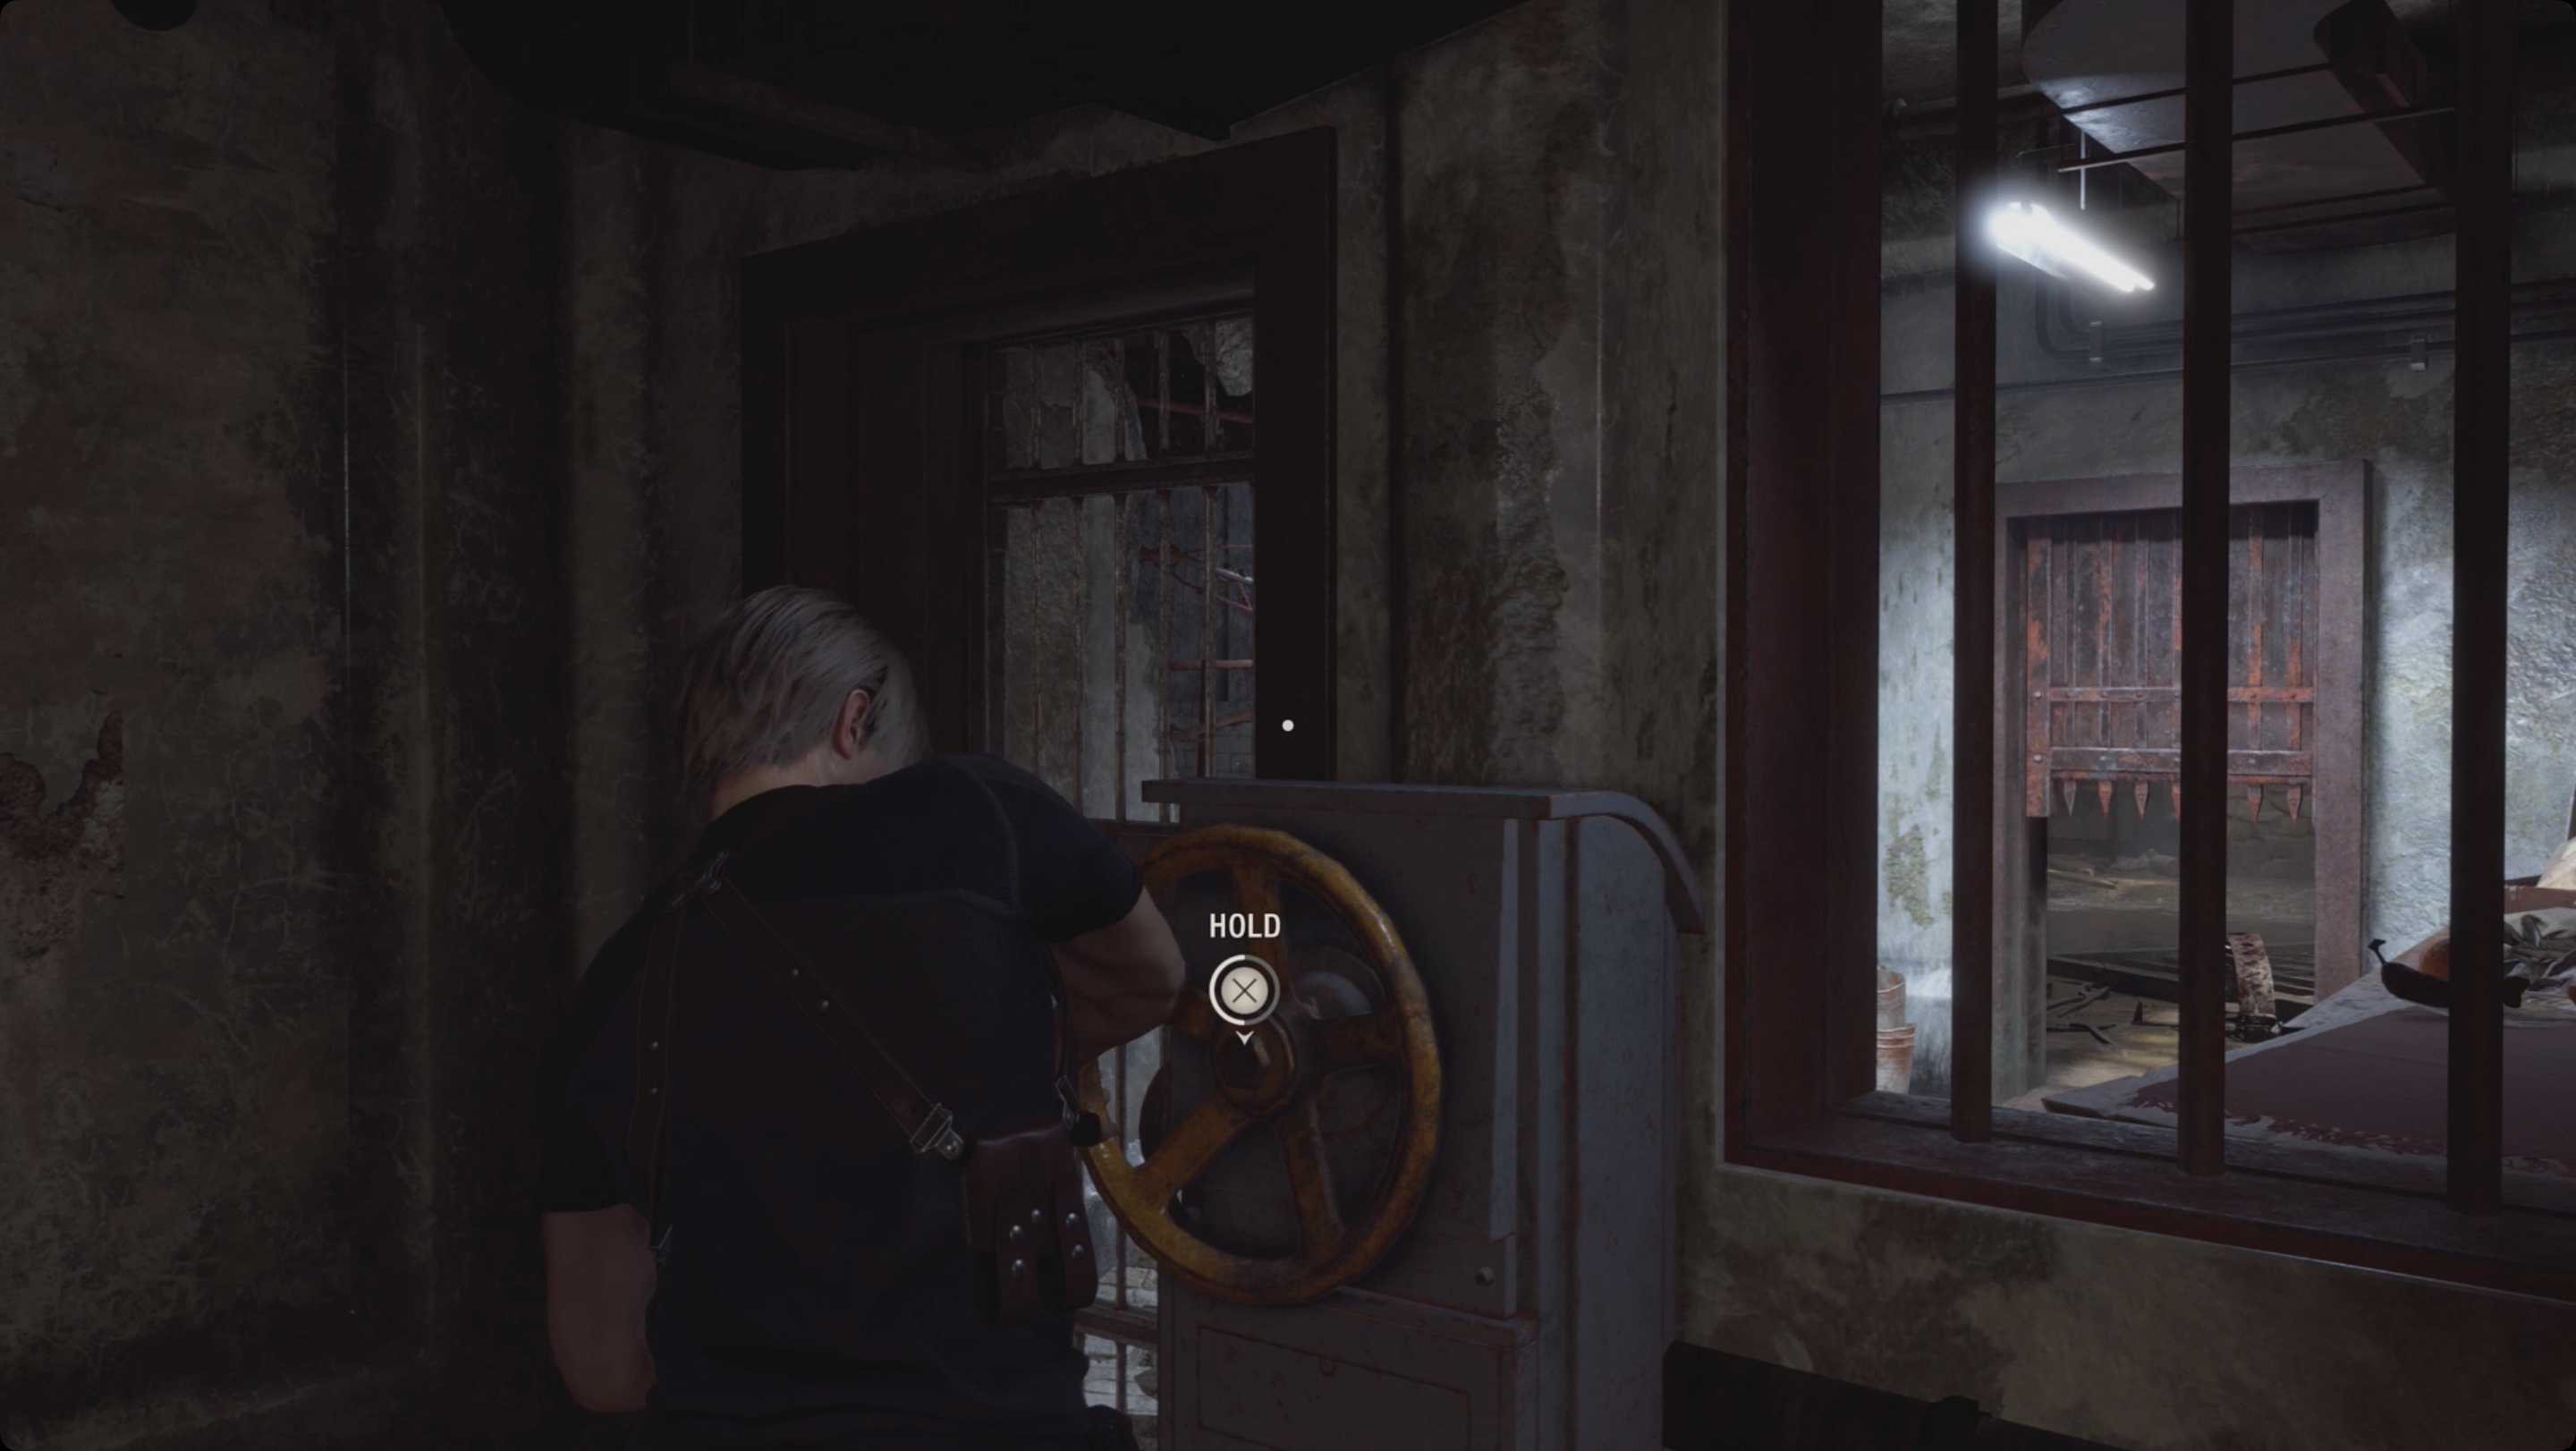
Ahead is a door with a lock. Such locks break easily, after which the doors can be opened – shoot or stab. Inside the building, in the left corner there is a box in which the ruby is hidden. Also take the wooden gear from the table on the right, which lies next to your first kitchen knife. This is a weak knife that can be used instead of a combat knife, but it will break after a while. As soon as you enter this part of the barn, enemies will appear. Wooden doors will be knocked out by a thug with a hammer. He is stronger than normal enemies, but weaker than a guy with a chainsaw. It can even be stunned and then attacked with melee attacks. However, if you followed my advice and did not neutralize the tripwire in the building with the windmill, run there, crawl under the tripwire and lure the monster into a trap. He will take massive damage. Once you’ve dealt with all the enemies, go back inside the windmill and install the gear in the mechanism of the second floor. Pull the lever to open the gate to the next area.
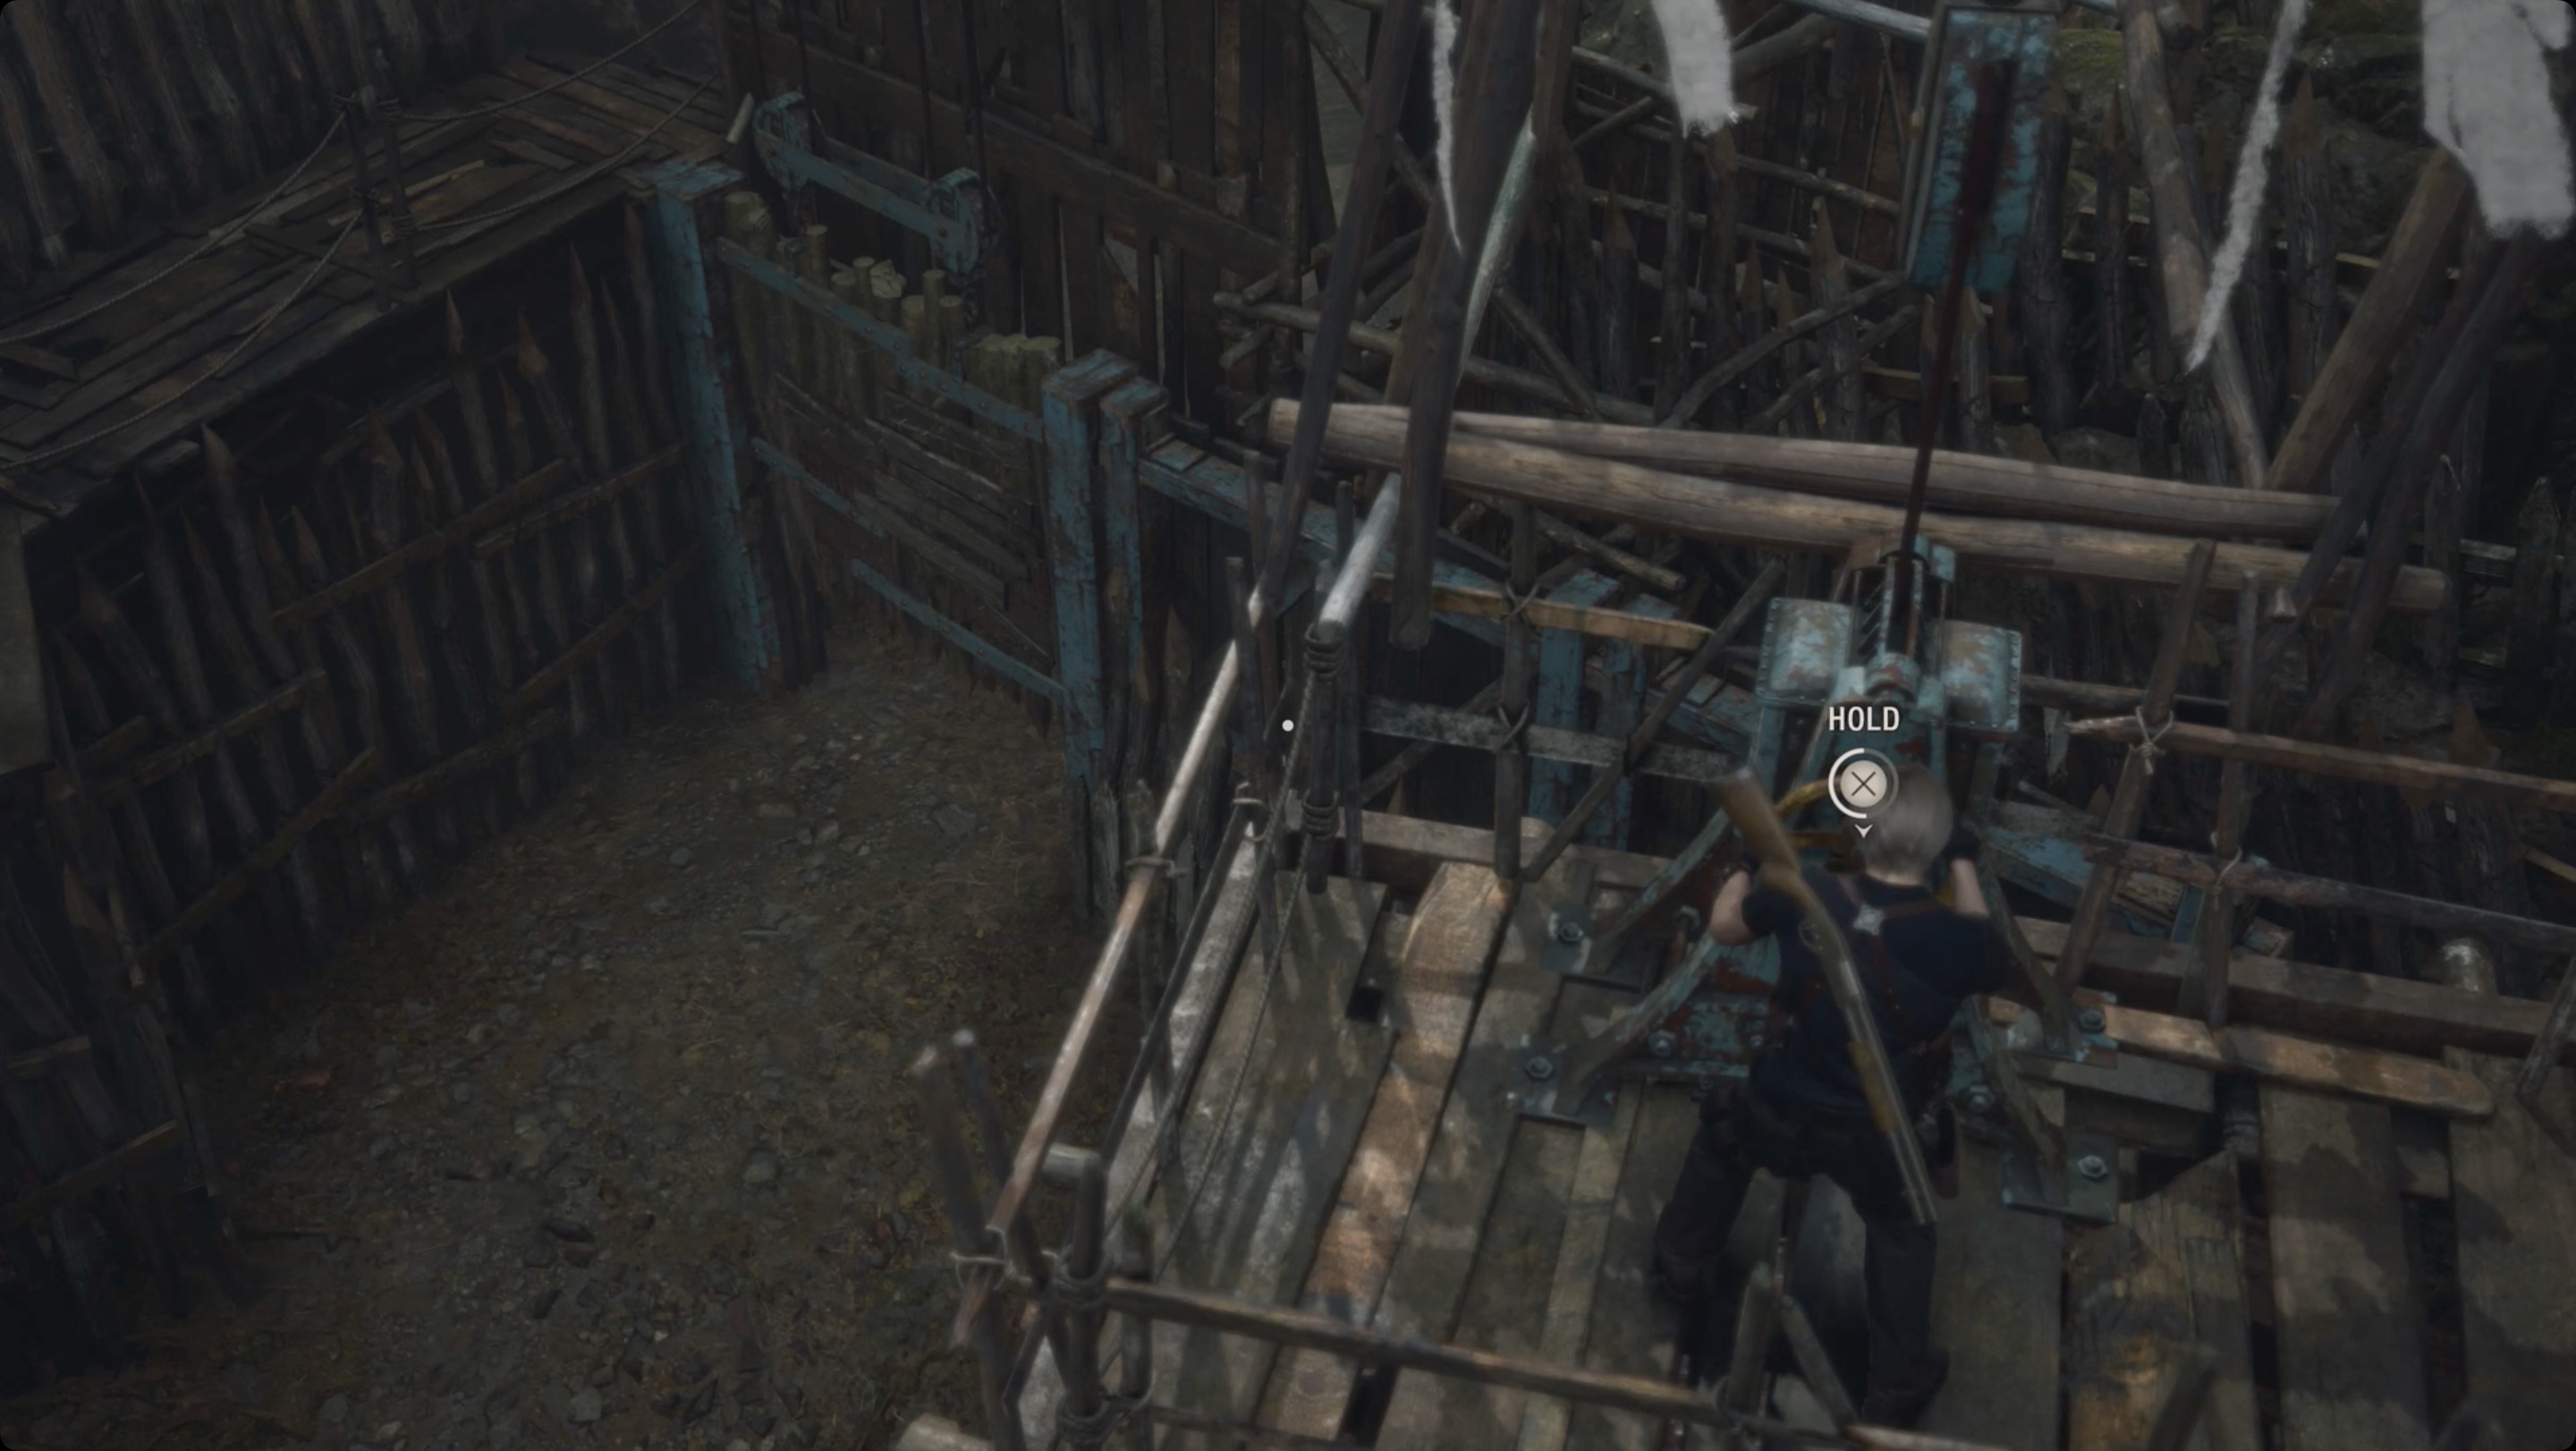
Go to the building ahead, but it will be locked. Supplies can be found on the left, but to continue the story, go to the right of the house and move the wagon out of the way. Moving forward, avoid falling debris – press the indicated key in time. Then there will be enemies that will have to be eliminated. Shoot at the enemies standing on the bridge and they will fall down. Continue to the Lakeside Settlement where you will encounter more enemies throwing explosives. Eliminate the enemy with dynamite in the building ahead and another enemy on the platform to the left. If possible, you can shoot the explosive while it is in the mob’s hand. This will result in an instant explosion. If the enemy sets fire to the dynamite, shoot at the enemy himself, and after a while he will drop it, which will also lead to death in the explosion.
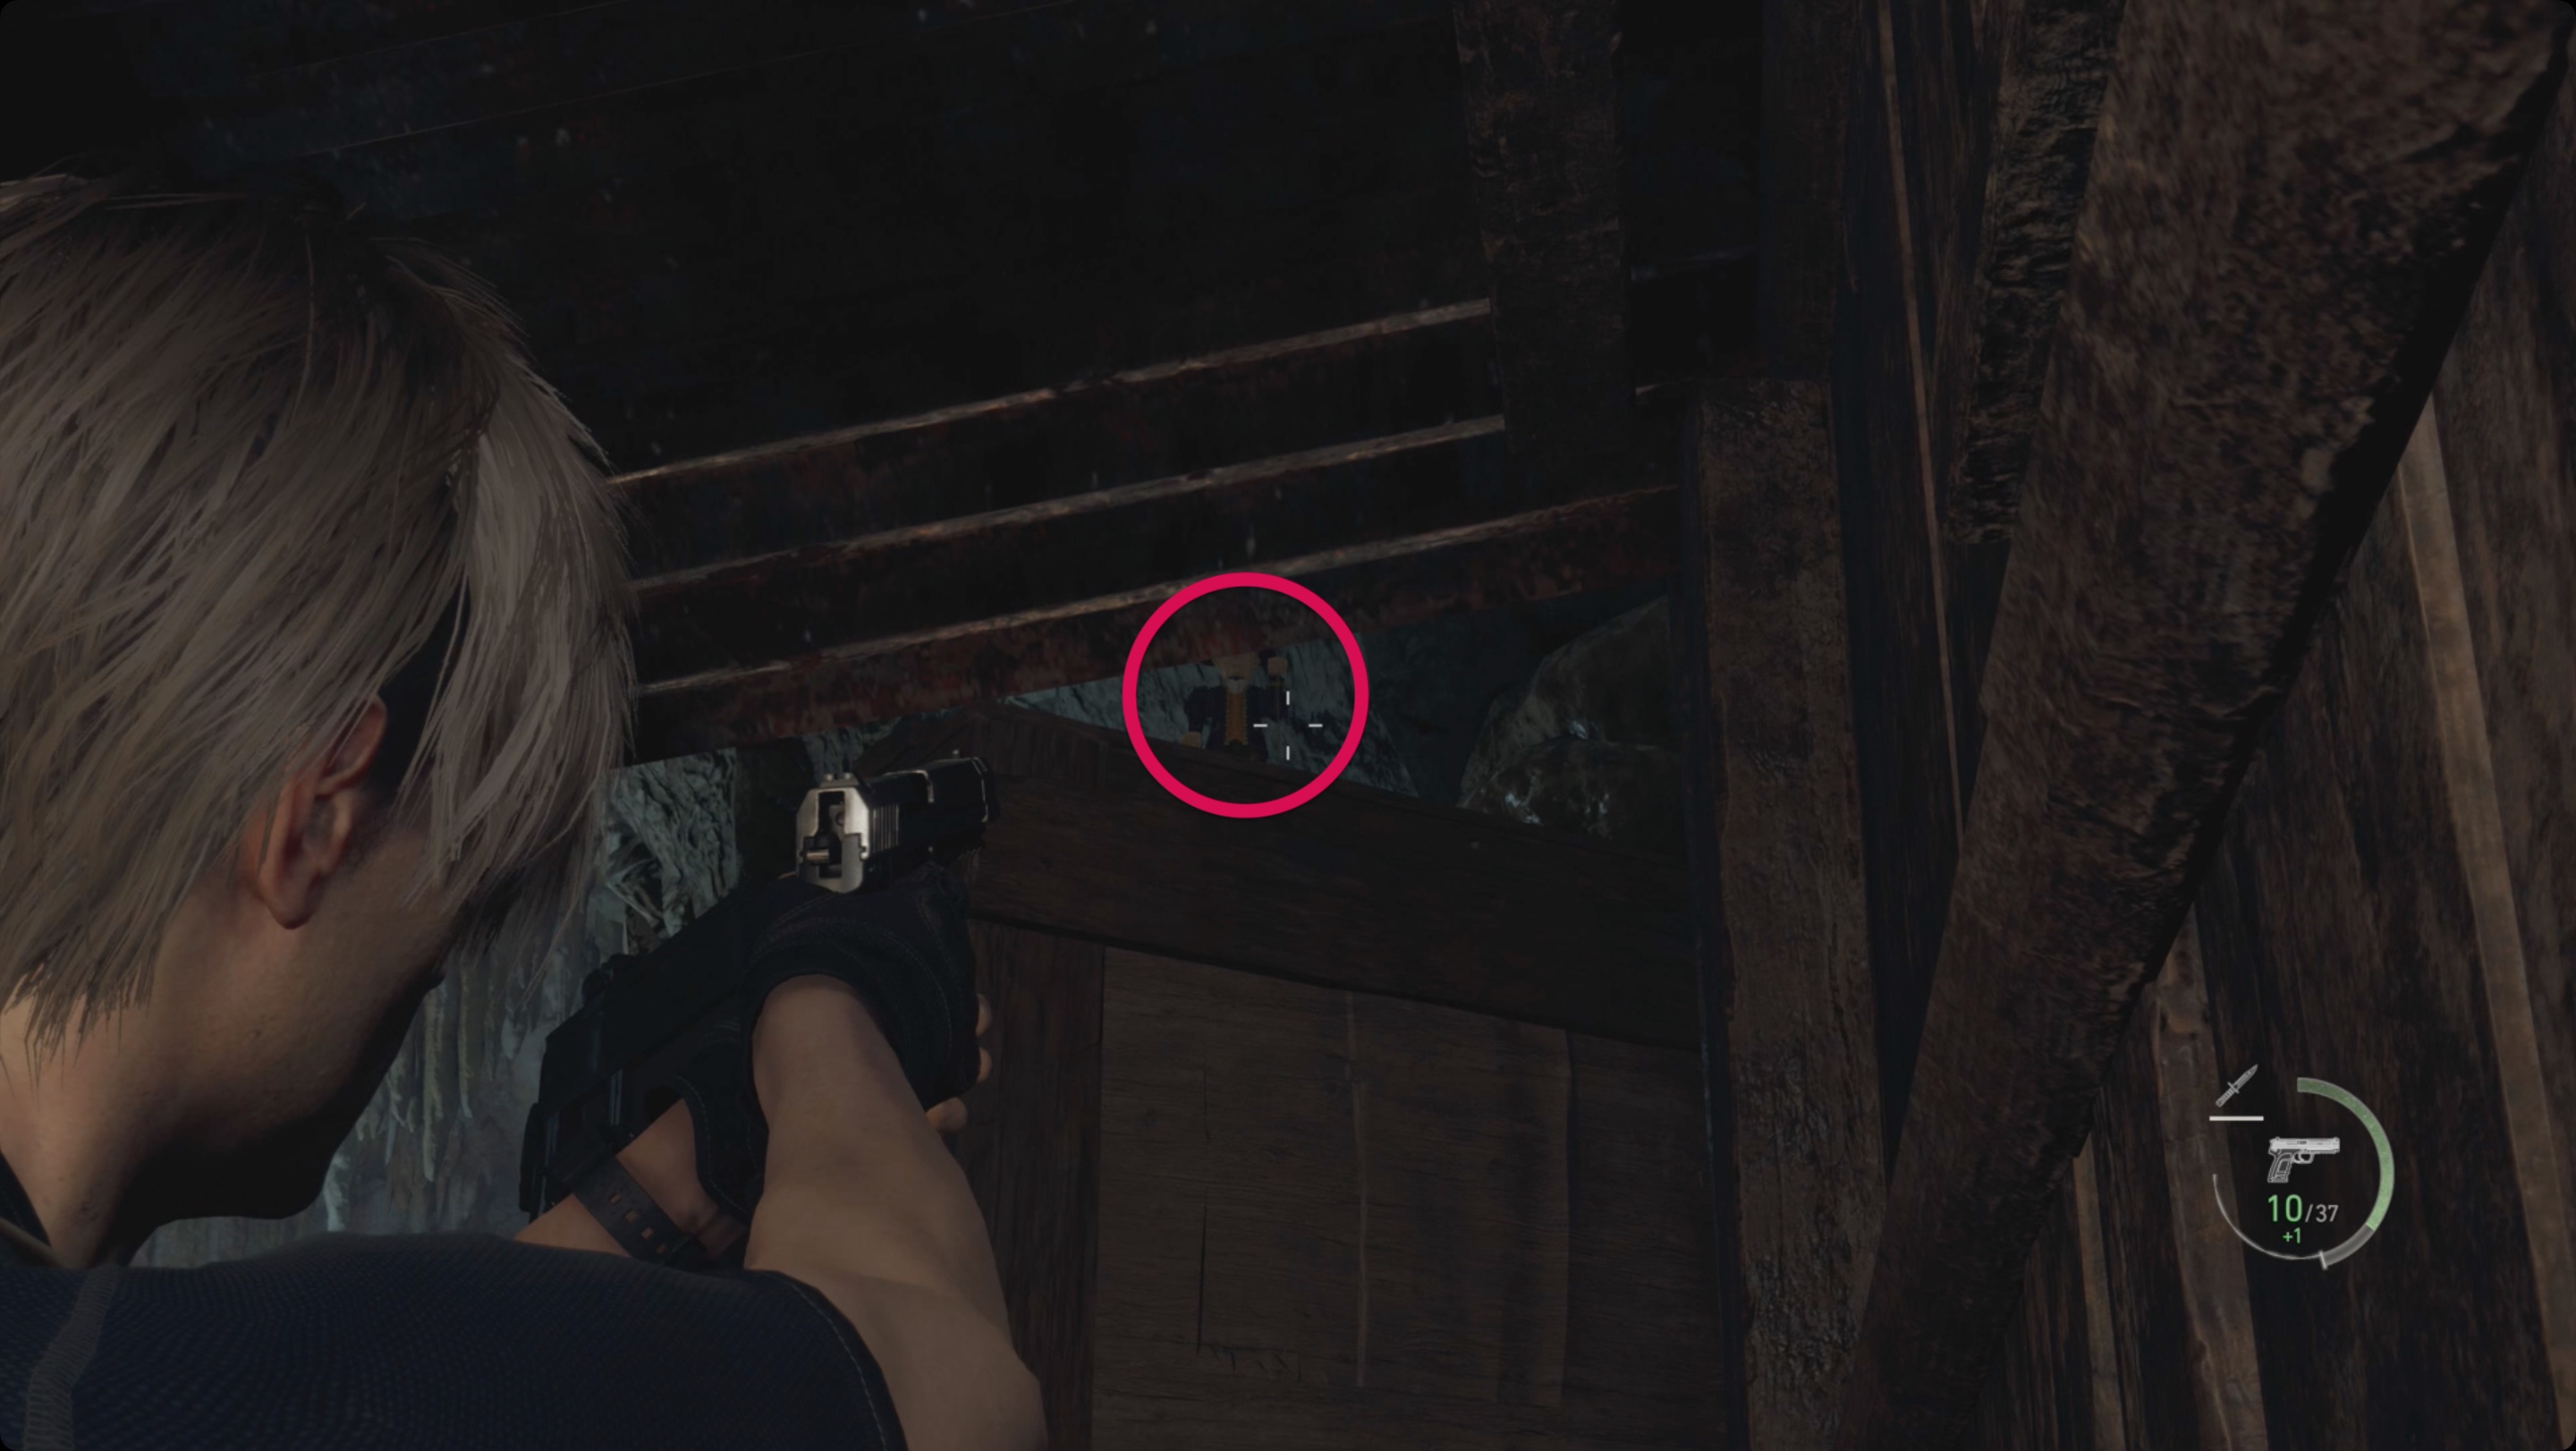
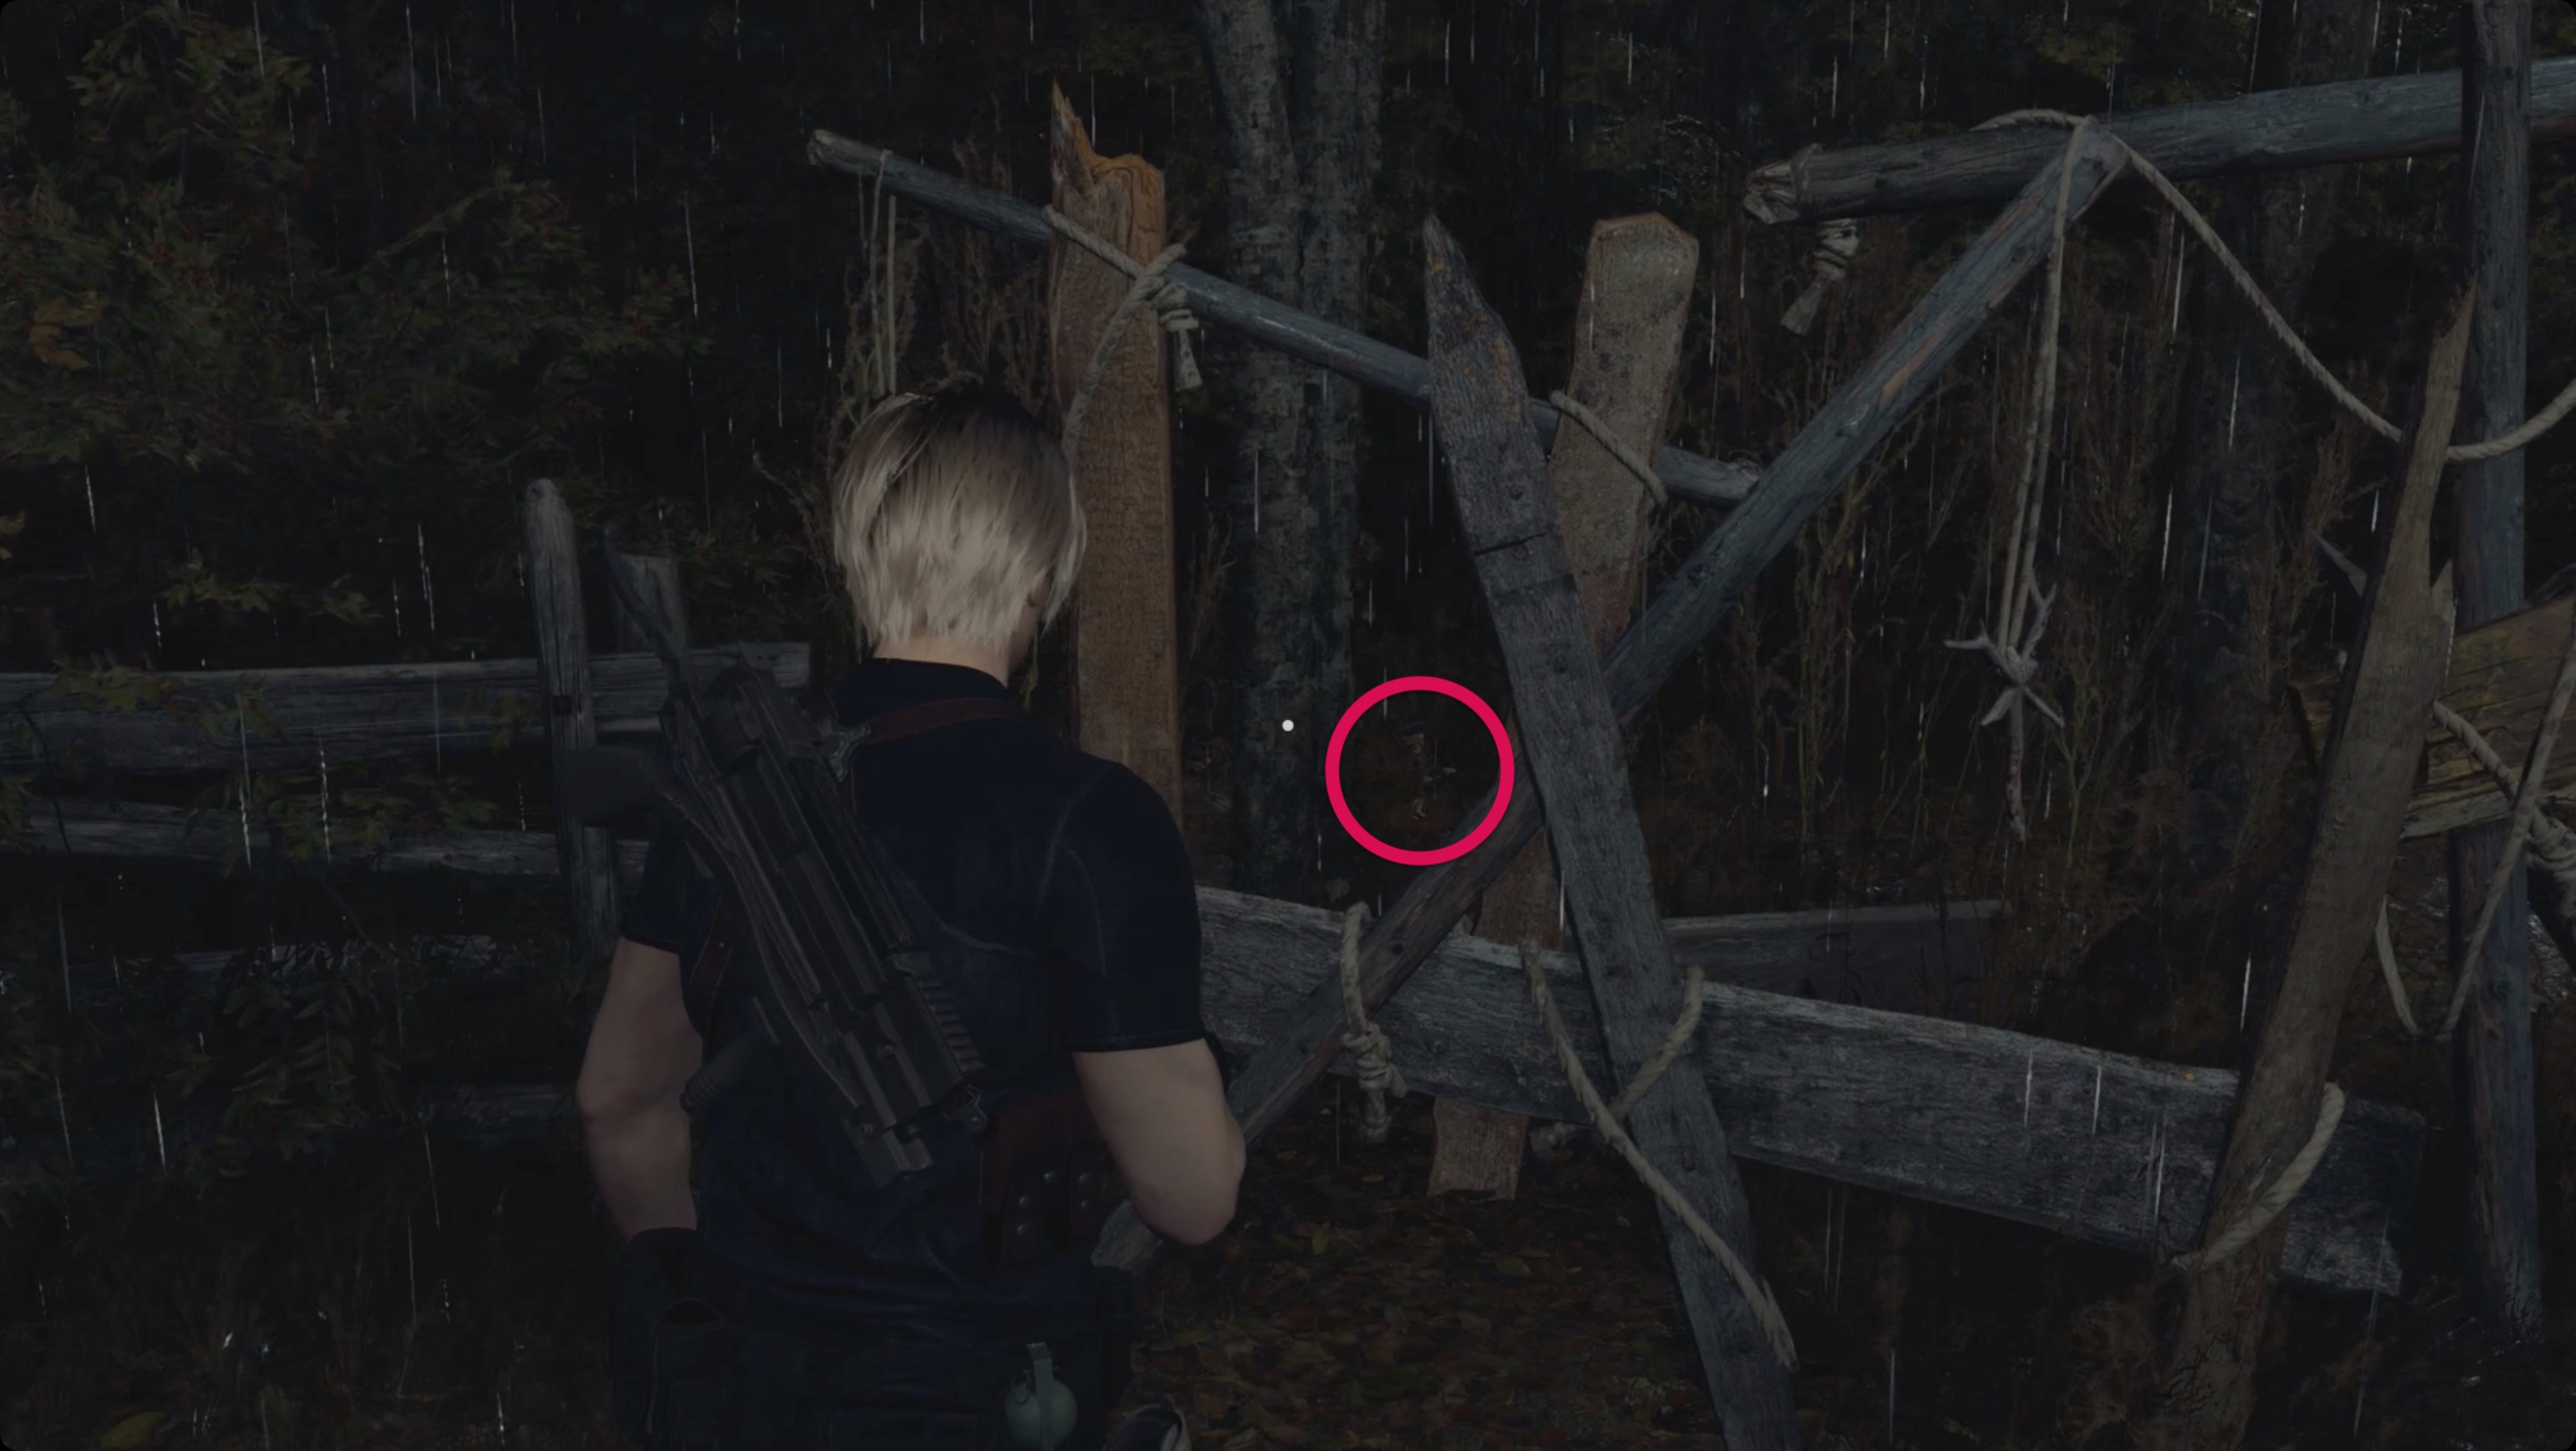
Deal with the enemies around the house, go to the other side and climb inside through the window. Go to the second room on the right and look at the rafters under the ceiling to find the first clockwork keeper. Each chapter has one such caretaker. As in the case of silver cages, it is quite easy to identify them – by a characteristic sound close by (metal clanging). Destroying the first clockwork keeper will reward you with the Act of Defiance achievement. Move towards the house where your target is and kill new enemies. Break the lock to get inside and go through the building. Disarm the stretch in the corridor. Move the bookshelf and go to the next room. Deal with the enemy and use the hatch. Interact with the item at the end of the corridor to complete the chapter.
Chapter 2
After the cut-scene, you will find yourself in a new region, having lost all your equipment. Exit the room and take the kitchen knife from the corpse, which will come in handy in order to eliminate several enemies in the abandoned factory. Go to the next room, where the first enemy is located, and read the tutorial. You will learn about stealth killings. Be sure to crouch and get close to the enemy from behind to finish with a single button press (hit). Move to the next room to learn about the parry. Using the knowledge gained, destroy the mob. In the same room, open the stoves on the left side. The sapphire is hidden in the second furnace.
Continue and stealthily kill another enemy by sneaking up on him from behind. When you get to the last room, interact with the lever. You will see the door on the other side of the cell with Leon’s equipment go up. Quickly run there and take these items before the door closes.
Trader’s Request: Pest Control
Exit the room to see a merchant who will open a double door. This will happen only after you return Leon’s equipment. Before talking with him, you can pick up the blue page with the next assignment hanging on the wall on the right. The merchant wants you to kill three rats that are in the abandoned factory area. You could have slaughtered them before, although it’s much easier to shoot these rats with a pistol. The first one is in a ruined corridor with two windows, where you also met the last enemies. Two more rats are running around the large room with the opponent you were trained in parrying against.
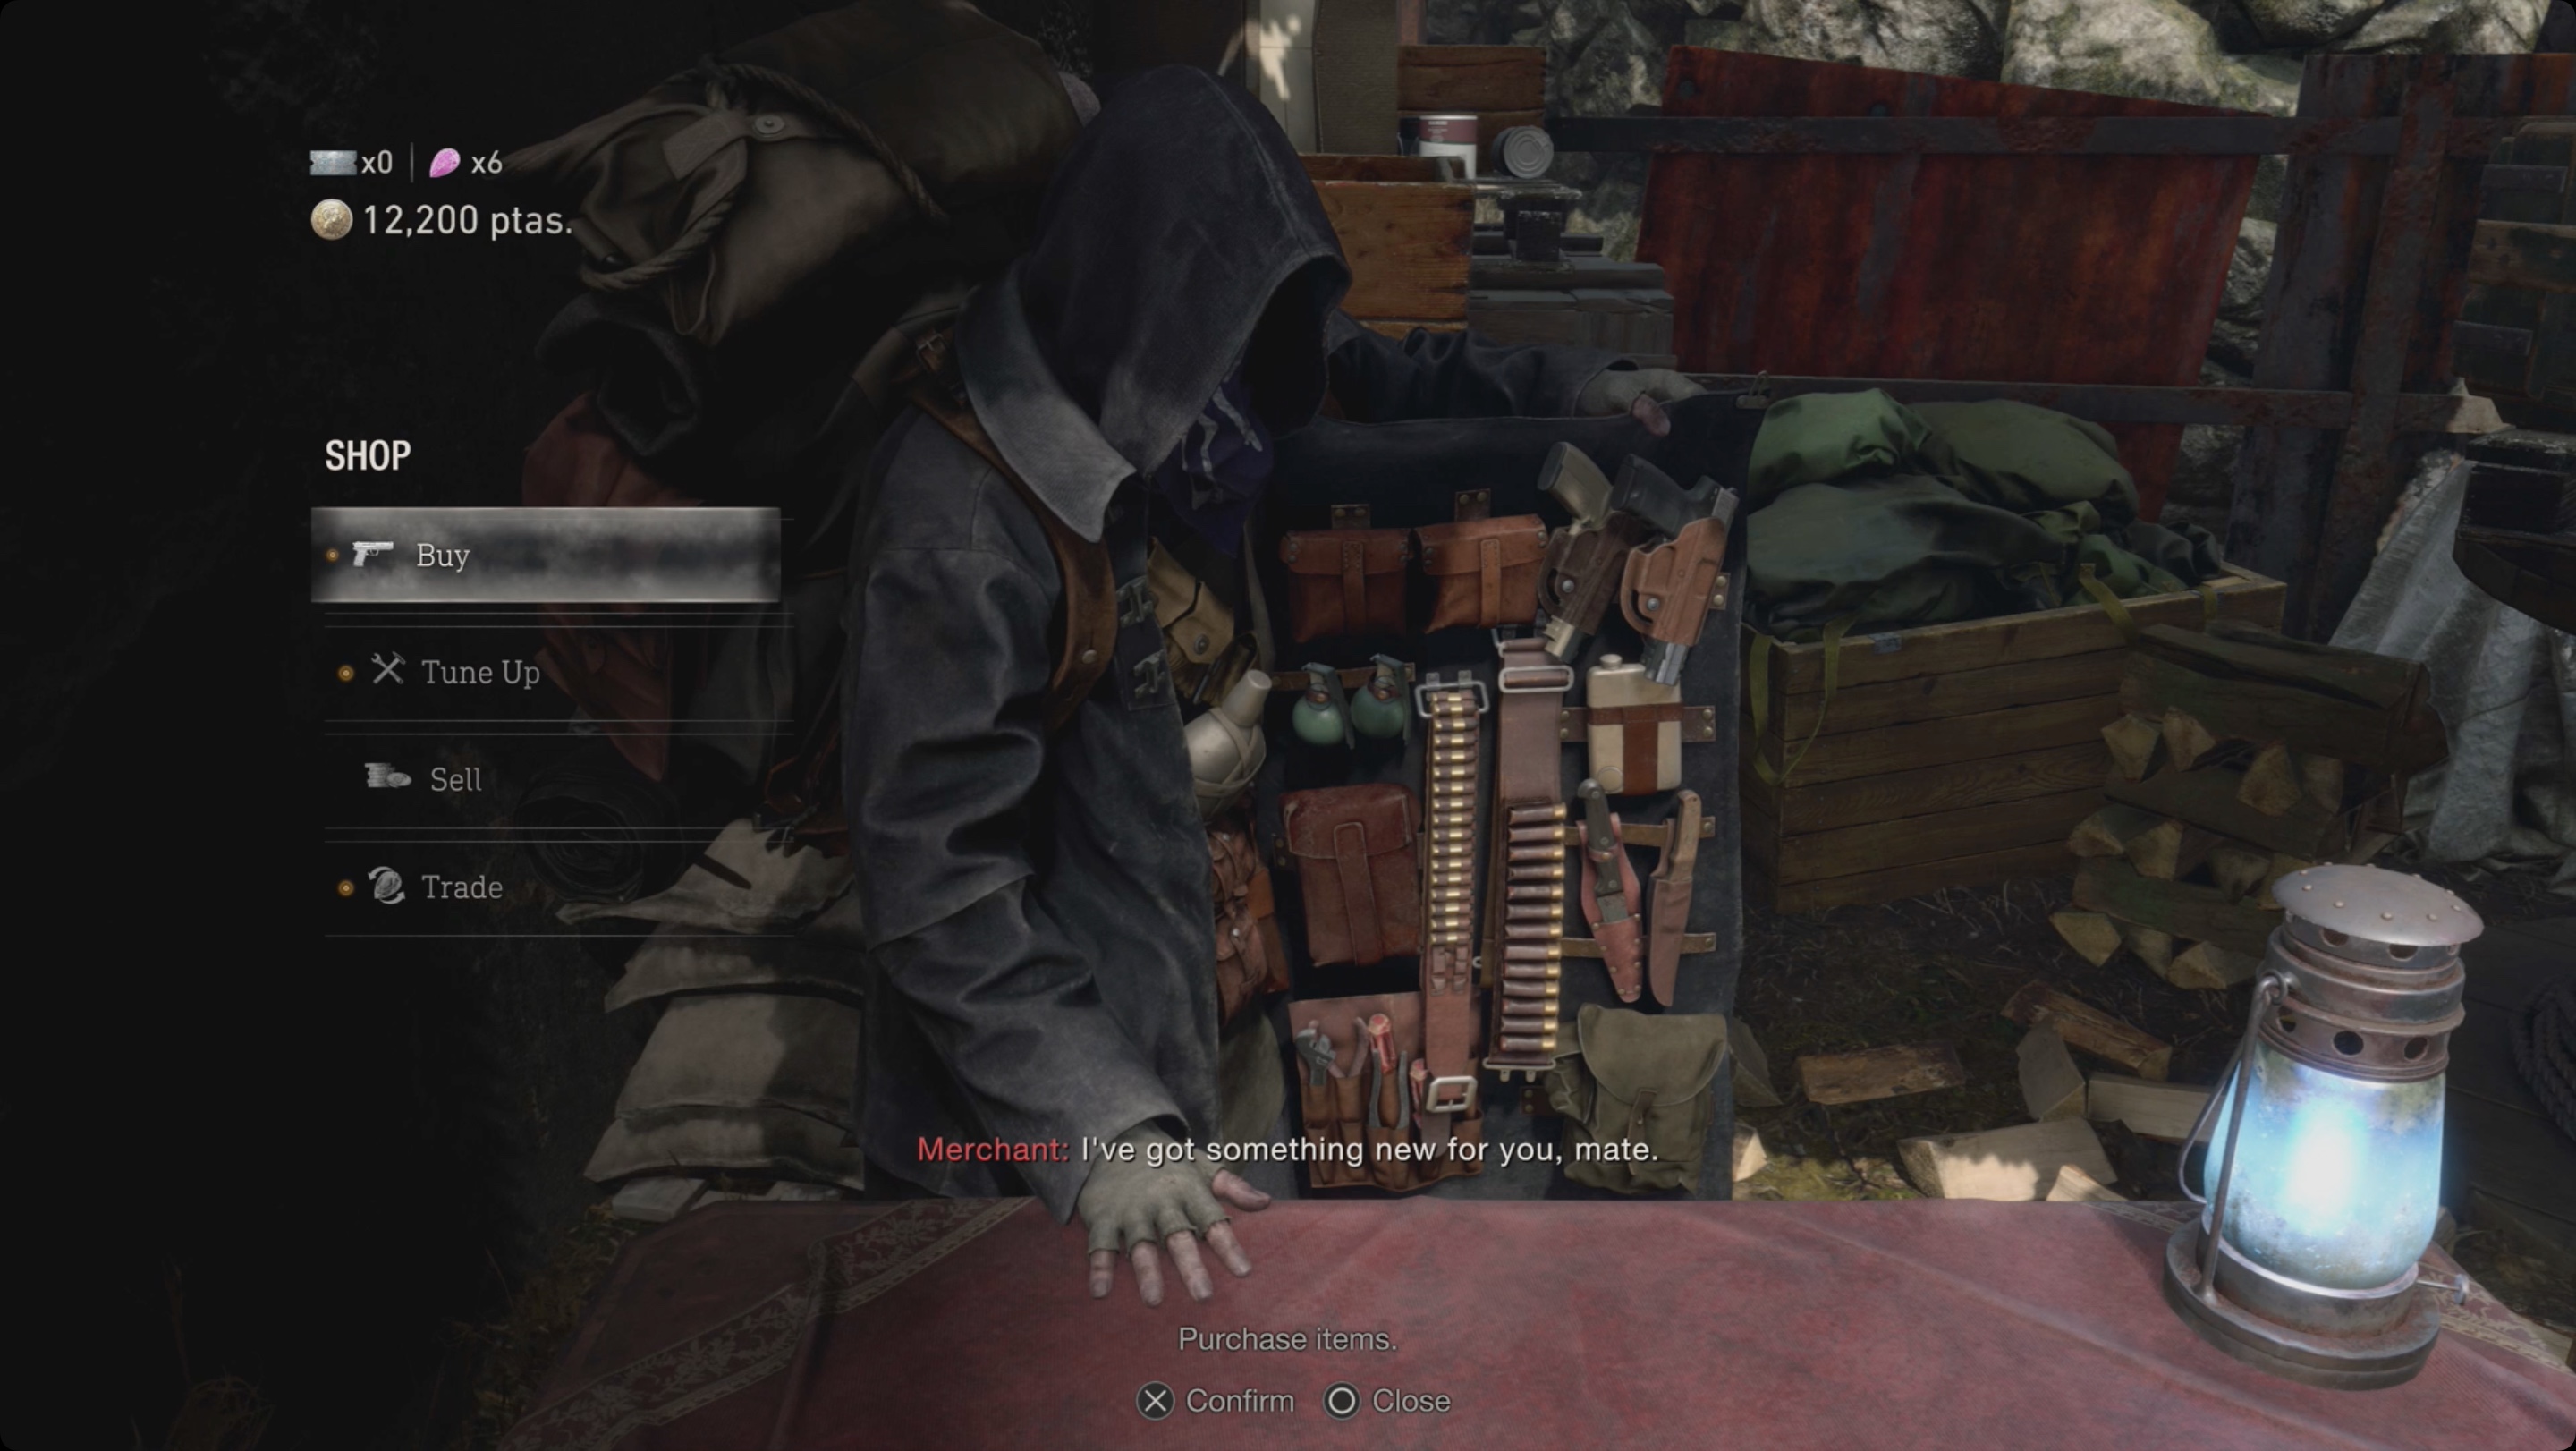
Return to the merchant to turn in both orders. Completing any of them will unlock the “Well Done Outsider!” achievement. Go to the bonus section of his merchandise and optionally purchase a “Treasure Map: Village” worth 1 spinel. After acquiring it, markers will appear on your regular map indicating the location of all the treasures in the Village region, making it easier to find them. You can sell the treasure you found earlier to the merchant. Remember to insert gems into treasures with empty slots. You can sell key items marked with a “tick”. This indicates that they are no longer needed. For example, instead of throwing it away or moving it to storage, sell the key to the hunting lodge to the merchant. Use this opportunity to upgrade your weapons and save.
Follow the southeast of the area to get to the valley. You need to find another key item that will allow you to pass through the large gate and return to the village. There are several enemies in this area, and as you destroy them, more will appear. You can quickly run through the area or kill each enemy. The first goal is to get to the large building on the right side of the location, since the story item is hidden in it. There you will also find a small key. Go around the building from the southeast to find an open window through which you can get inside. The rest of the doors are locked.
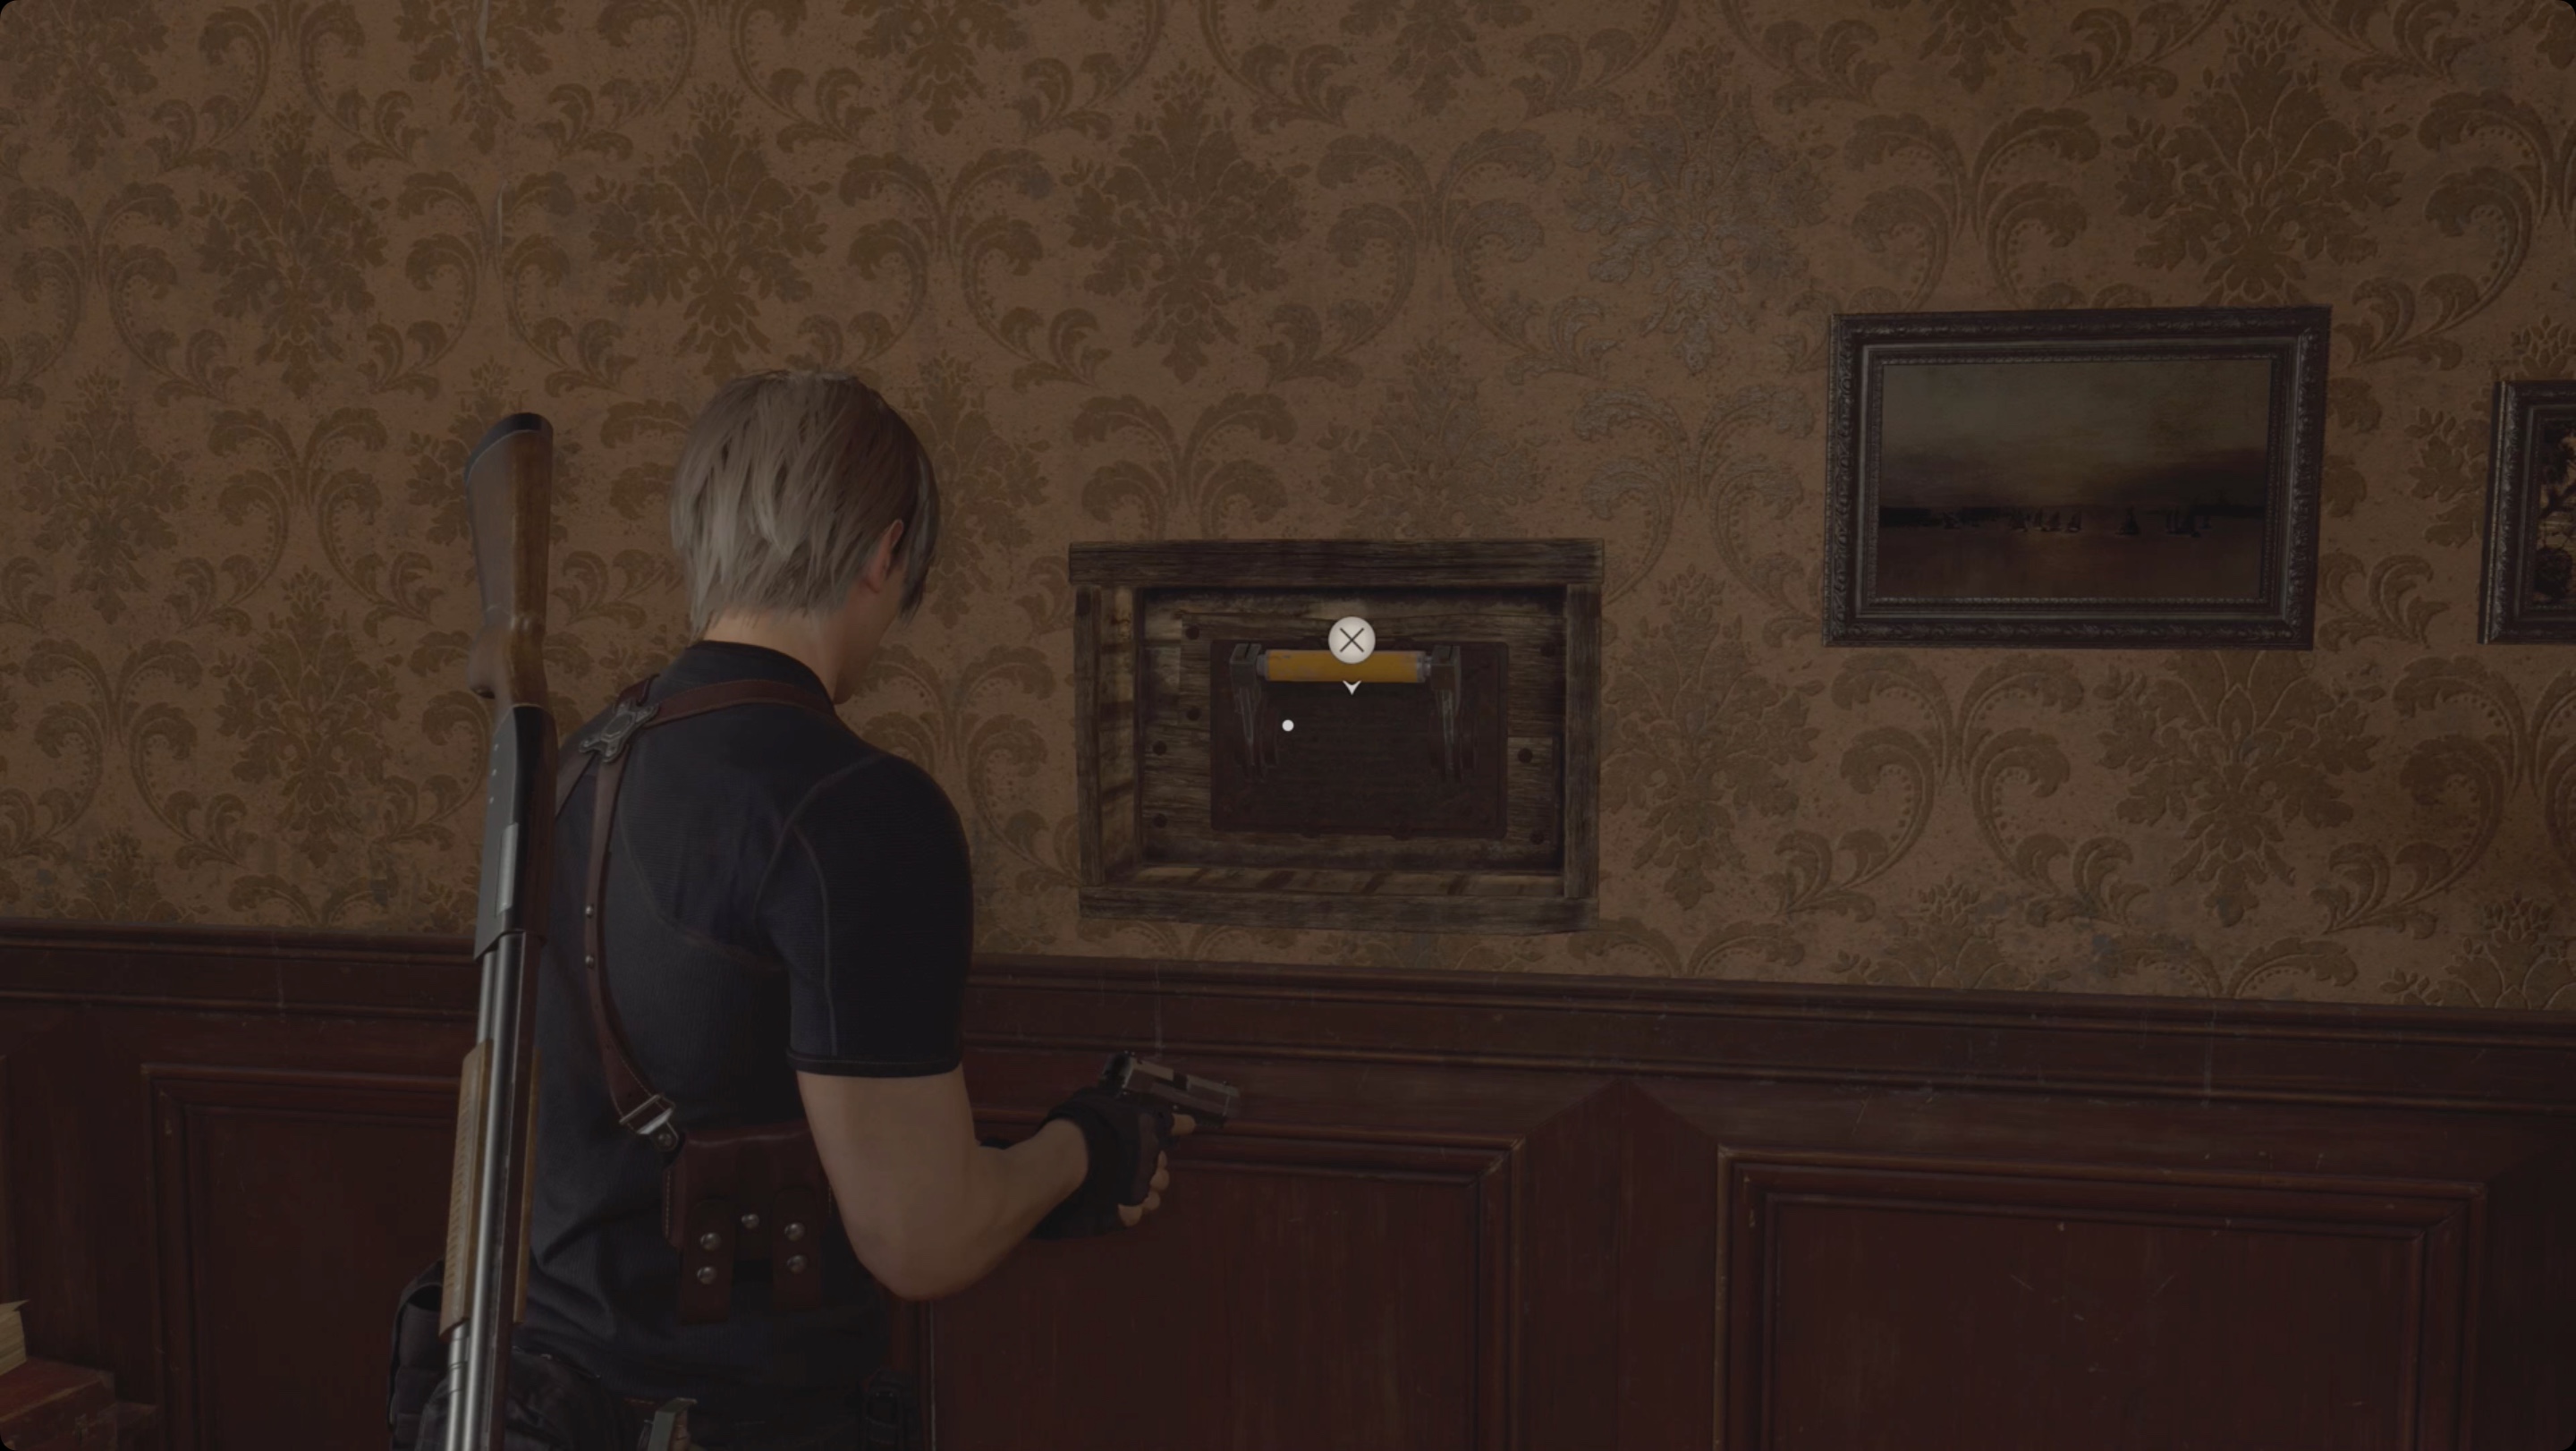
When you’re ready to continue, first go through the door on the opposite side of the story item room. You will find yourself in a small room, where on the left hand is a case with a small key. Such keys allow you to open boxes in drawers (for example, the drawer that you could find in the room with Leon’s selected equipment). Returning to the previous room, climb the stairs to get to the roof and collect the hexagonal emblem.
To leave the area, go to the northeast side, climb up and look for a chest with a ruby under a small structure. There is a handle on the left side of the chest. Interact with her to open a gate near where you entered from and return to the merchant. So do it. Before continuing, return to the room where Leon’s equipment was taken and use the small key on the cabinet. After unlocking the drawer, you will be able to pick up an elegant mask.
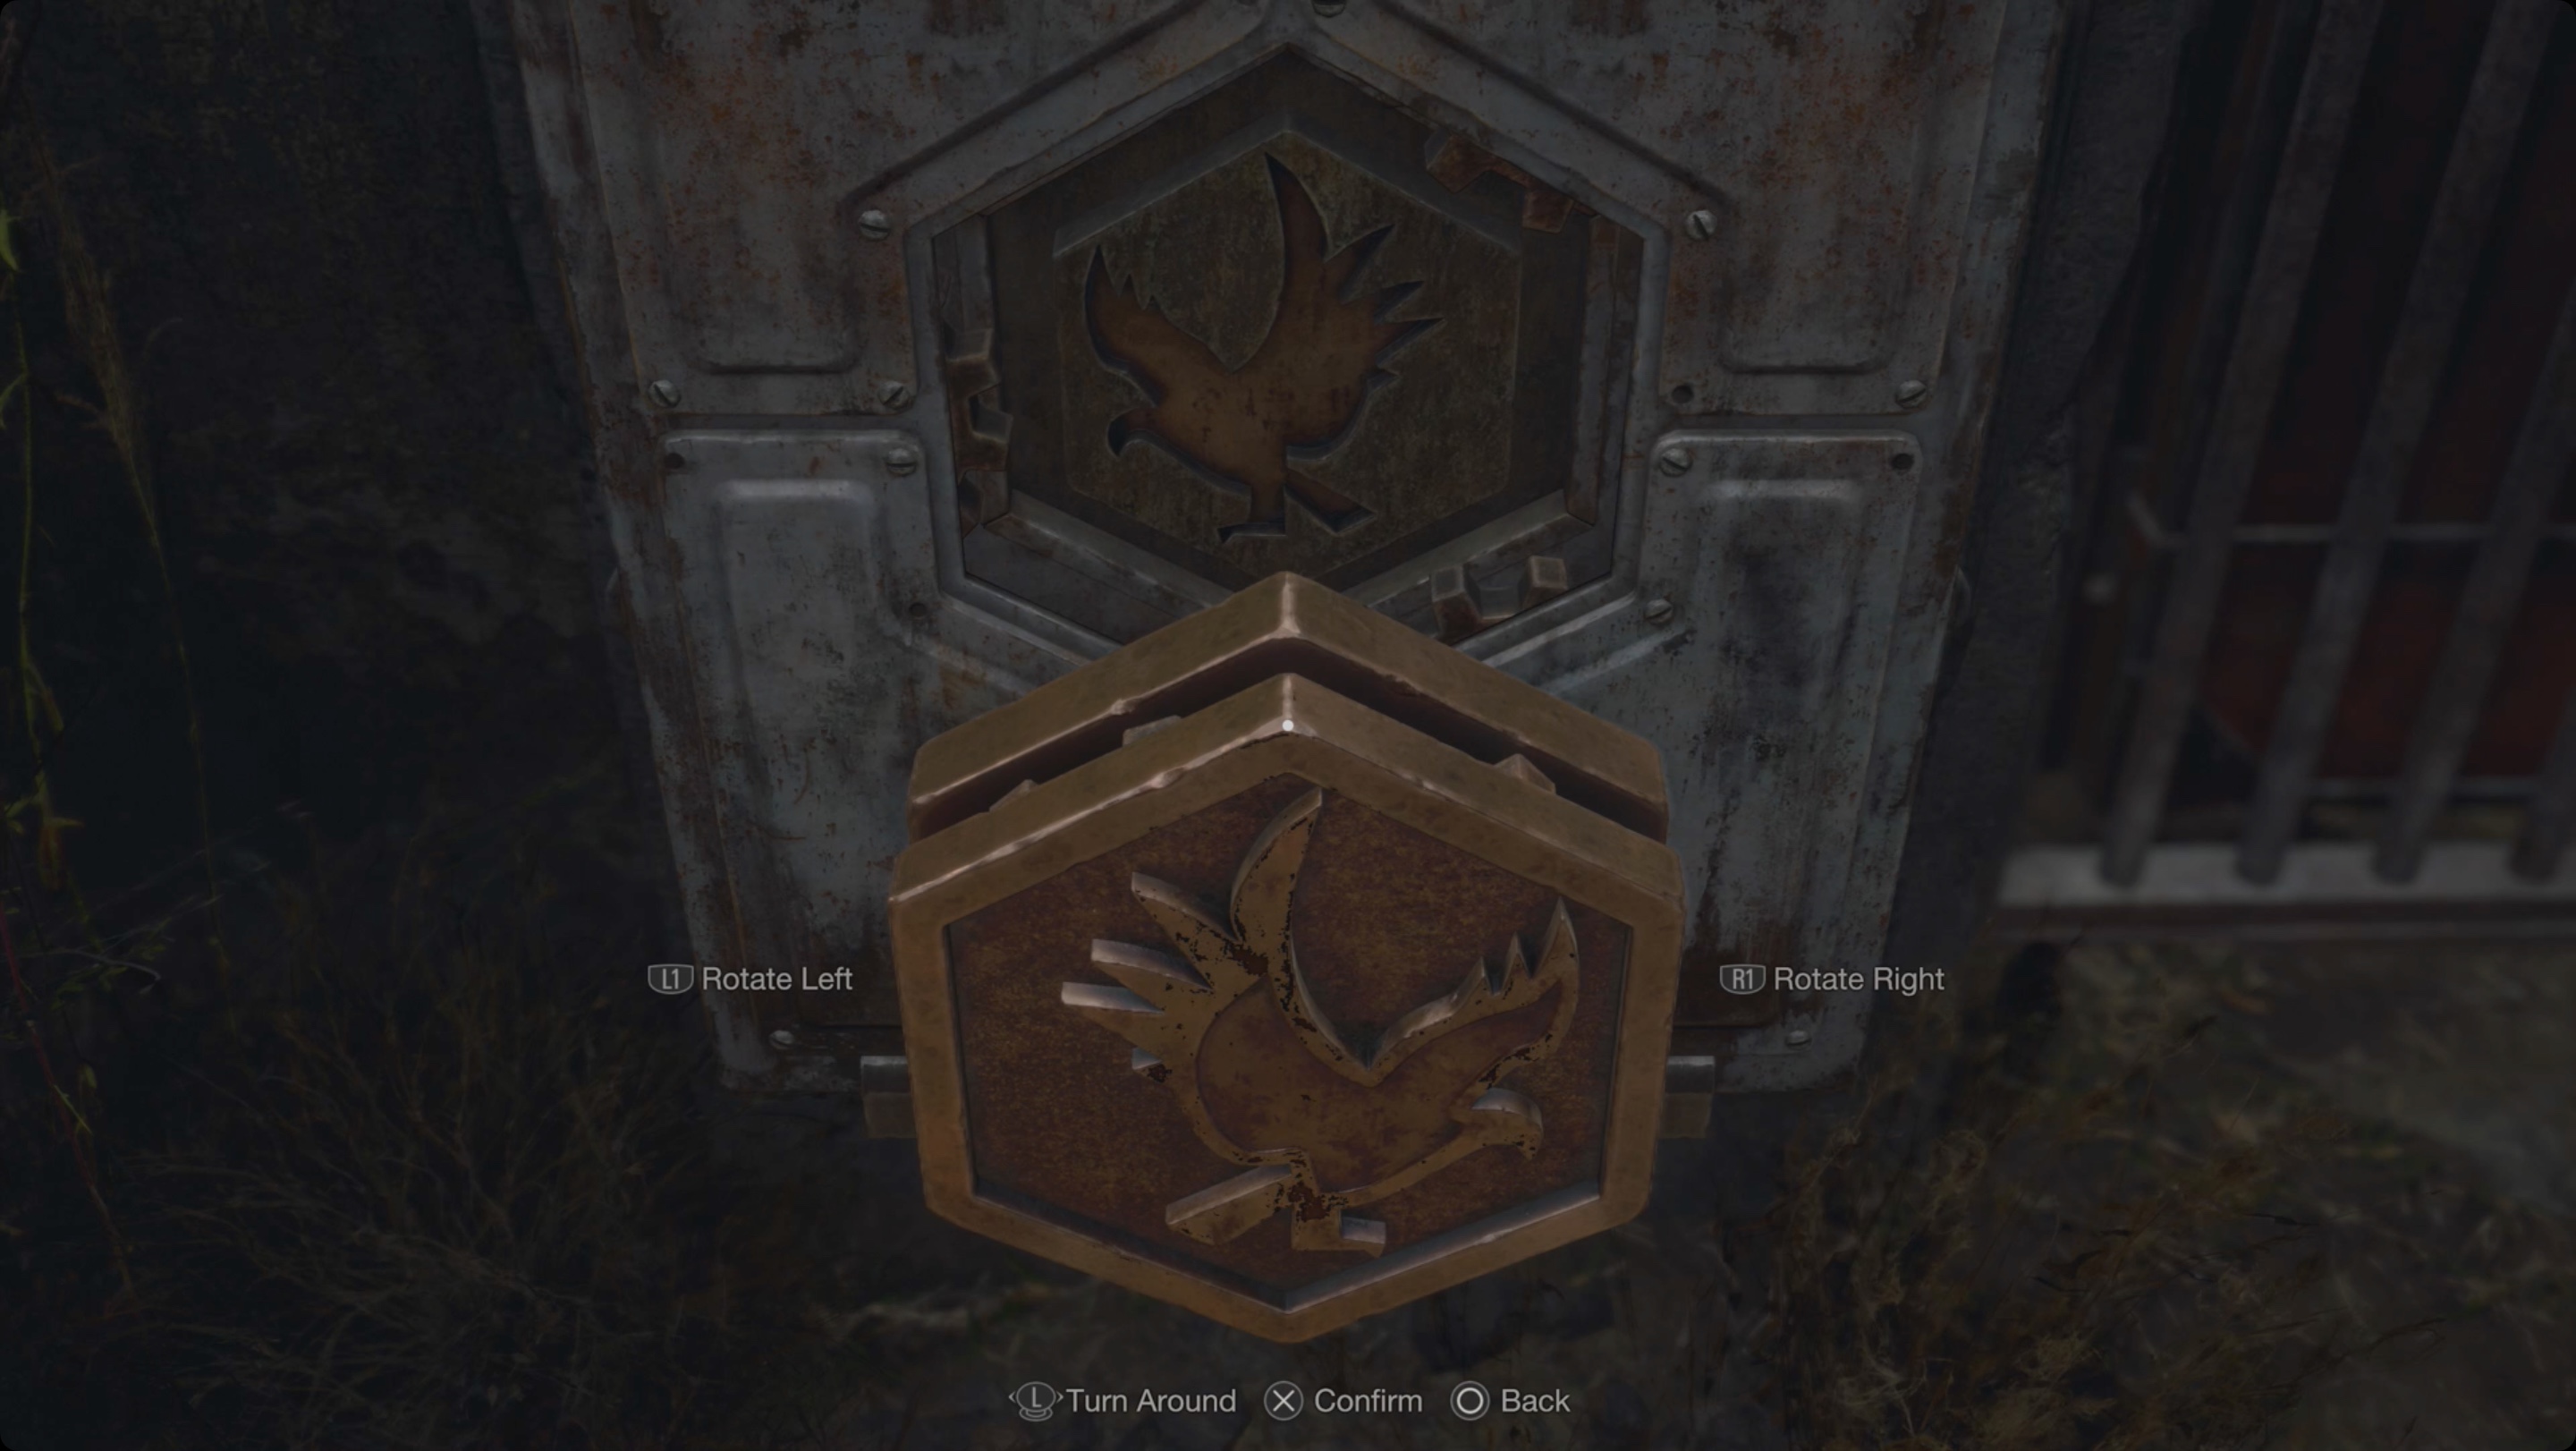
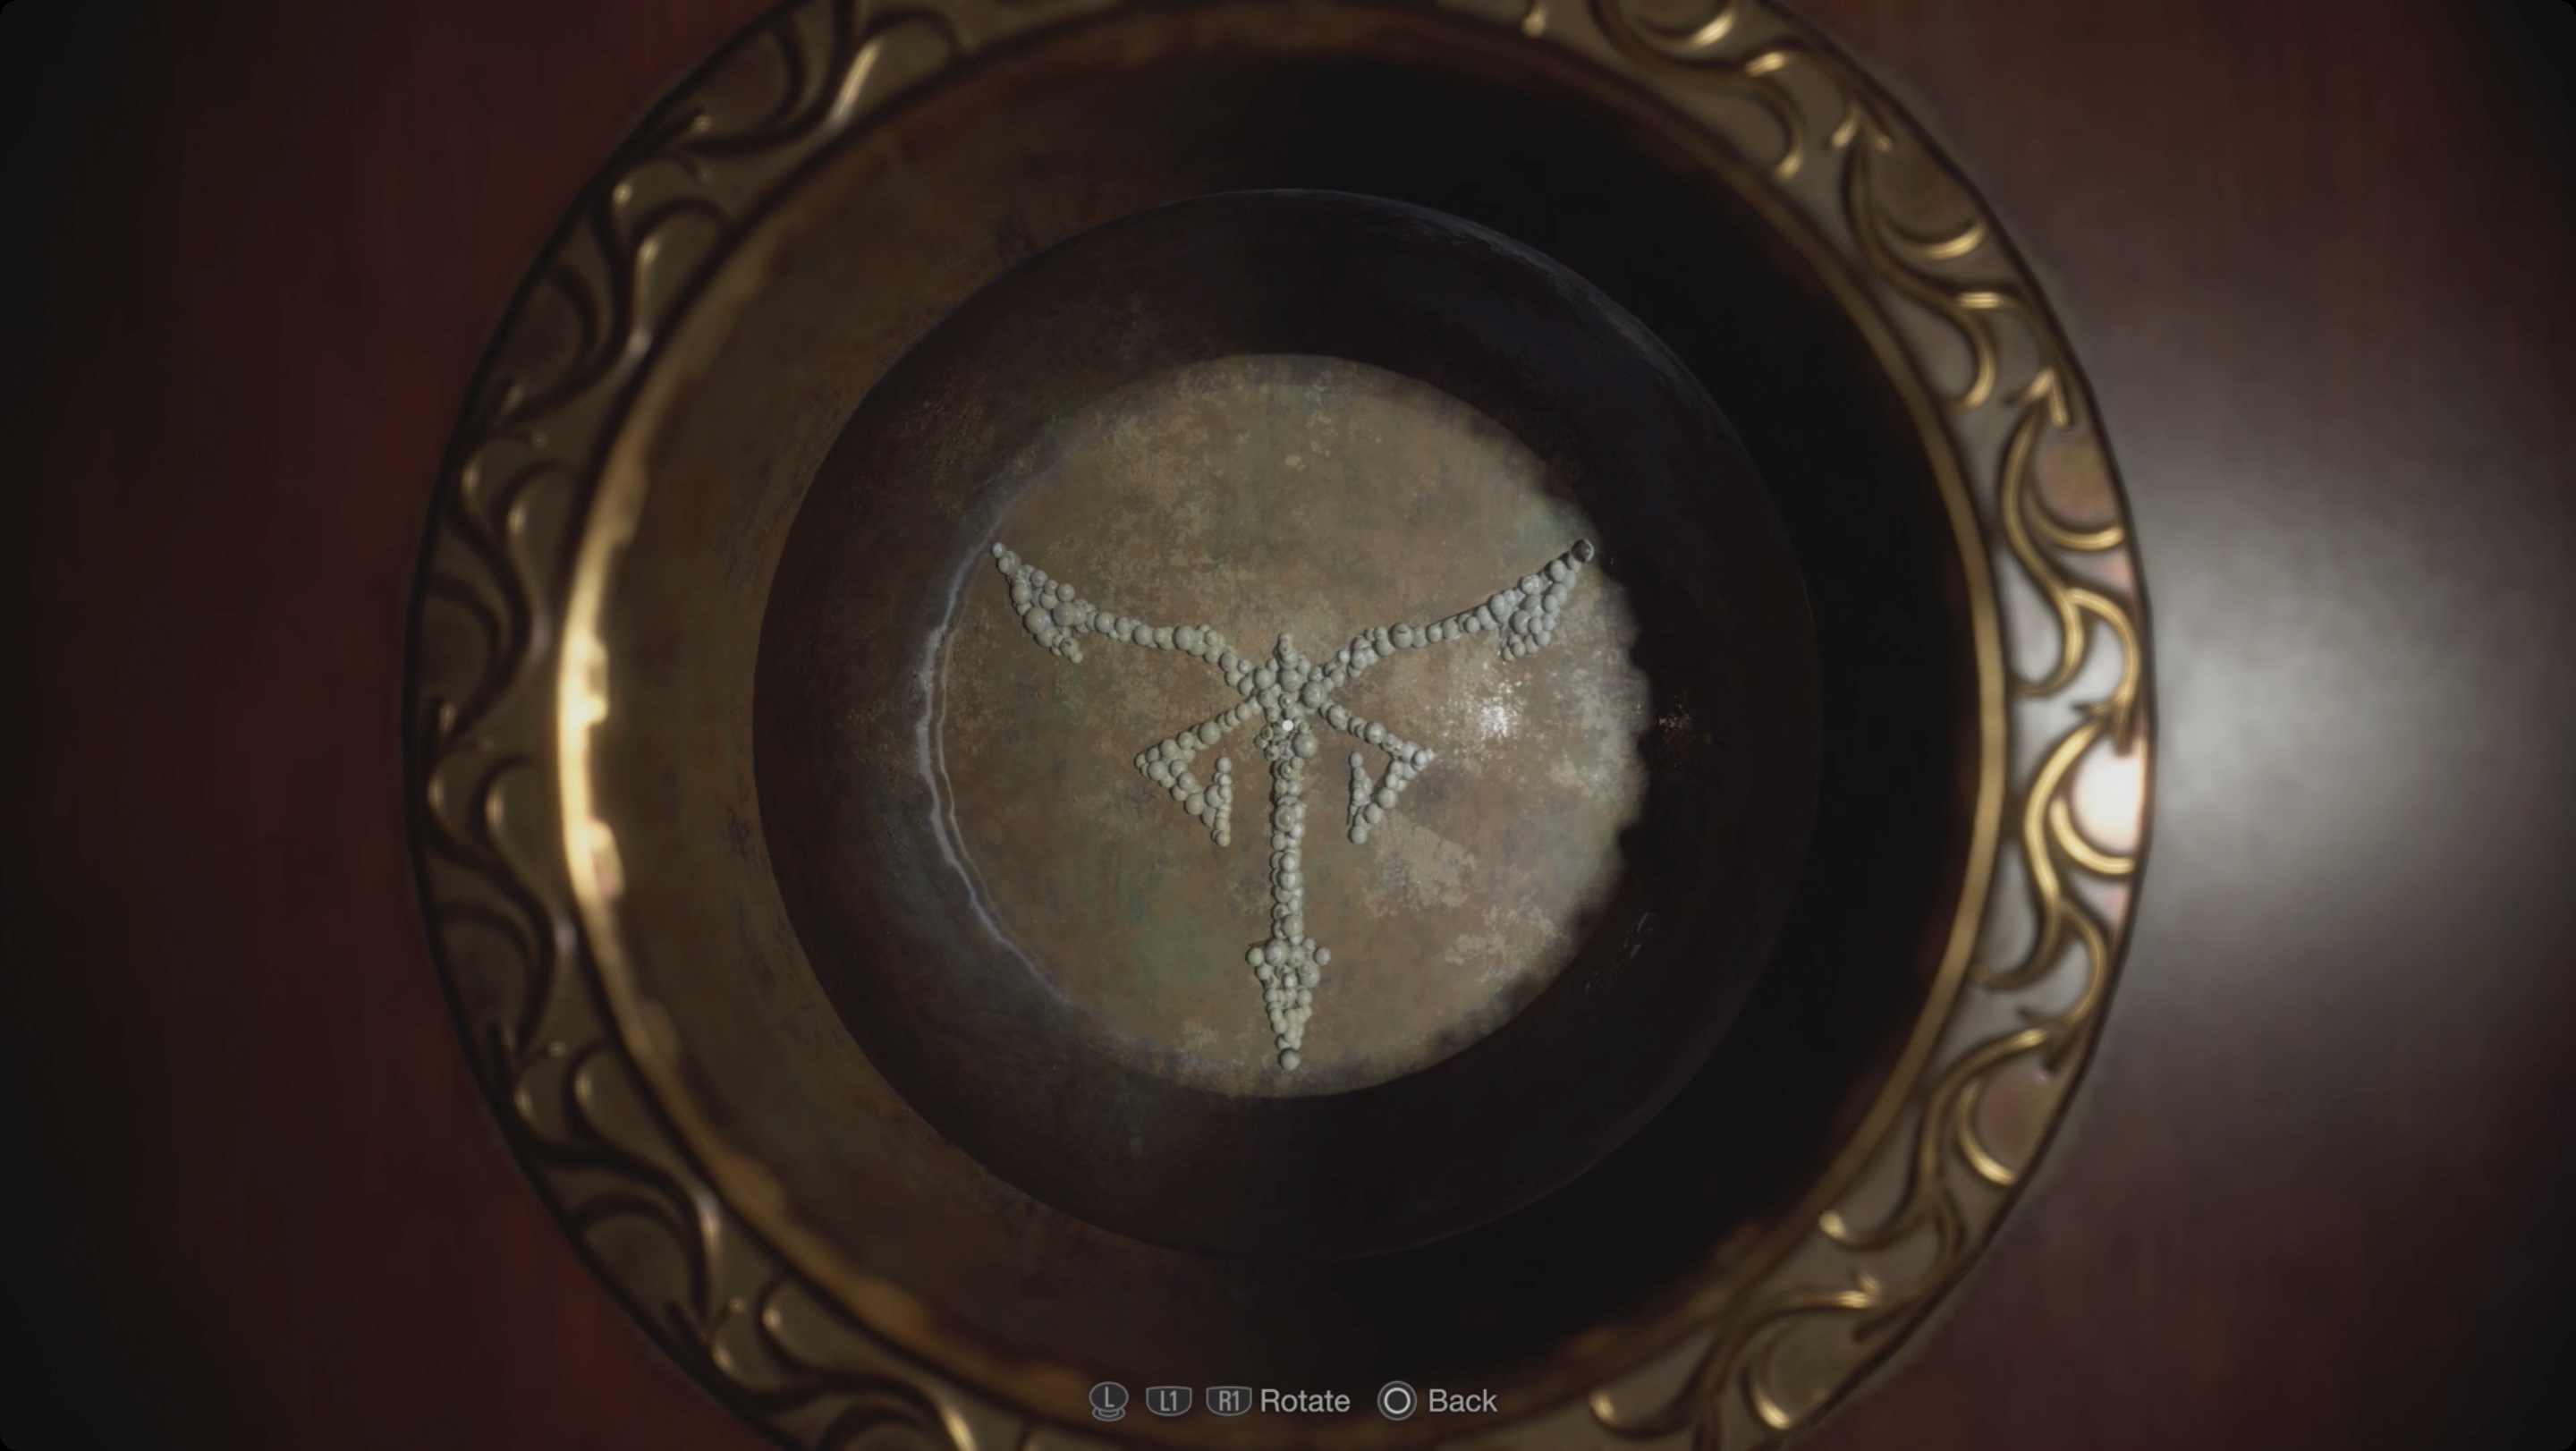
Interact with the empty slot by the door opposite the merchant and place the hexagon emblem. To place it correctly, you need to rotate it so that it becomes a mirror image of the image inside the cell. Having done this, rotate the emblem with the image inside and install. Interact with the mechanism to open the gate. The next area contains three enemies that need to be eliminated. Before continuing up the stairs, make your way through the small opening on the left side.
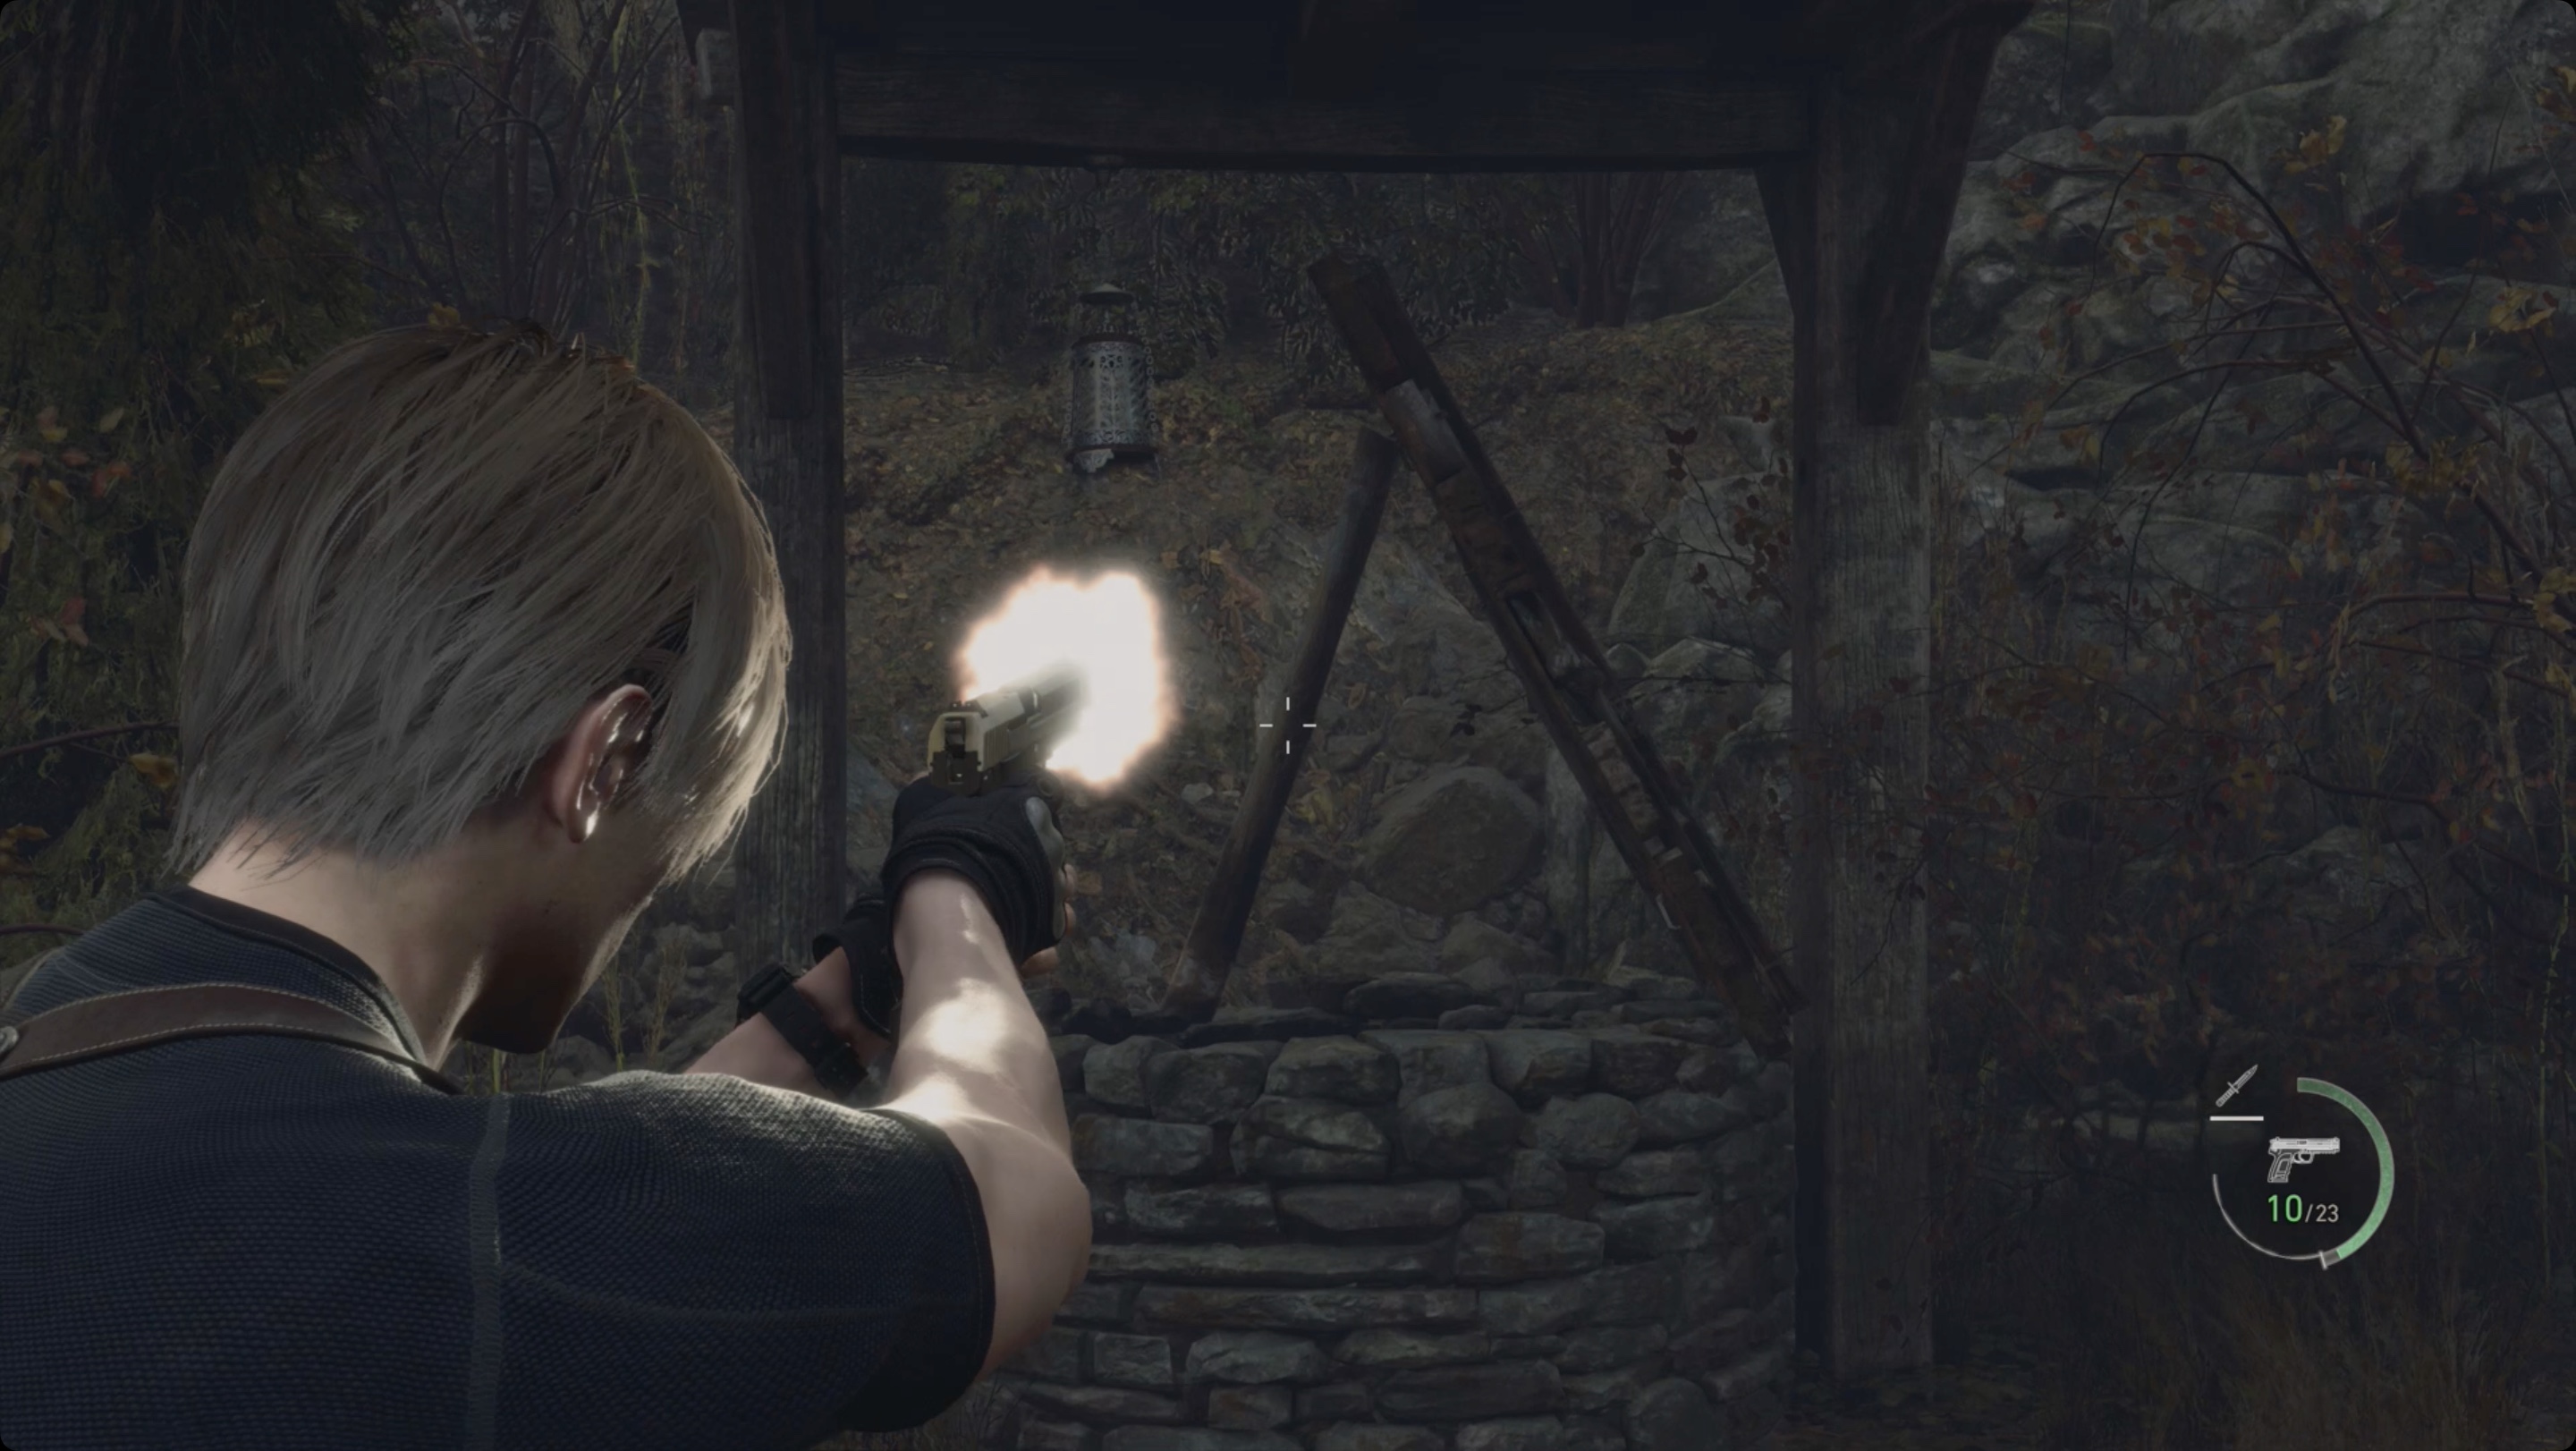
On the other side there will be a chest with a sapphire. Continue up the stairs to the next area, hugging the left wall to reach a small hut. In the right corner, look for the second clockwork keeper. Exit the hut and look at the tree to see another metal cage. Shoot it to get a sapphire. Finally, on the left side, there is another metal cage hanging over the well. As with the windmill from the first chapter, try to make sure that the cage does not fall into the well. Then the treasure will be worth more. Shoot the wooden board holding the lid over the well. Once it falls down, shoot the metal cage to get a pearl necklace.
A man with a chainsaw will go down the stairs ahead. You can use cunning to make the fight easier. There are several traps in this area that work not only on you, but also on other mobs. Lure a man into traps, as a result of which you can deliver a finishing blow. Or you can freely shoot the enemy without worrying about the oncoming damage. You can also walk around the stone structure. You can dodge and climb the stairs where the tripwire is located. Get under the wire and wait. A guy with a chainsaw will fall into this trap.
In the next area, go to the back of the house to get inside through the back door. Inside the mansion, before entering the main room, you can open the drawer on the right to get a ruby. Enter the main room, in the left corner from the front door, look for a small key. To progress through the story, follow the corridor at the back of the dining room, where there is a cabinet with a combination lock.
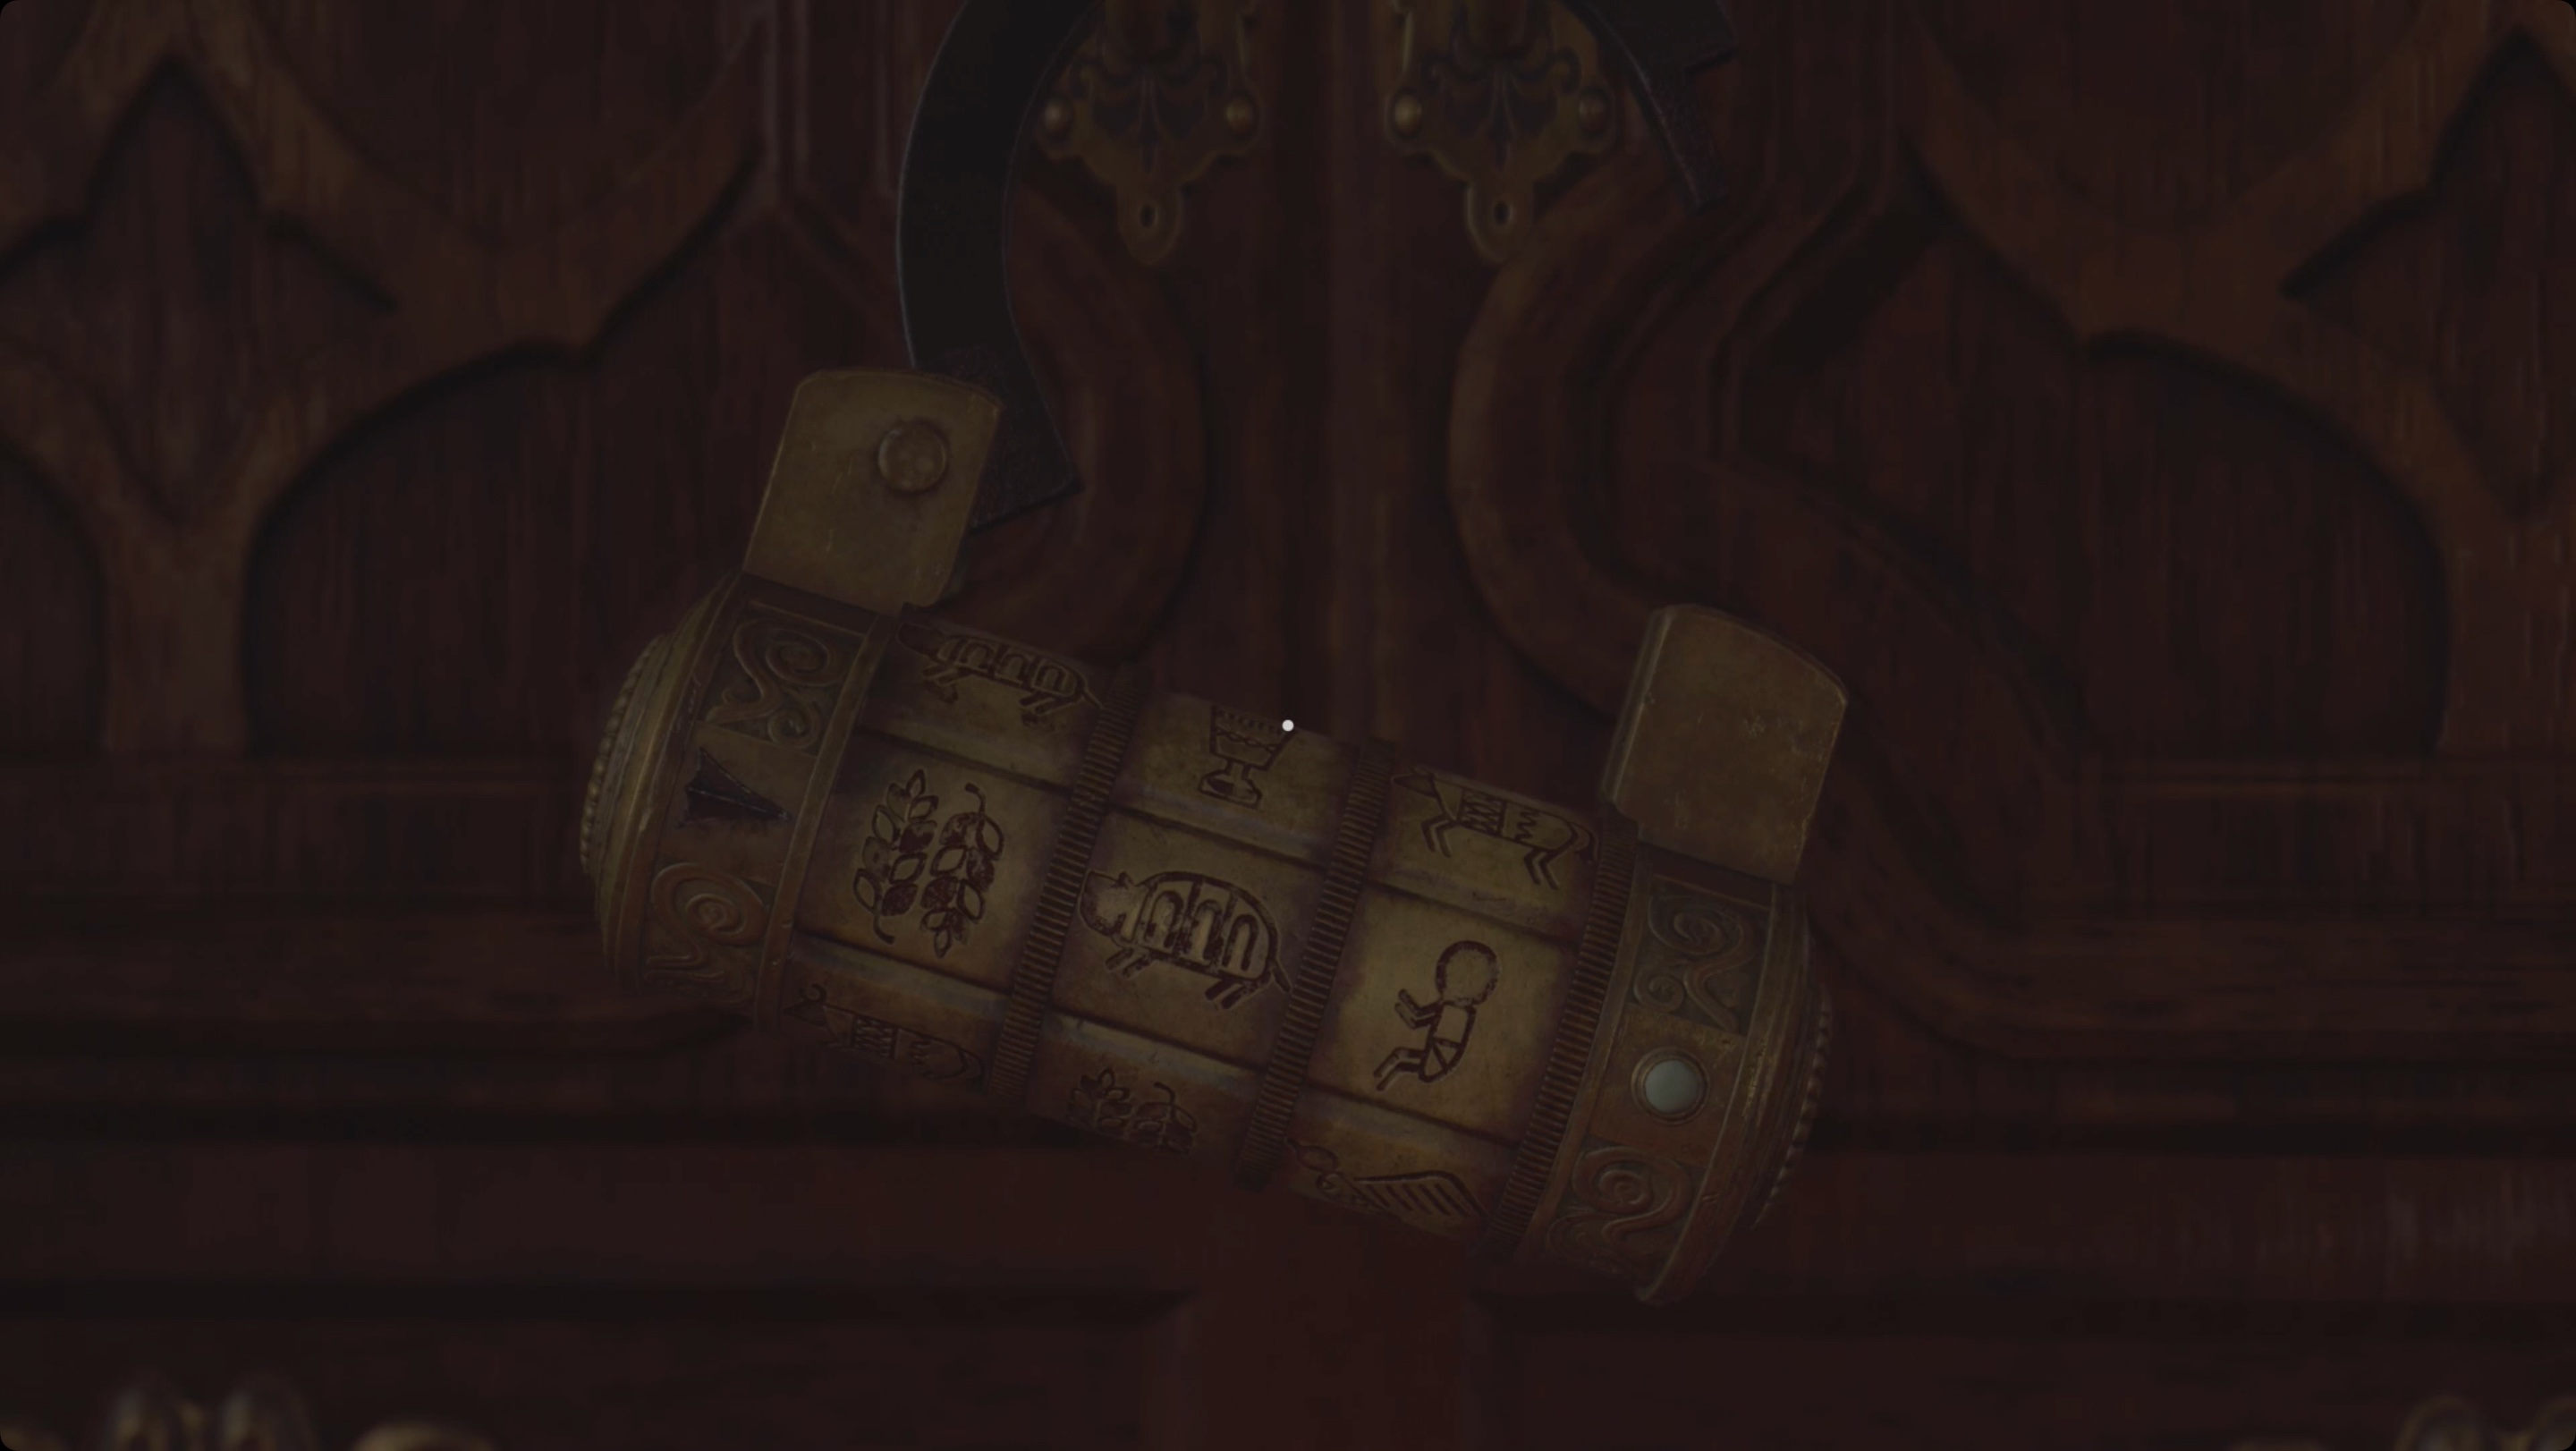
On the top floor there is a clue to solve this puzzle. From left to right, you must set the following images: crop, pig, child. Take the crystal ball out of the cupboard. Climb up and insert it into the door. Rotate the balloon so that the bubbles line up and match the pattern of the insect. Enter the room and interact with the table in the opposite corner. Get the key of the order from the box to complete the second chapter.
Chapter 3
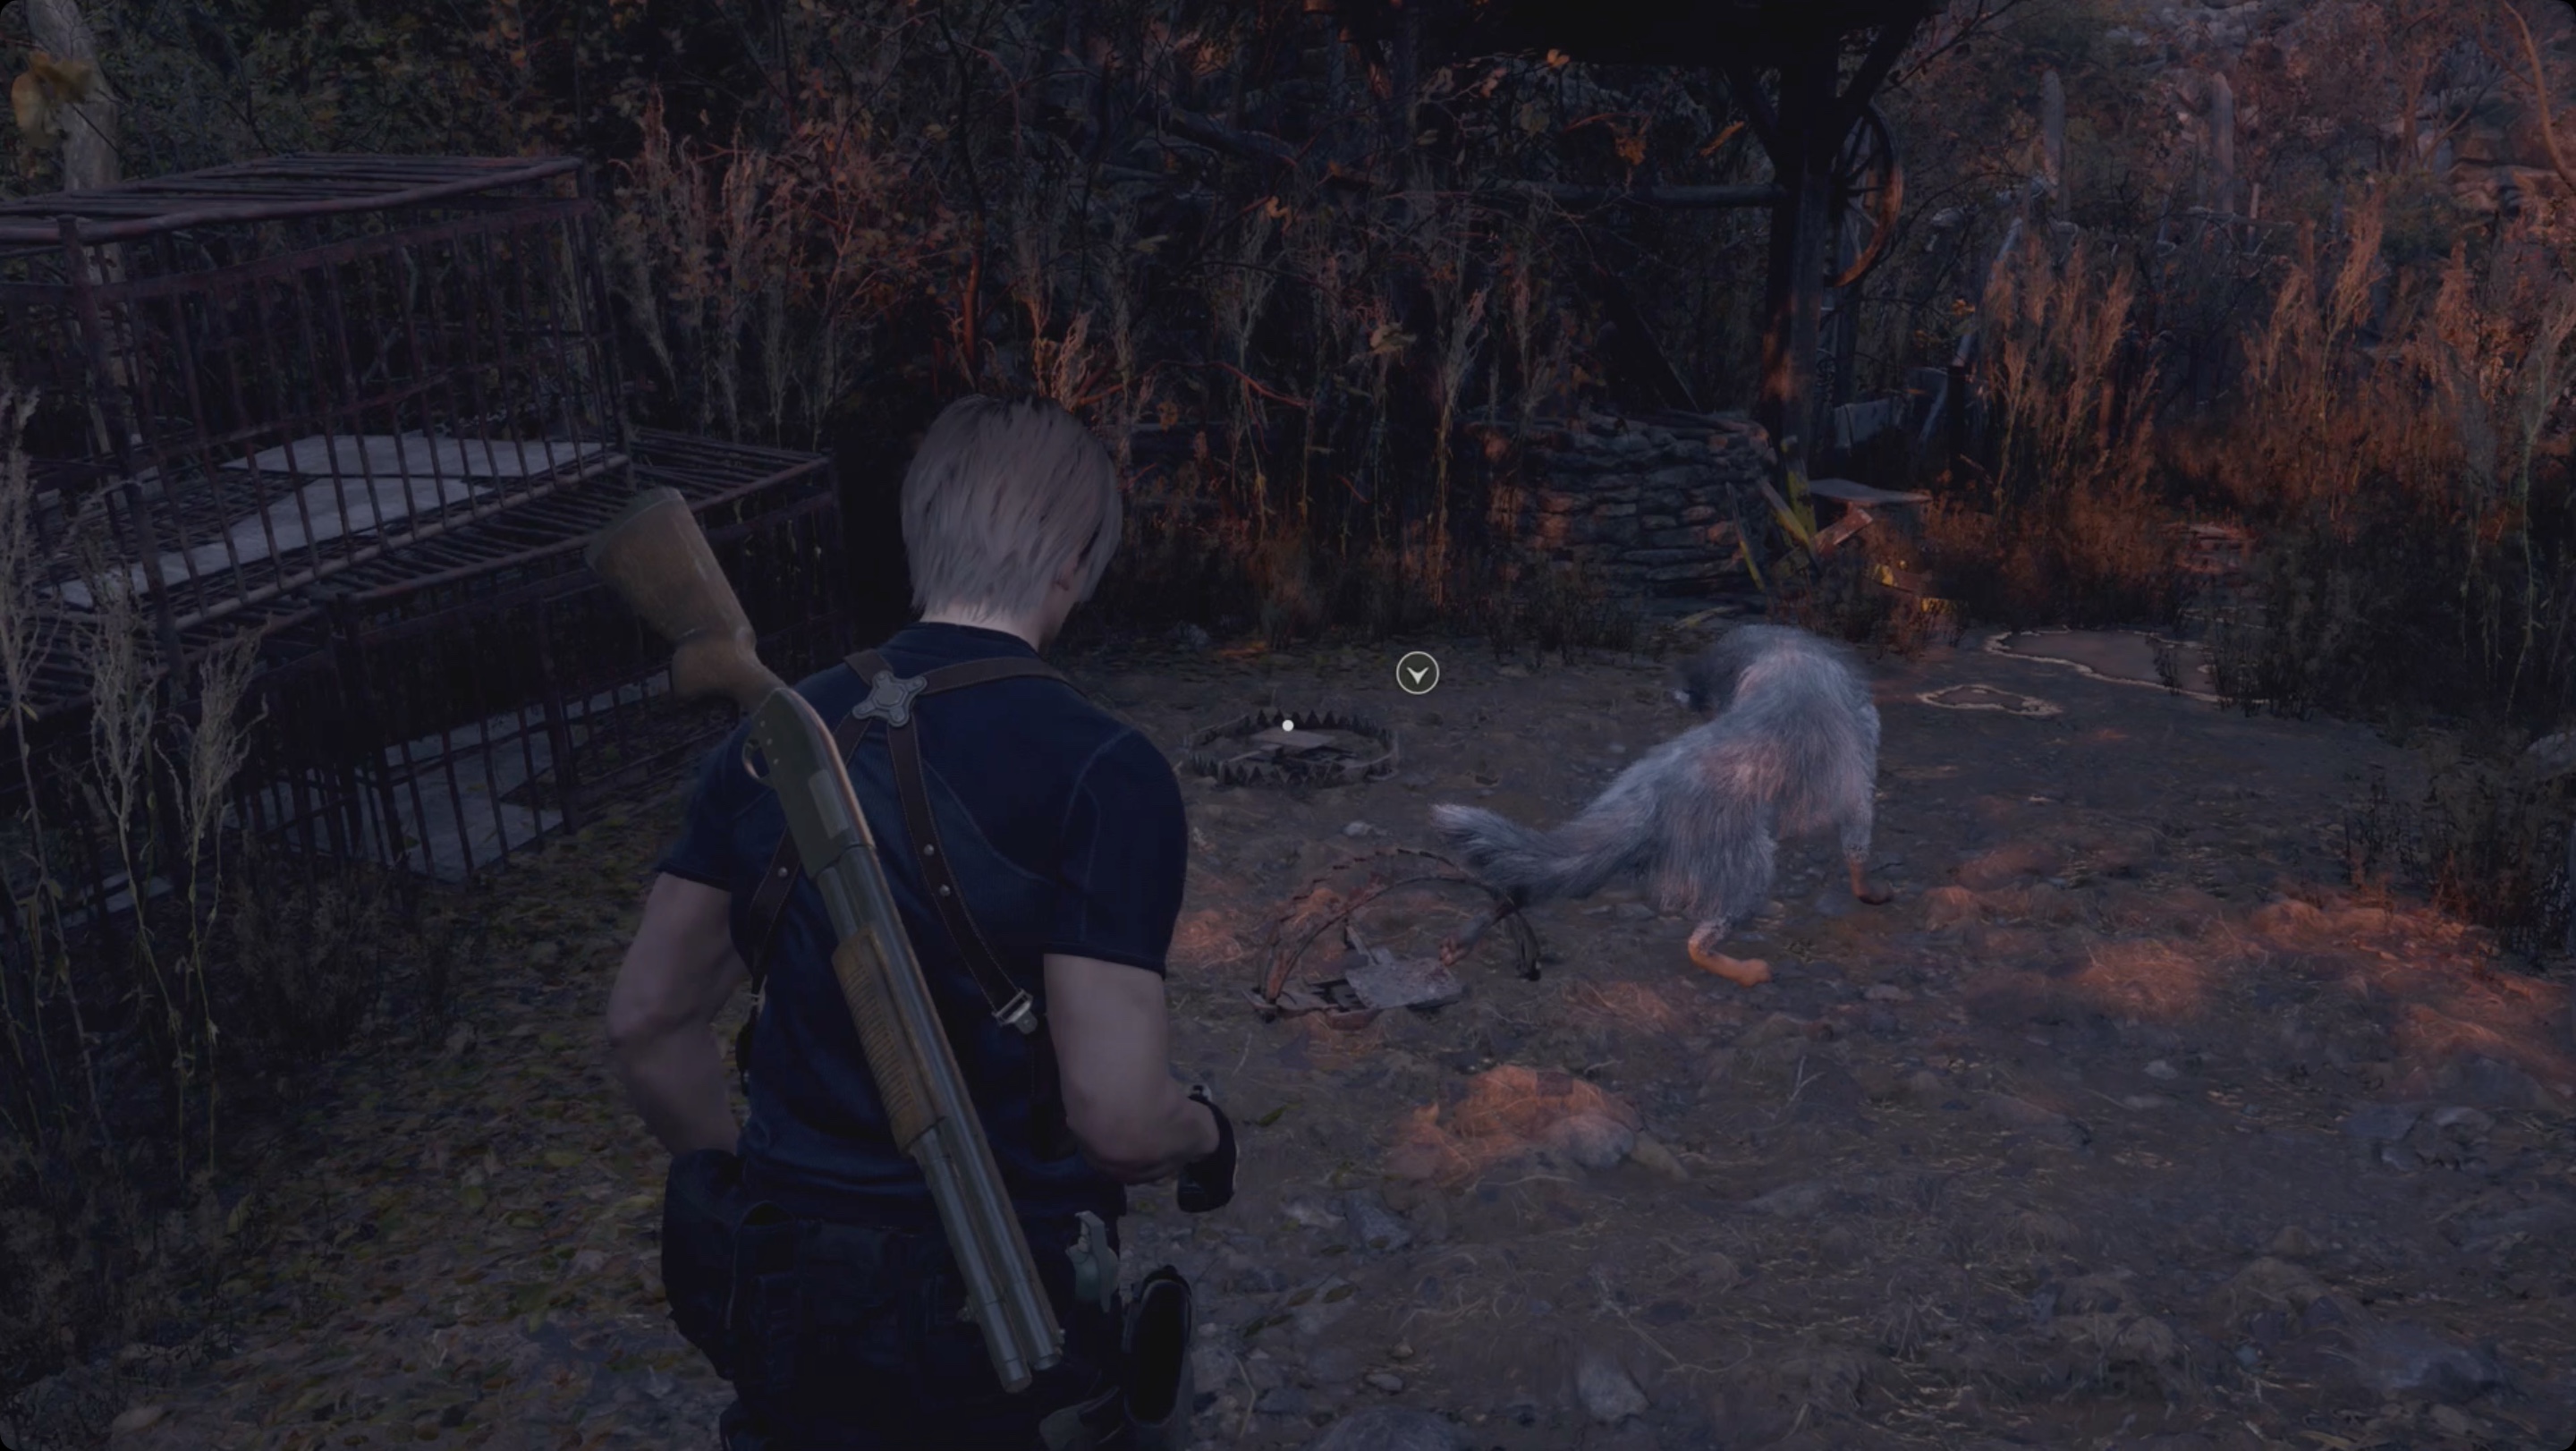
At the beginning of the chapter, you will be in the same room on the second floor of the village chief’s mansion. You need to go to church. Go down and exit through the front door. Before moving forward, go around the mansion in the same way as you went to the back door to find a dog trapped. Help her get out. By freeing the dog, you will get good help in a future fight against the boss. Follow the gate opposite the mansion and use the order key to open it and return to the village square. Before moving on, enter the second building on the left where there was a locked chest of drawers. Use the small key you got at the end of the previous chapter to open the drawer and get the vintage compass.
When you try to get to the building at the end of the square where the locals went, the tower on the left will collapse and the path ahead will be blocked. You are also attacked by a pack of rabid dogs. As with humans, headshots deal increased damage to dogs, and sometimes stun them. To reach the goal, you need to go through the last house on the right to bypass the wreckage. Use the key obtained earlier, enter the town hall and look at the ceiling in the middle of the large room to find a metal cage. Shoot it and get a velvety gem.
Trader’s Request: Serpent Hunt
Exit through the door at the other end of the building to find a merchant’s shop. Another request hangs on the wall behind him – you need to sell three snakes to the merchant. You may have already discovered one of these in the previous building. However, you will find snakes randomly when breaking wooden crates or barrels. After that, kill and pick up the snake to add to inventory. By eating snakes, you can restore health. Keep at least three of them and sell them to the merchant to complete the quest and earn spinels. Follow forward to reach the cemetery in front of the church.
Trader’s Request: Grave Robber
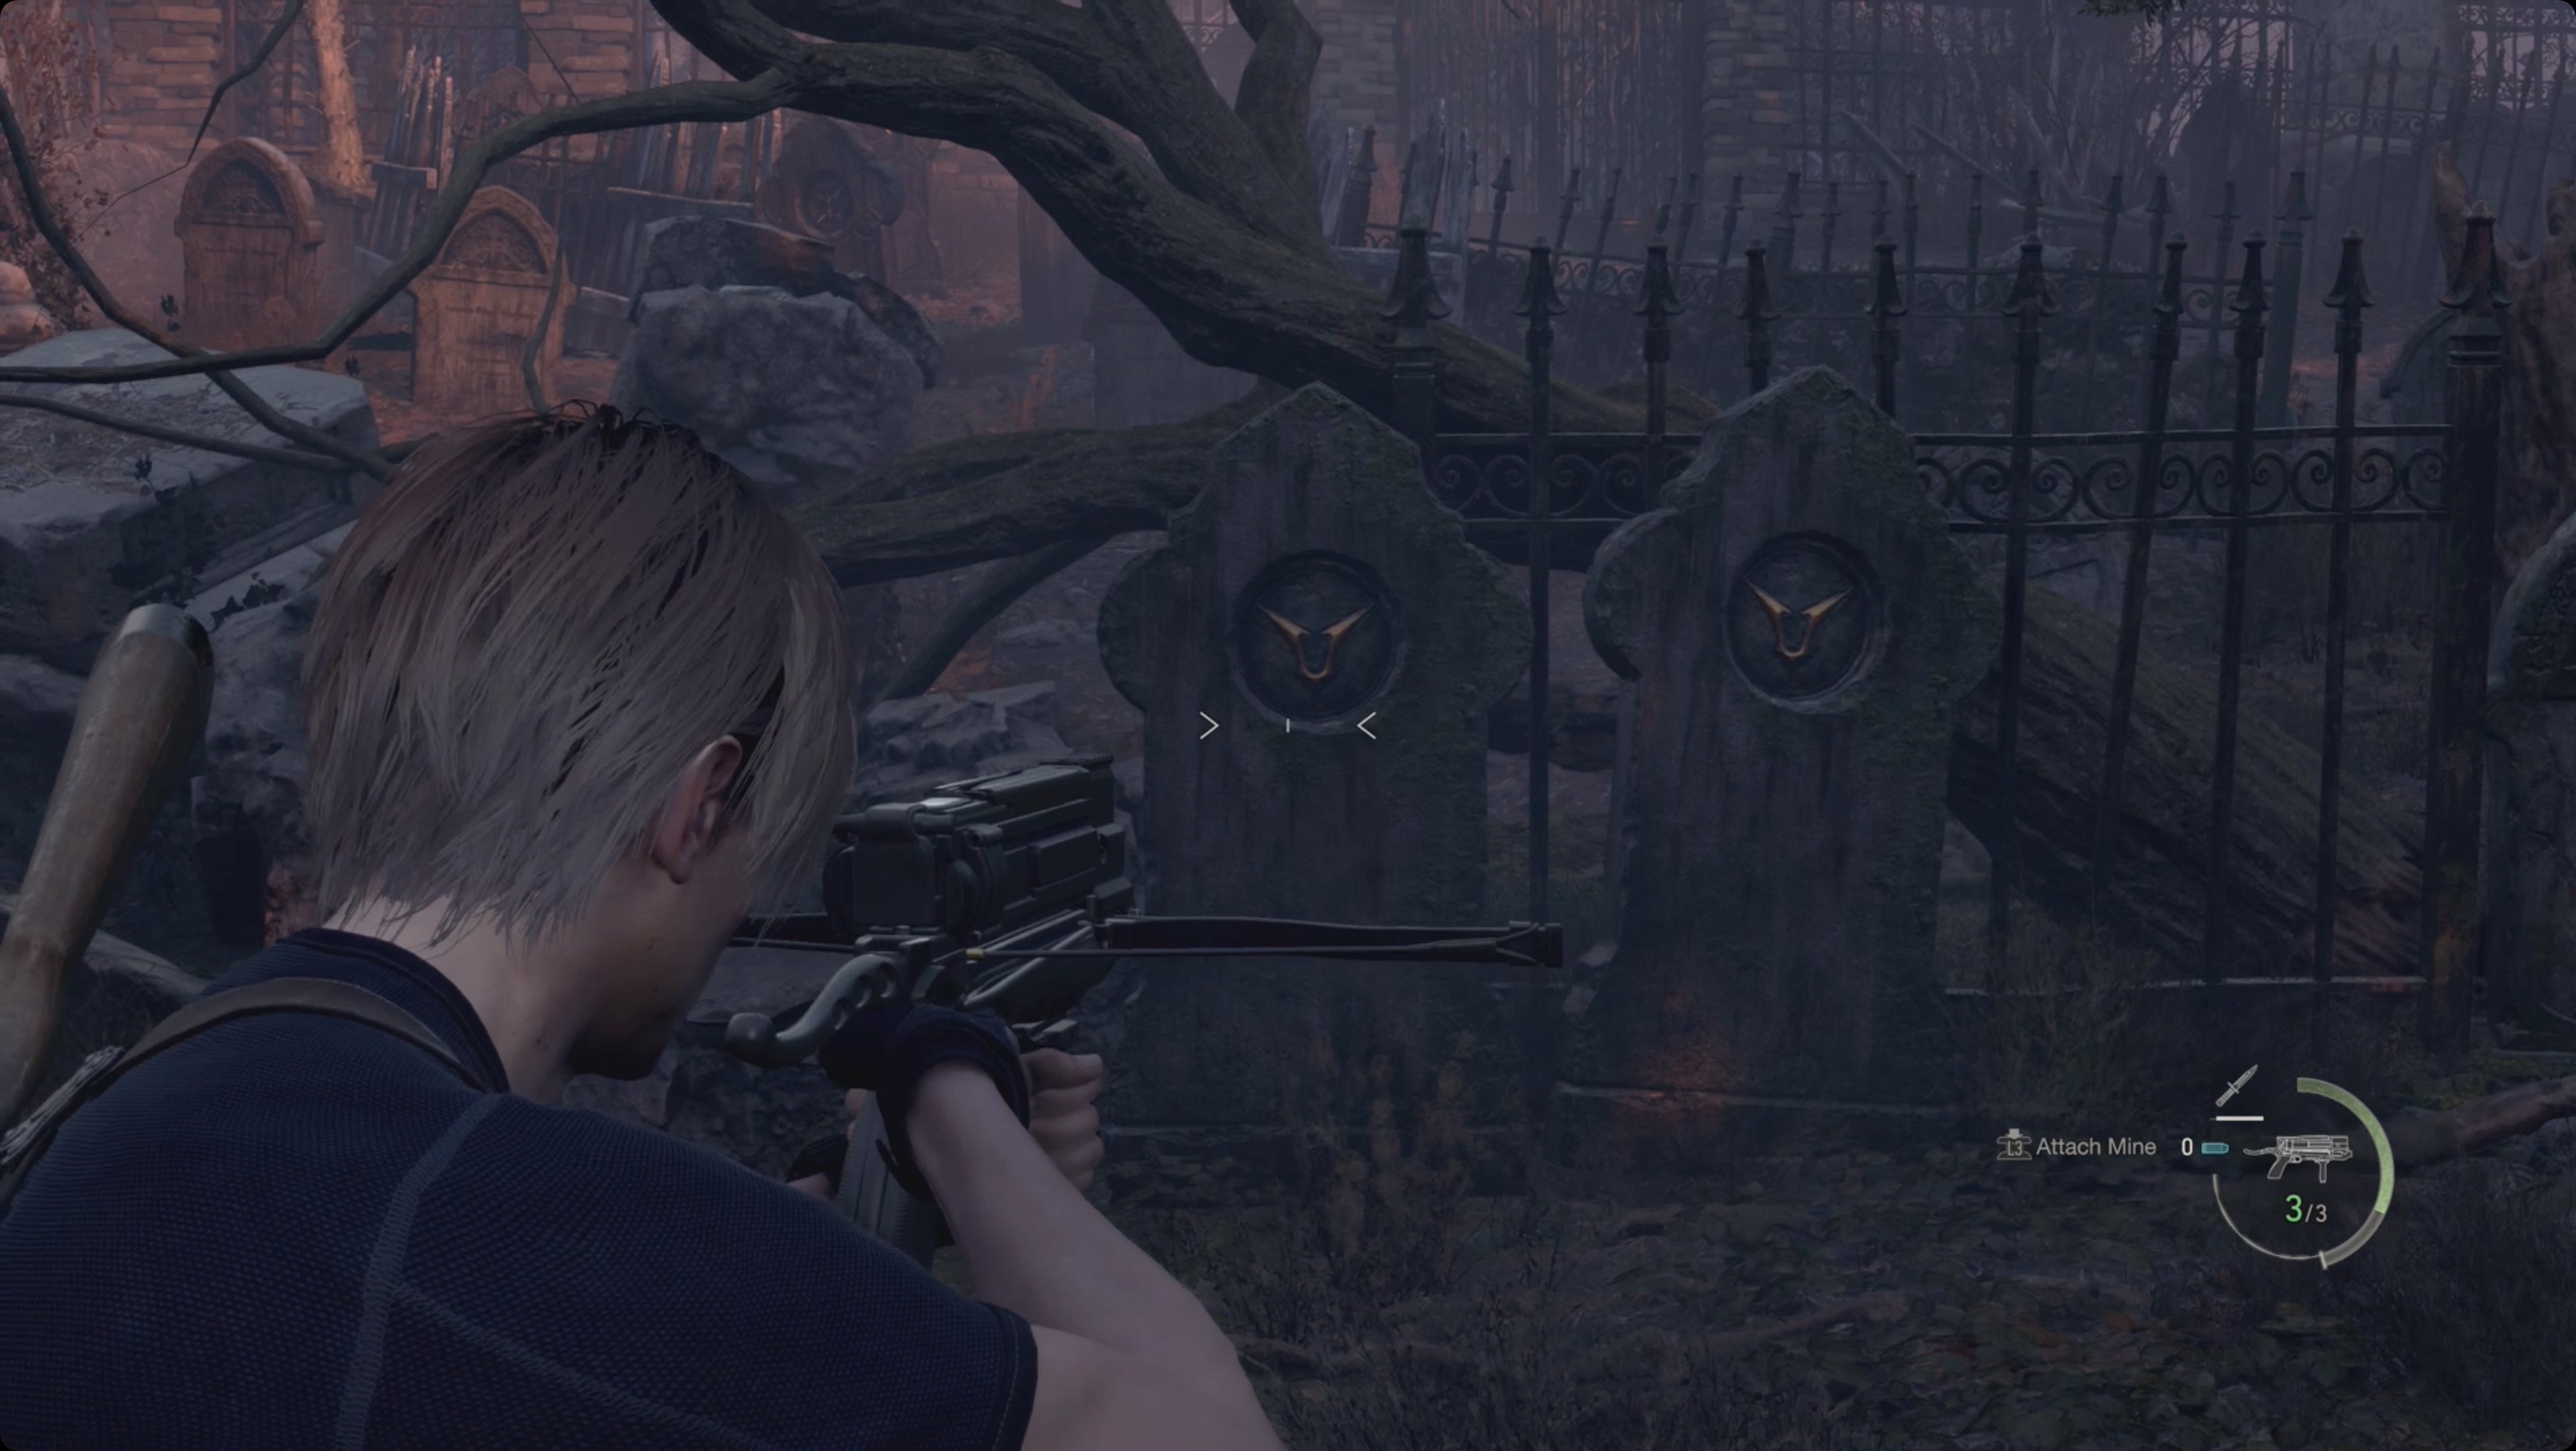
As you move through the graveyard, you can complete another merchant’s errand beforehand. In the middle of the cemetery there are two tombstones with the same emblems. Destroy both with a pistol shot or a melee attack. This is enough to complete the task.
Go to the end of the cemetery and open the gate to reach the church area. After the cut-scene, follow the church on the right, to the “backyard”. Here you will find a chest with an elegant head ornament. There is also a blue note hanging here with the quest described above (if you did not destroy these emblems in the cemetery). Go through the door on the right side of the church, past which you went to the backyard. You will enter a room with a typewriter and you can save. Interact with the map on the wall to upgrade the main objective. Interact with the hatch in the floor.
After making your way under the church, go to the left, to the wooden structures with enemies using Hammer cocktails. As with dynamite, you can shoot directly at the cocktail, or at the enemy to drop it from their hands. Inside the building on which the first enemy stands, look for a box, upon destruction of which a snake will appear. Kill her with a knife or pistol shot, and don’t forget to pick her up.
Trader’s Request: Destroy Blue Medallions 2
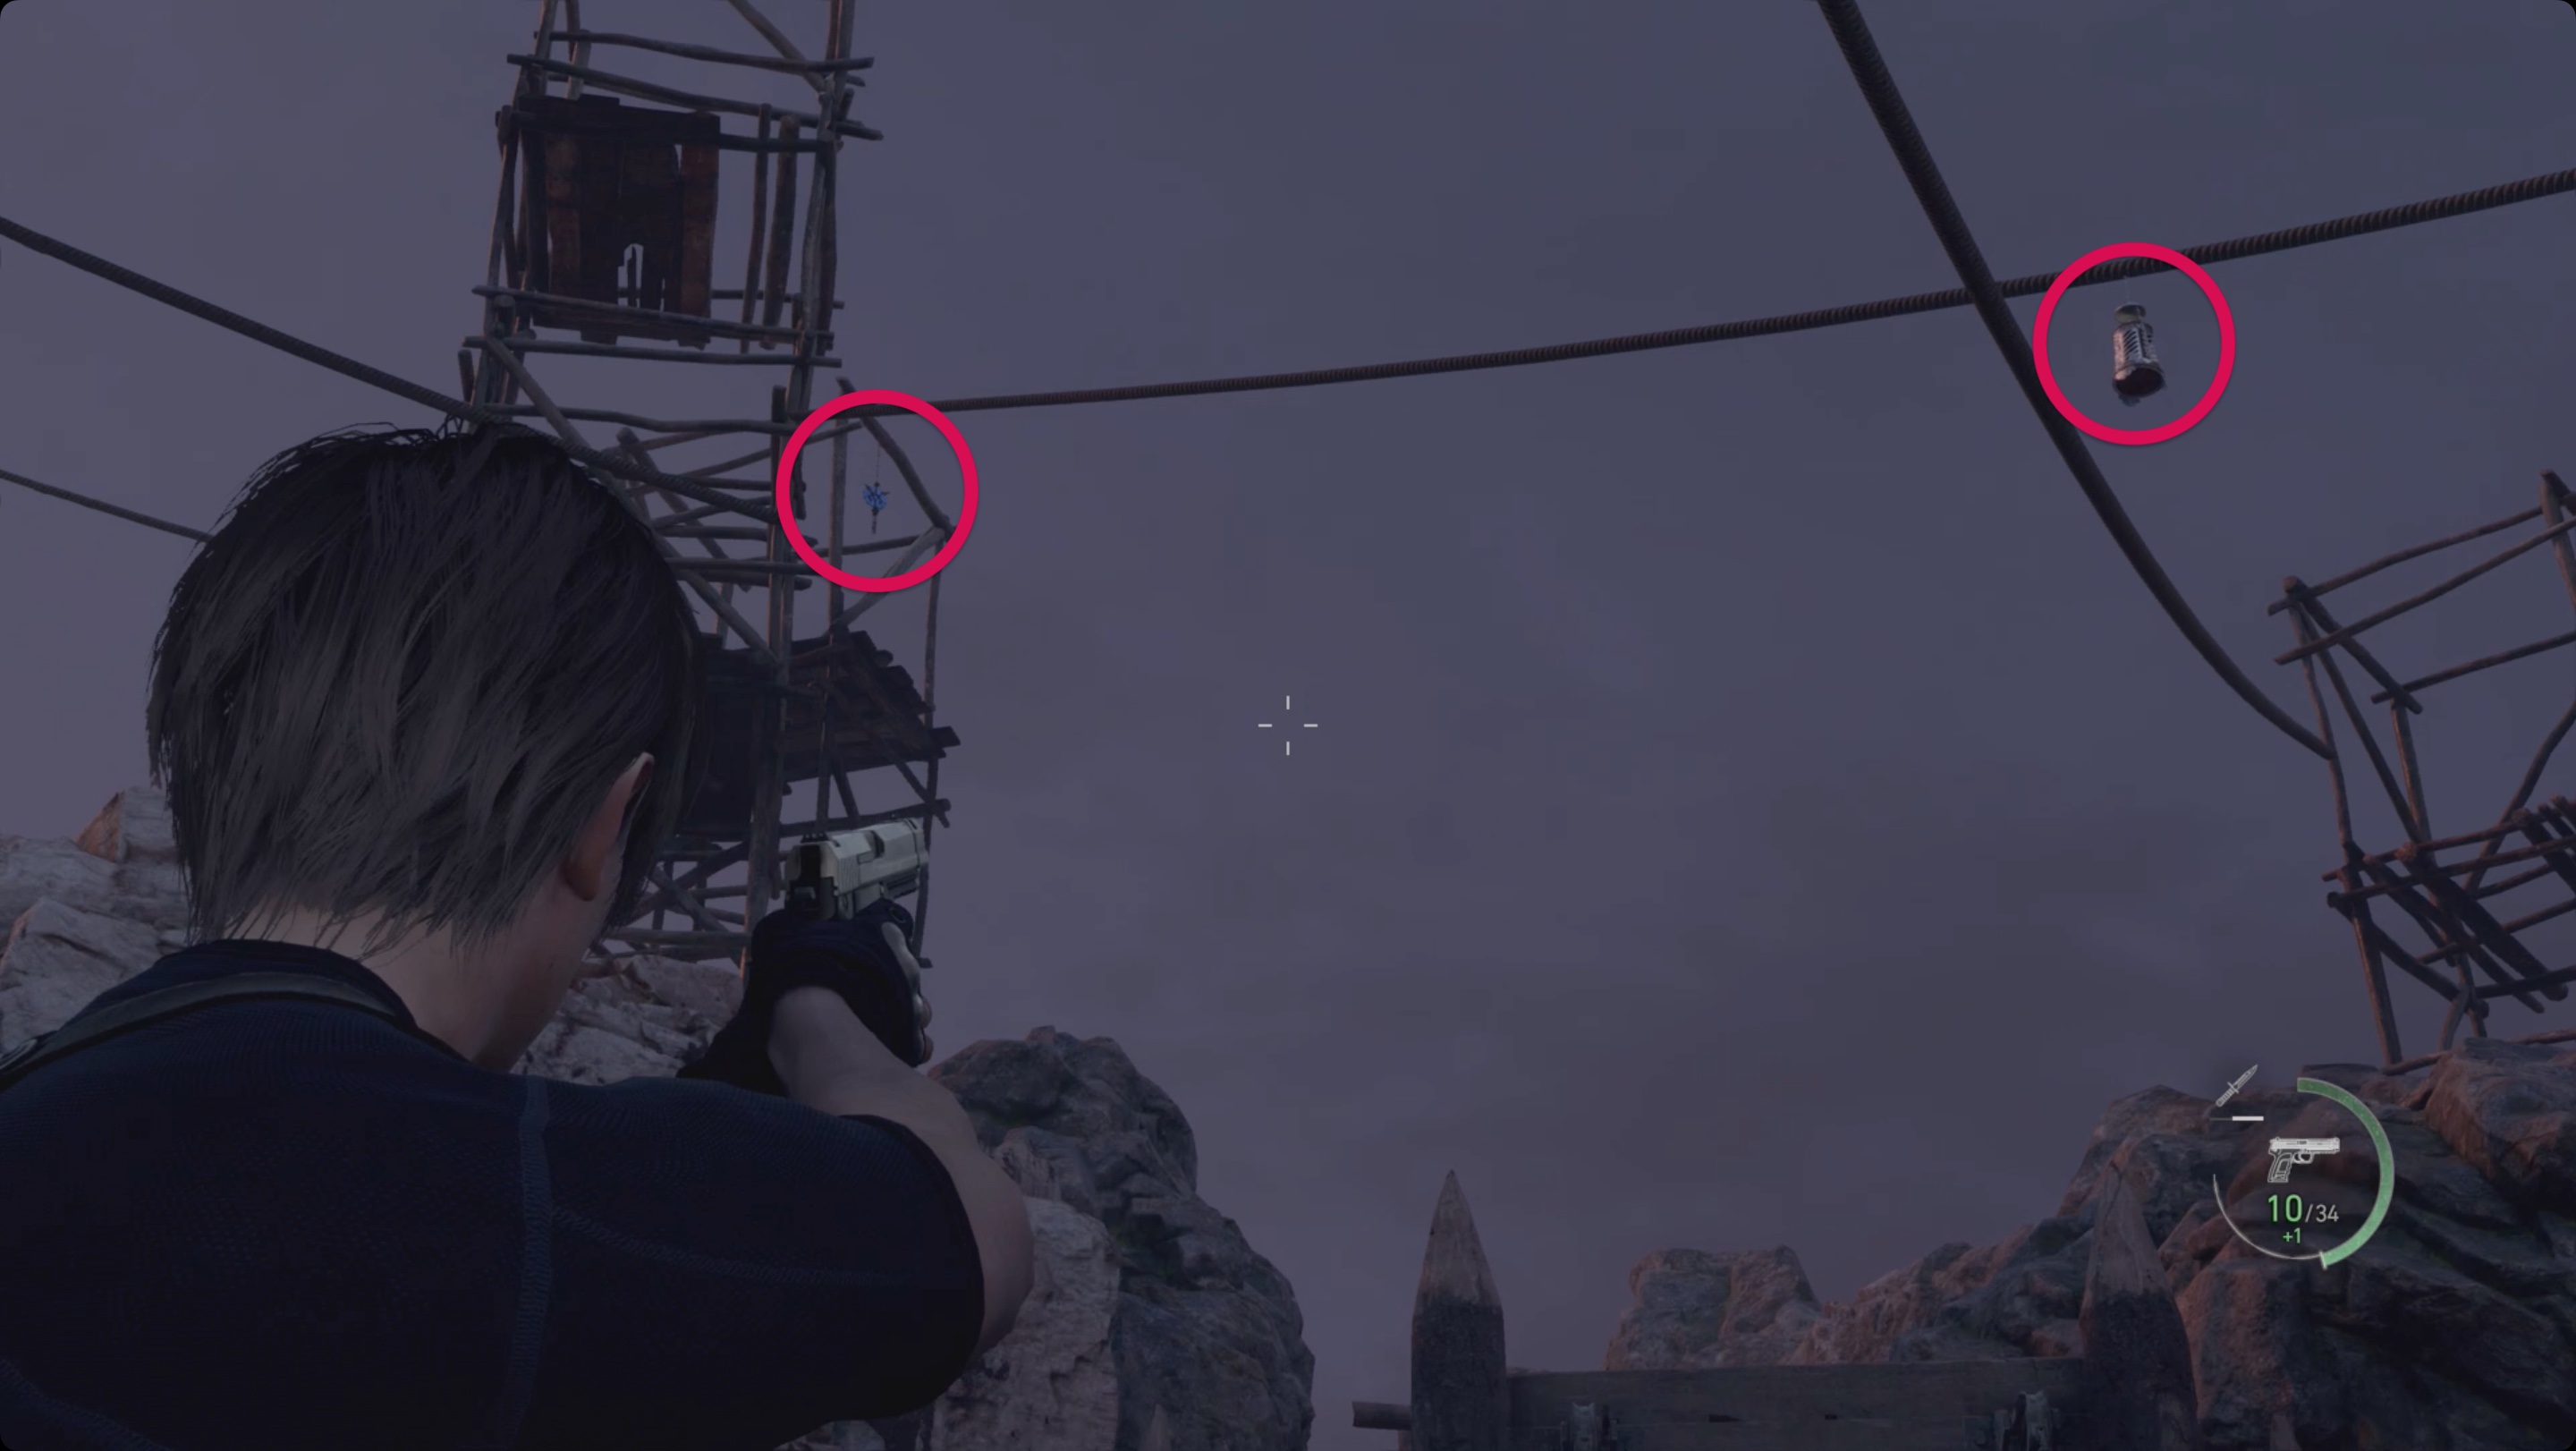
Follow the platforms until you reach a quarry. Immediately after entering, behind a huge hammer on the left side, look for a note with another assignment. Take it so that markers appear on the map indicating the location of the next 5 medallions. They are scattered across two locations that you will visit right now. After activating the quest, you will see ravens sitting on the ground.
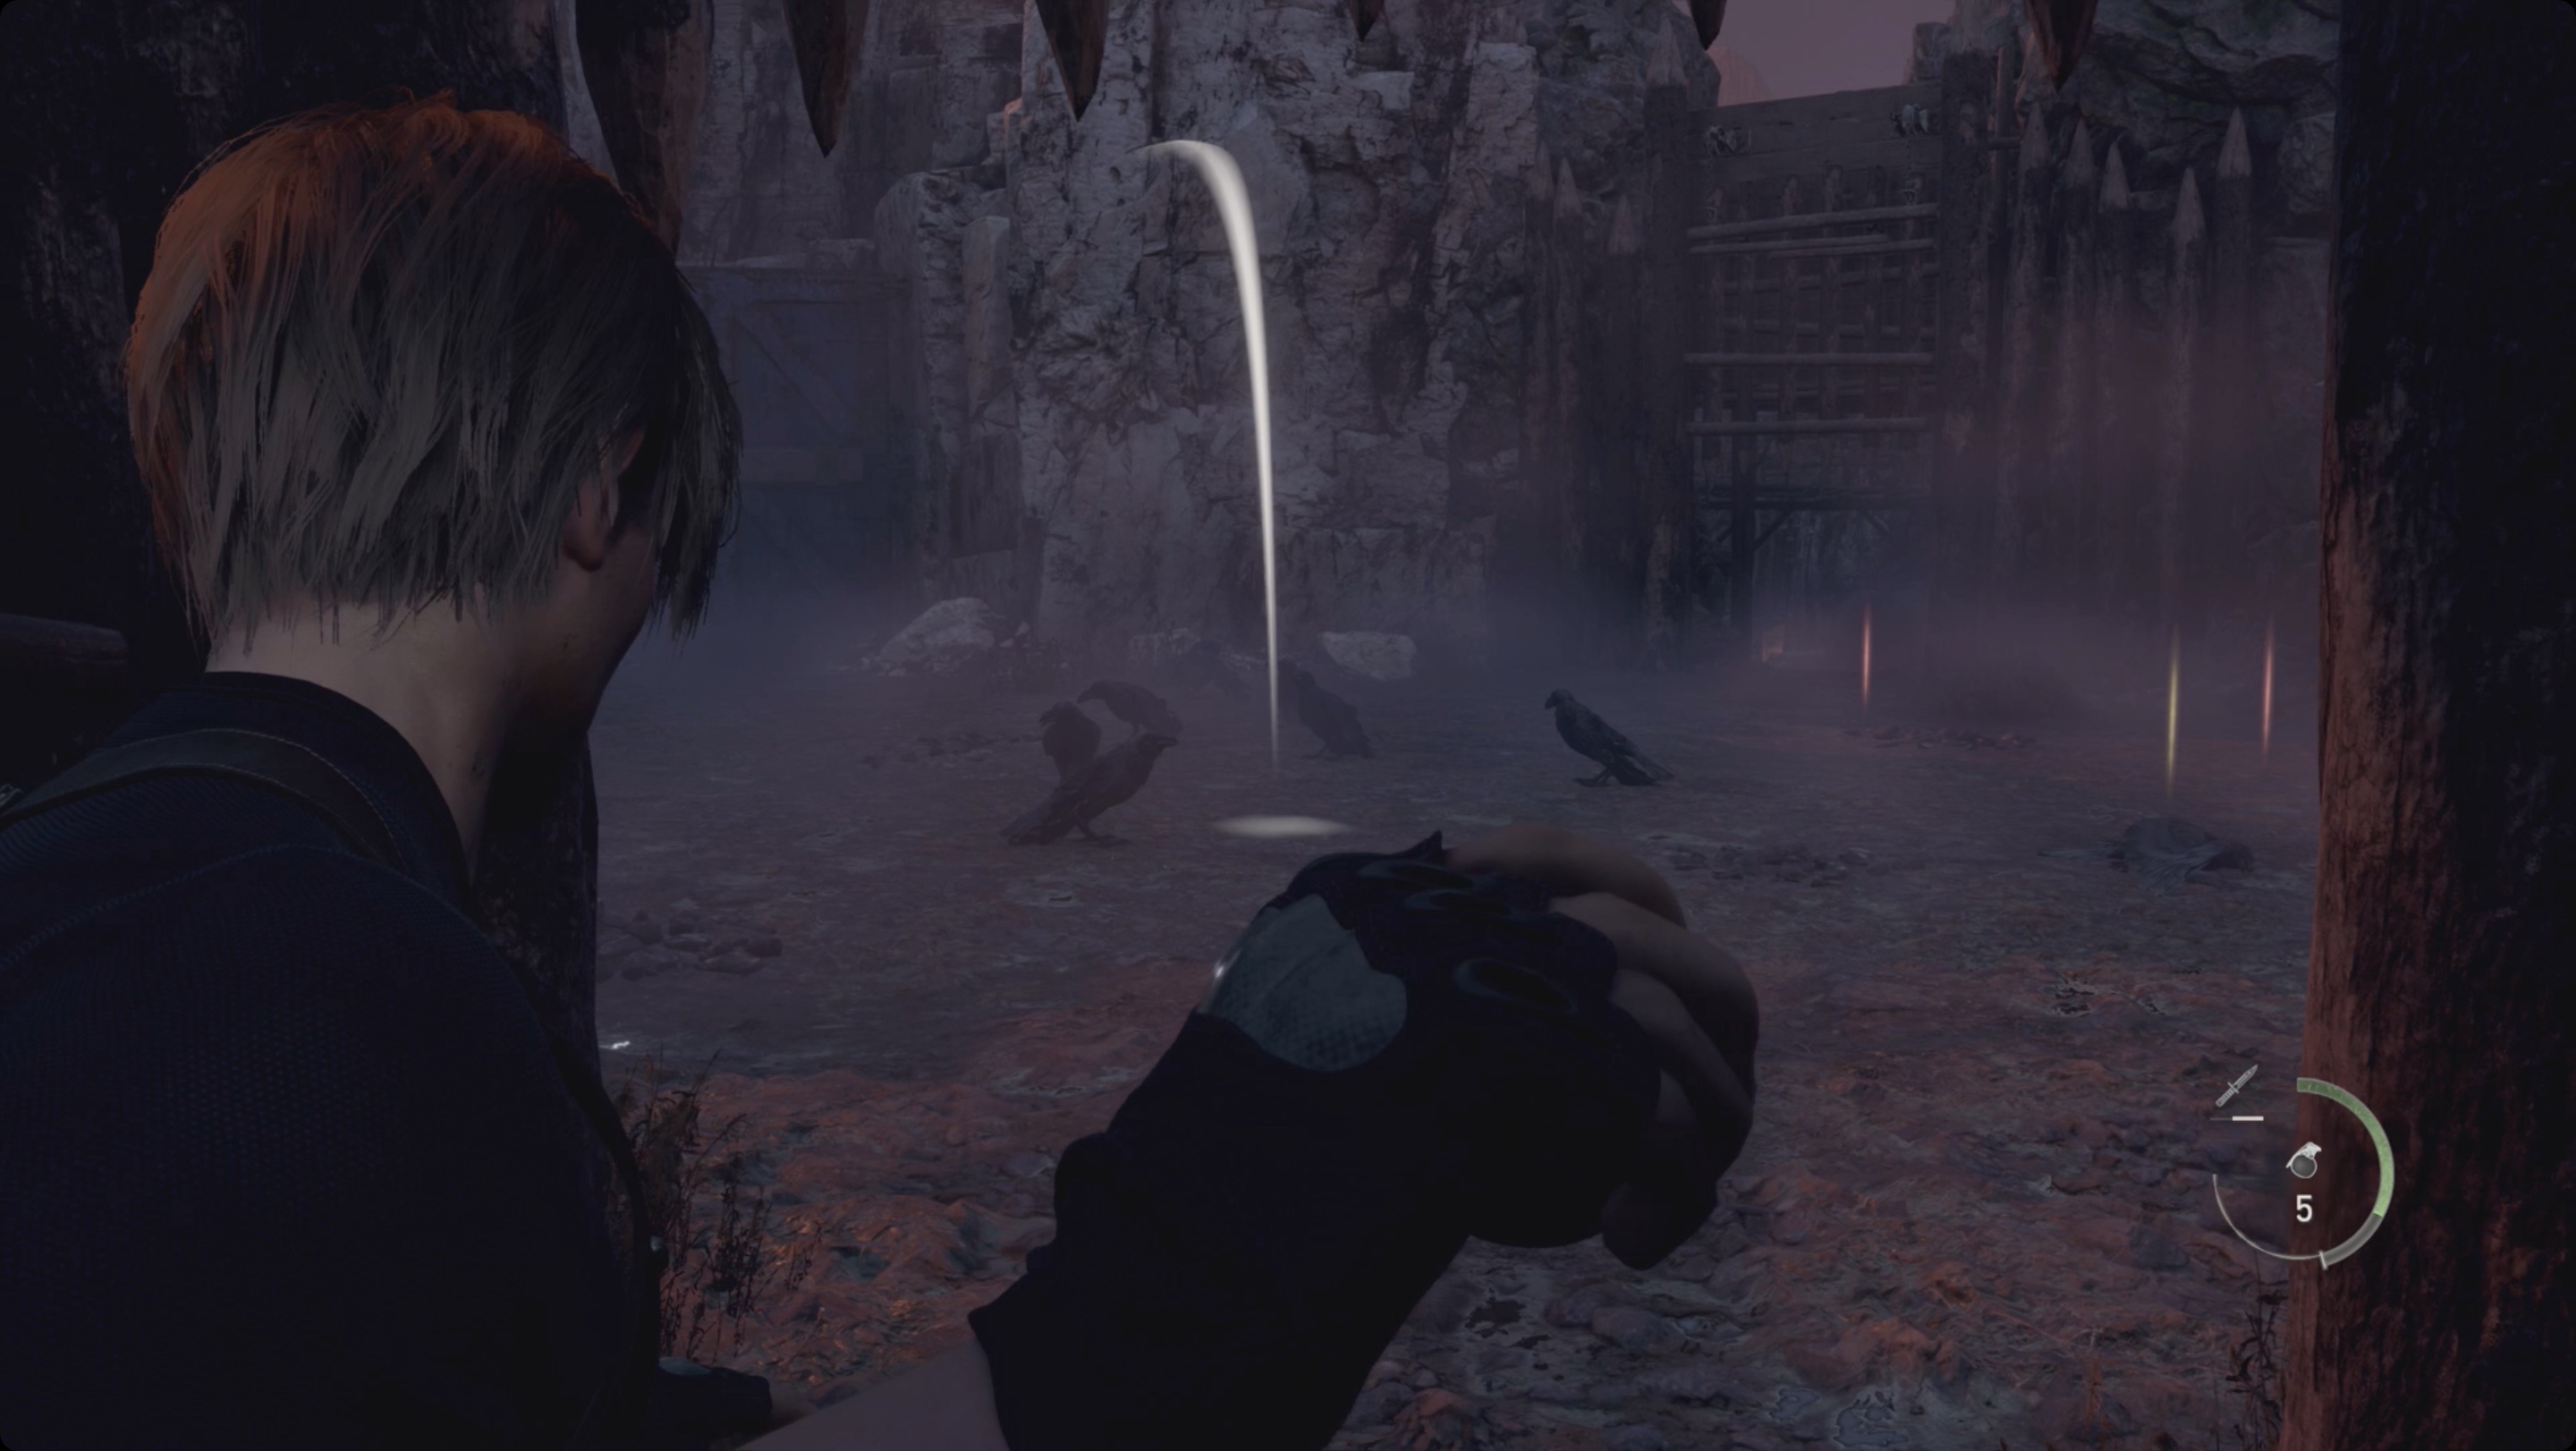
Before moving on, throw a flashbang at a flock of crows to kill some birds and earn the Cover Your Eyes achievement (for killing 5 enemies with a flashbang at the same time). Later on you will find several other places where you can get the achievement, but this is the perfect place. Deal with a couple of dogs, go to the main area and look up to find a metal cage. Shoot it and a ruby will fall out.
Blue medallion 1. To the left of where the metal cage was hanging, you can see the first medallion hanging from the scaffolding.
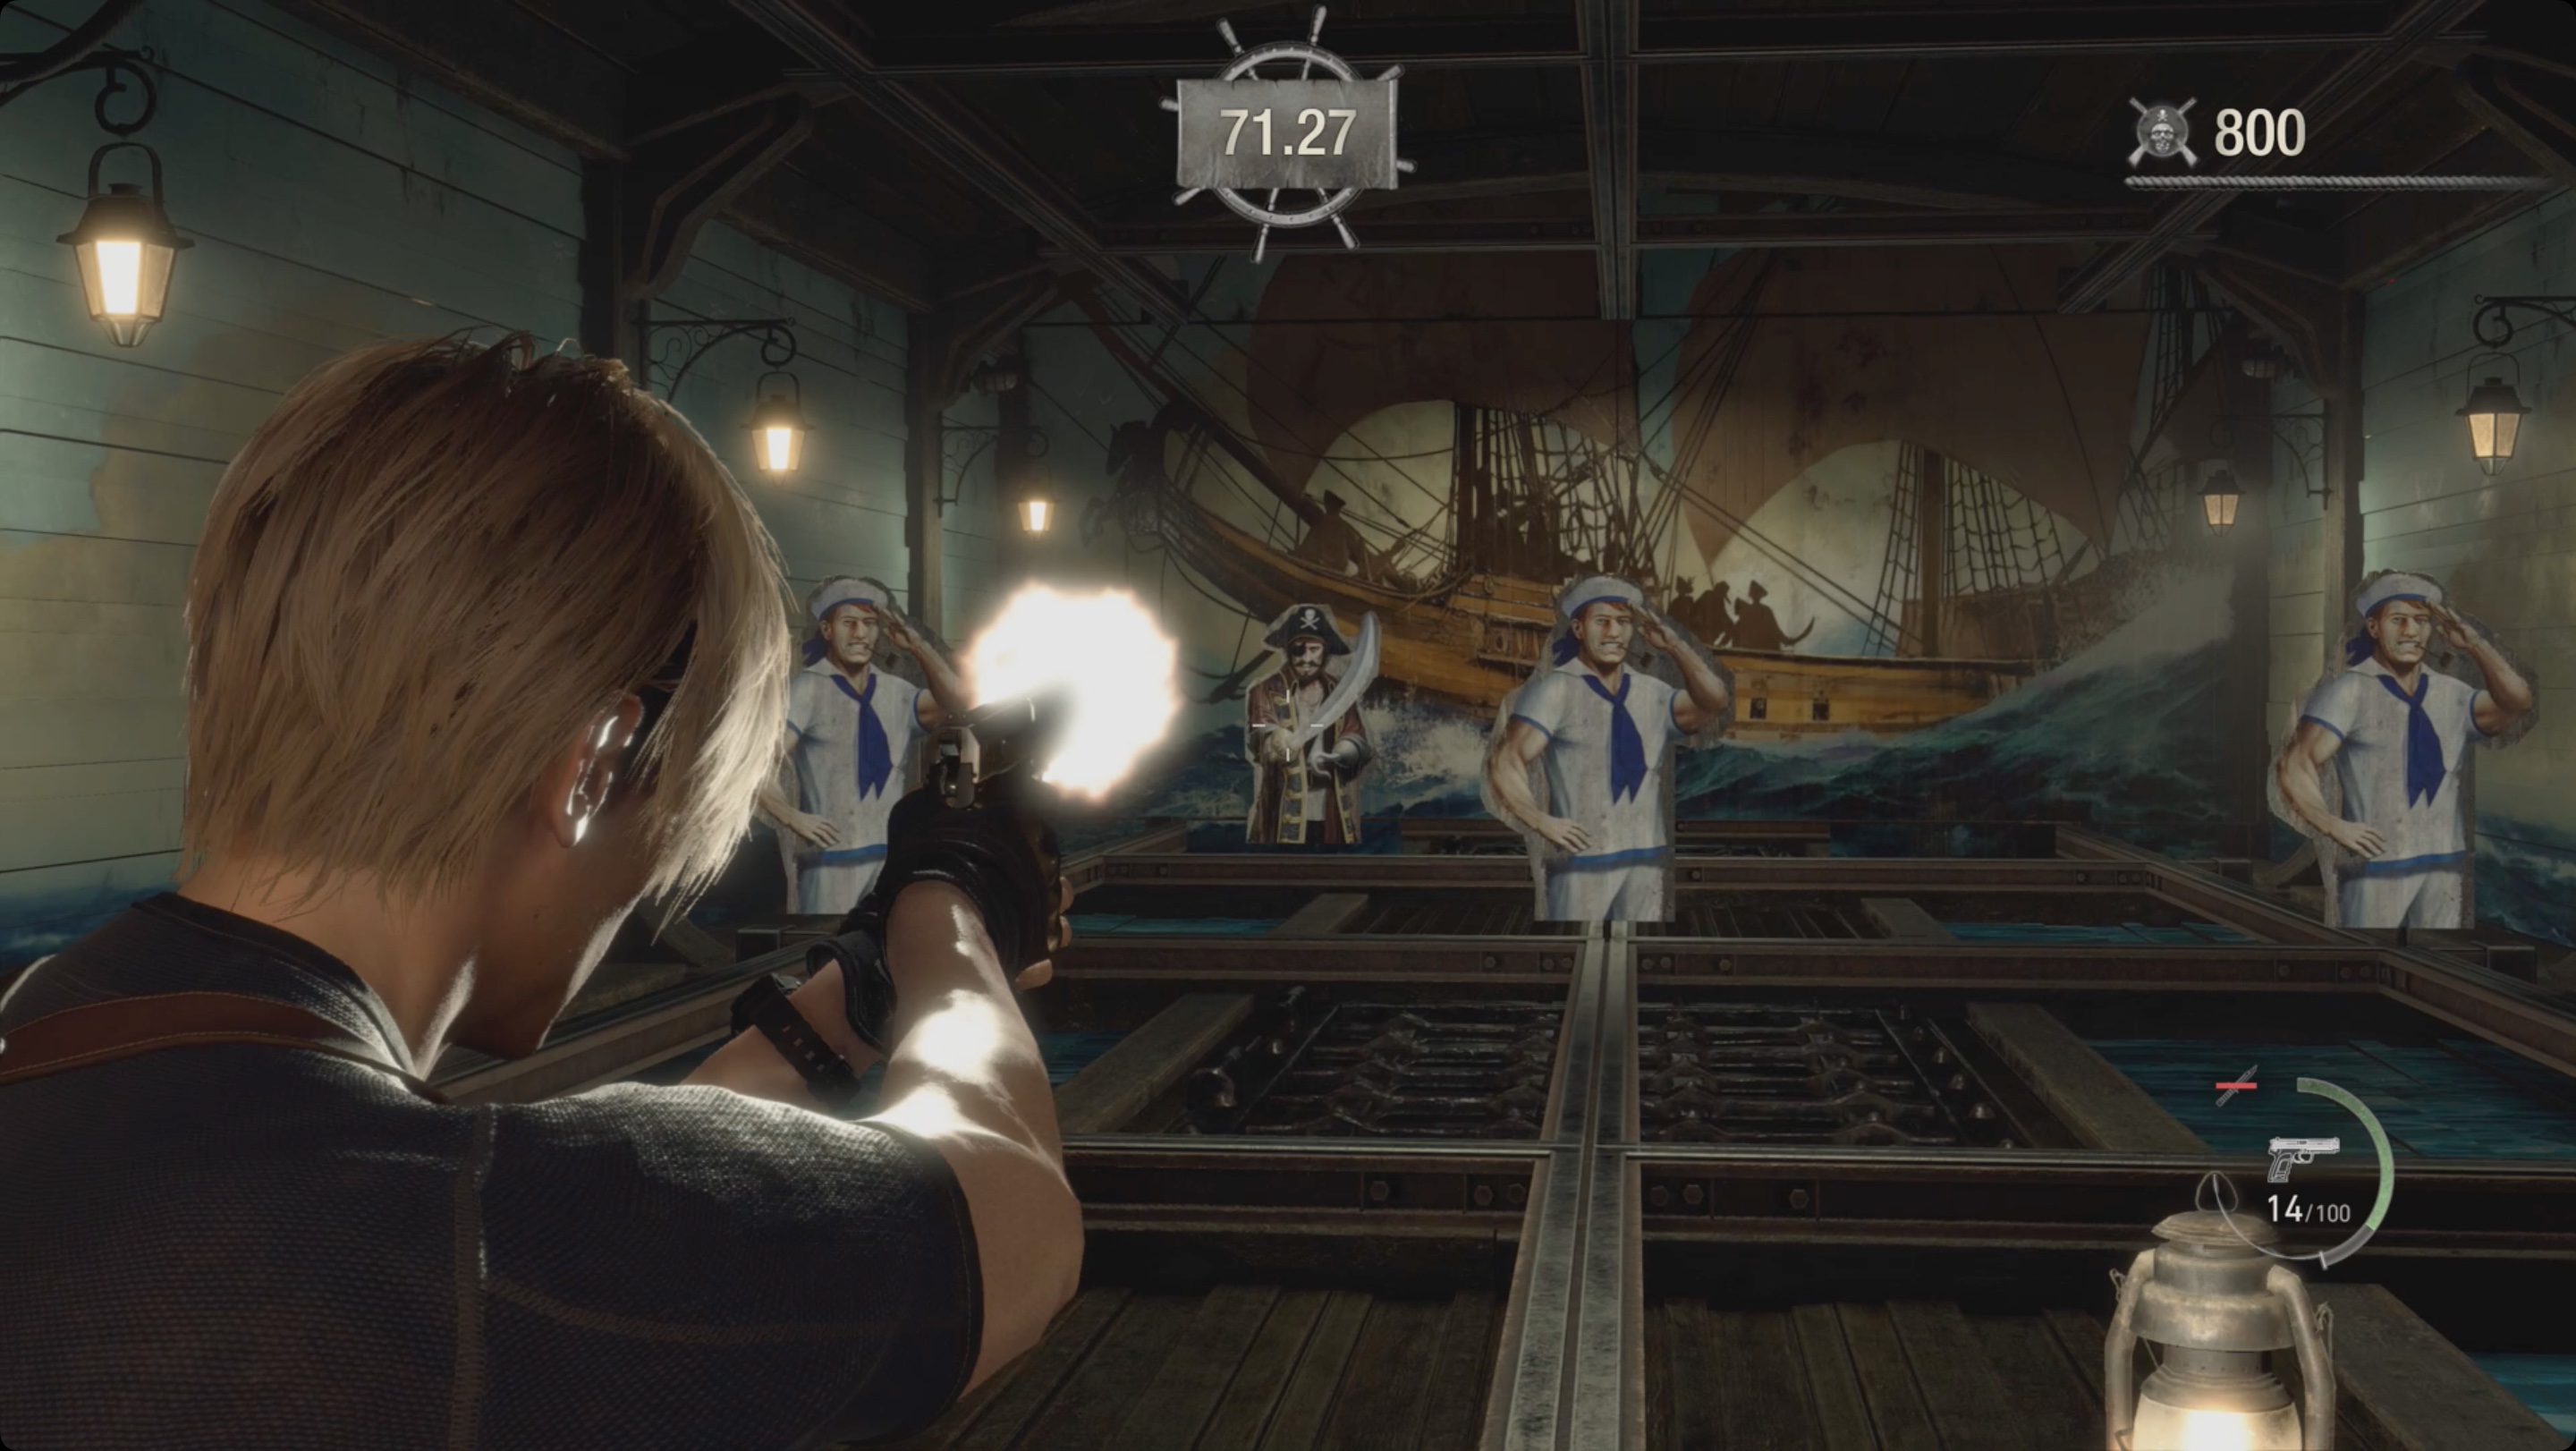
Follow on until you enter another building, where there will be a trading shop. The first shooting range is located in this place, which can be reached by an elevator to the right of the merchant.
These shooting ranges usually have three tasks, for which you will receive silver and gold coins. Then these coins can be exchanged in the machine near the elevator for key rings, which, in turn, are hung on the inventory case. There are three keyring slots in total. Complete any challenge to earn the “Amateur Shooter” achievement.
Returning to the merchant, go down to the east. Go around the platform near the water to find another clockwork keeper. You will see it by looking through the gap between the canopy and several crates. Climb up to where the merchant was. Before going through the door opposite, get hexagon A from the chest in the area with the merchant.
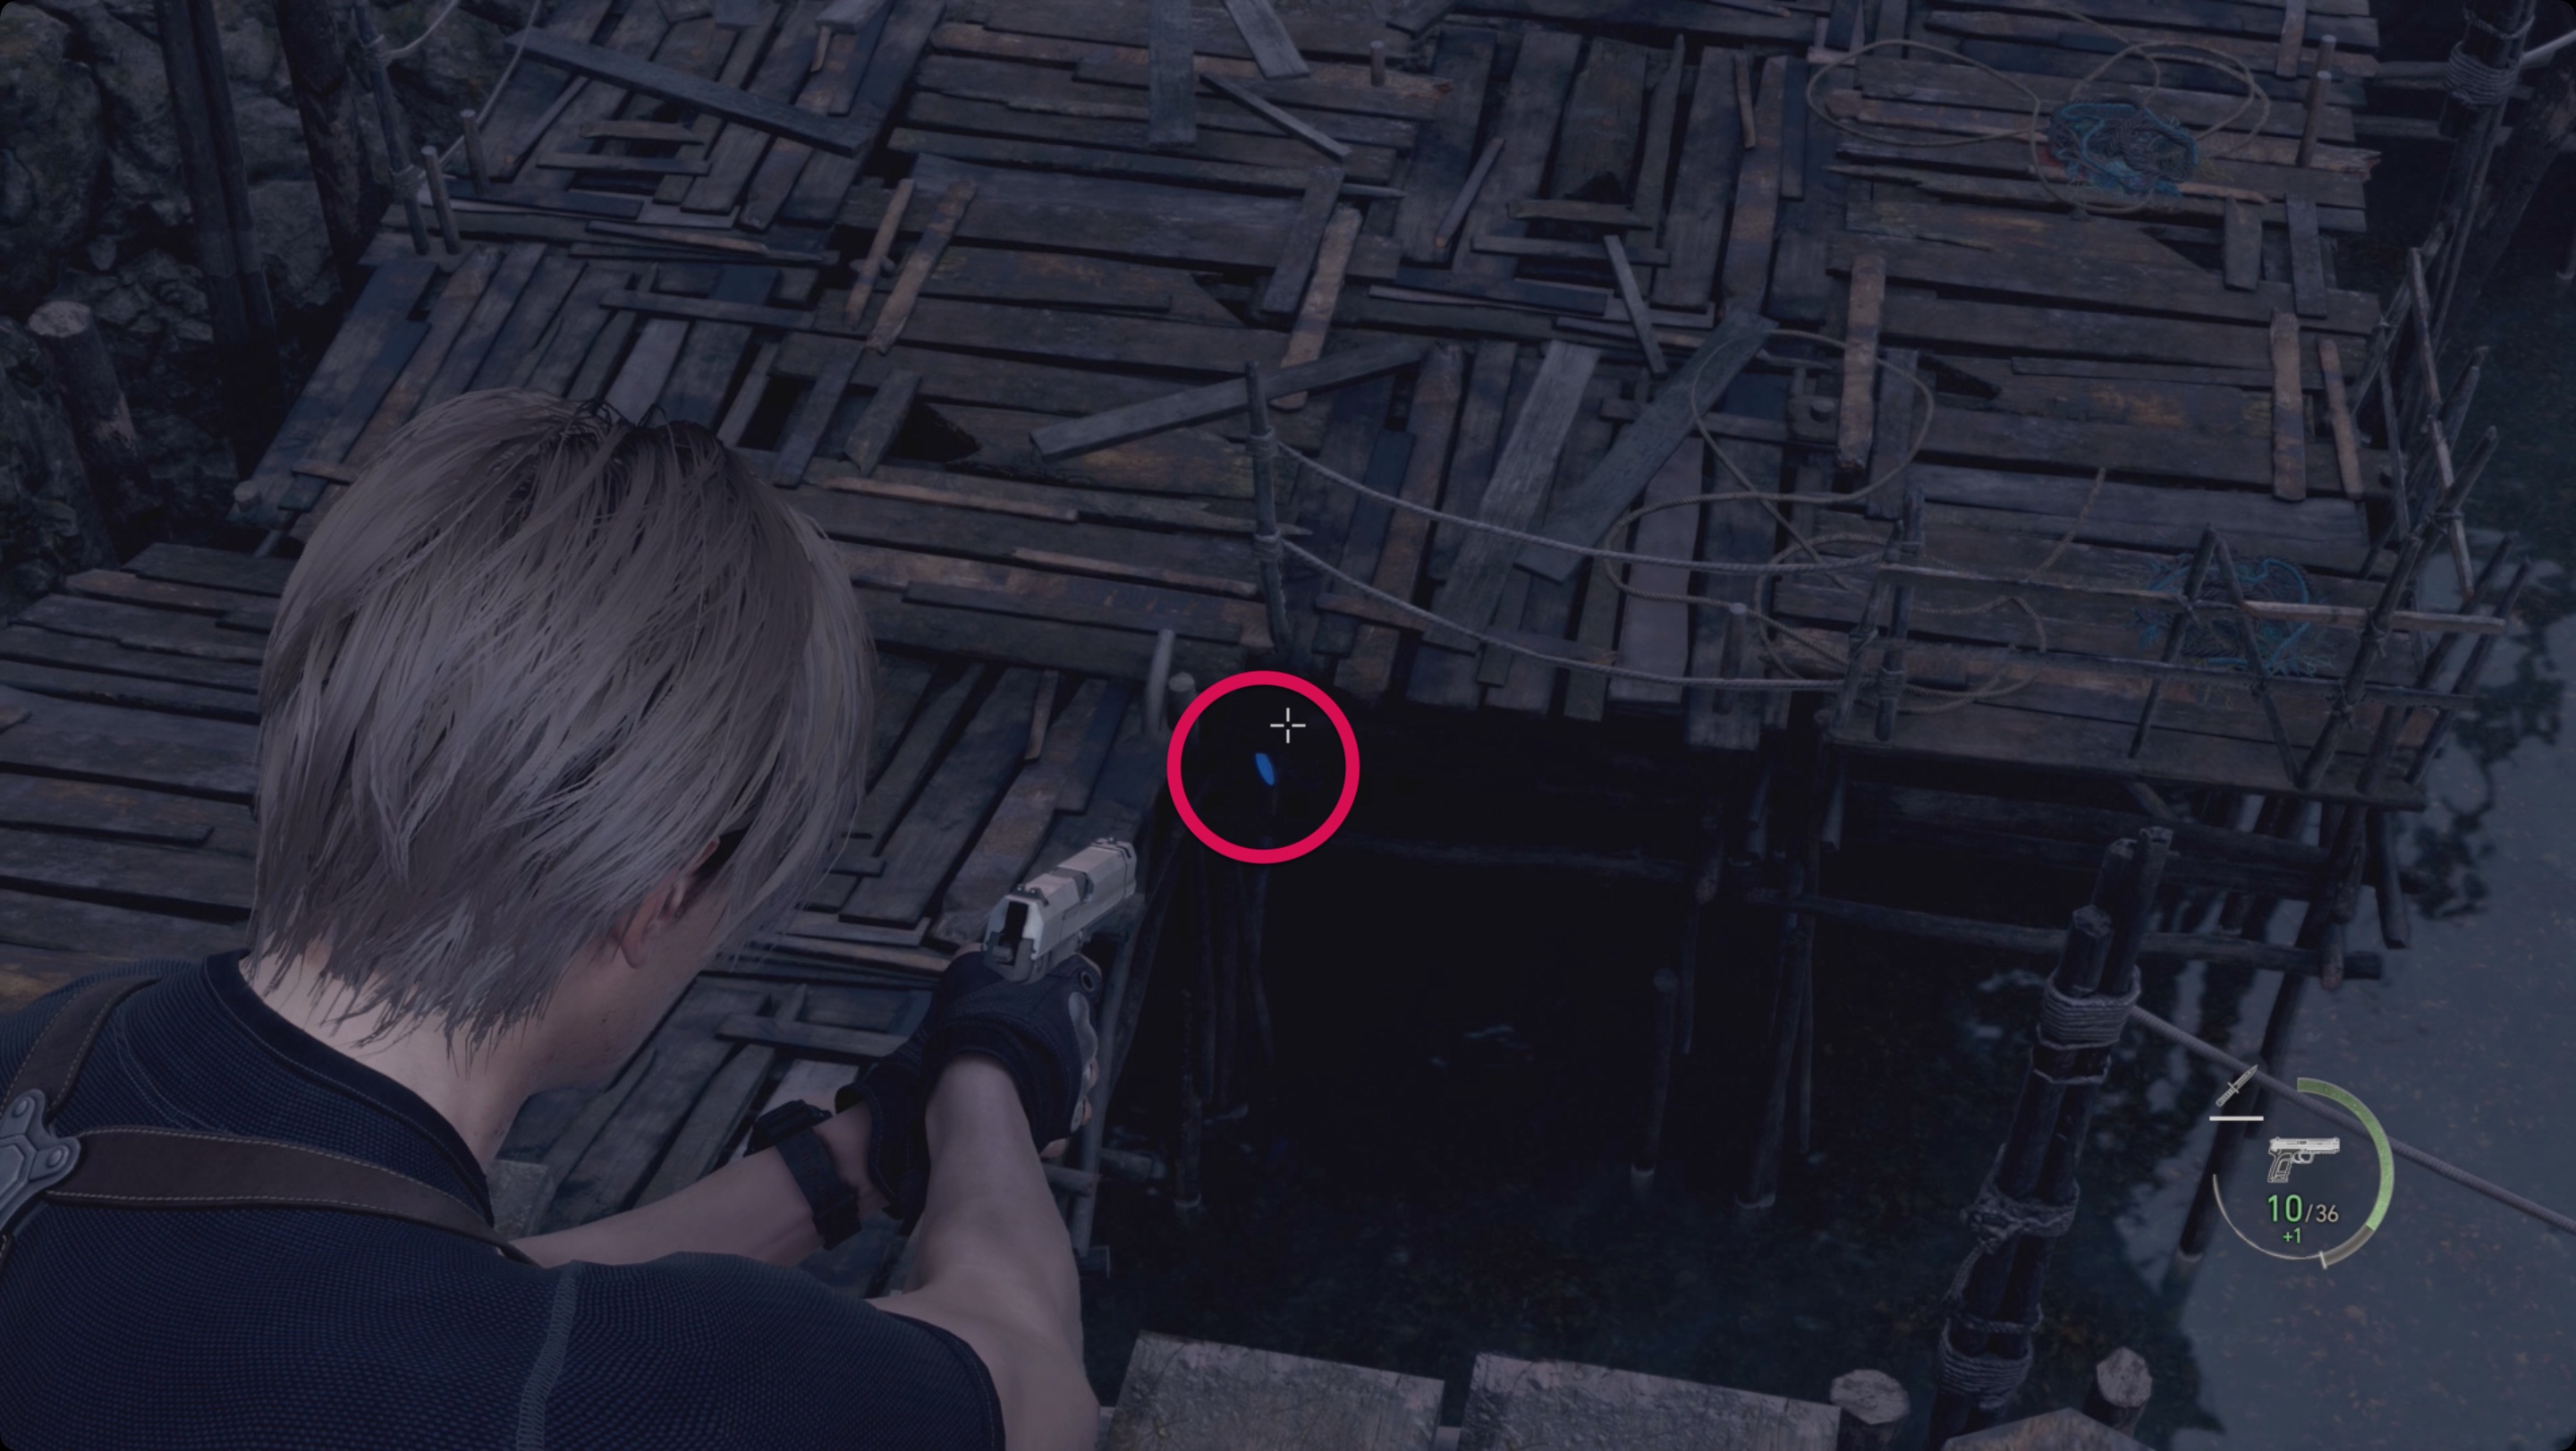
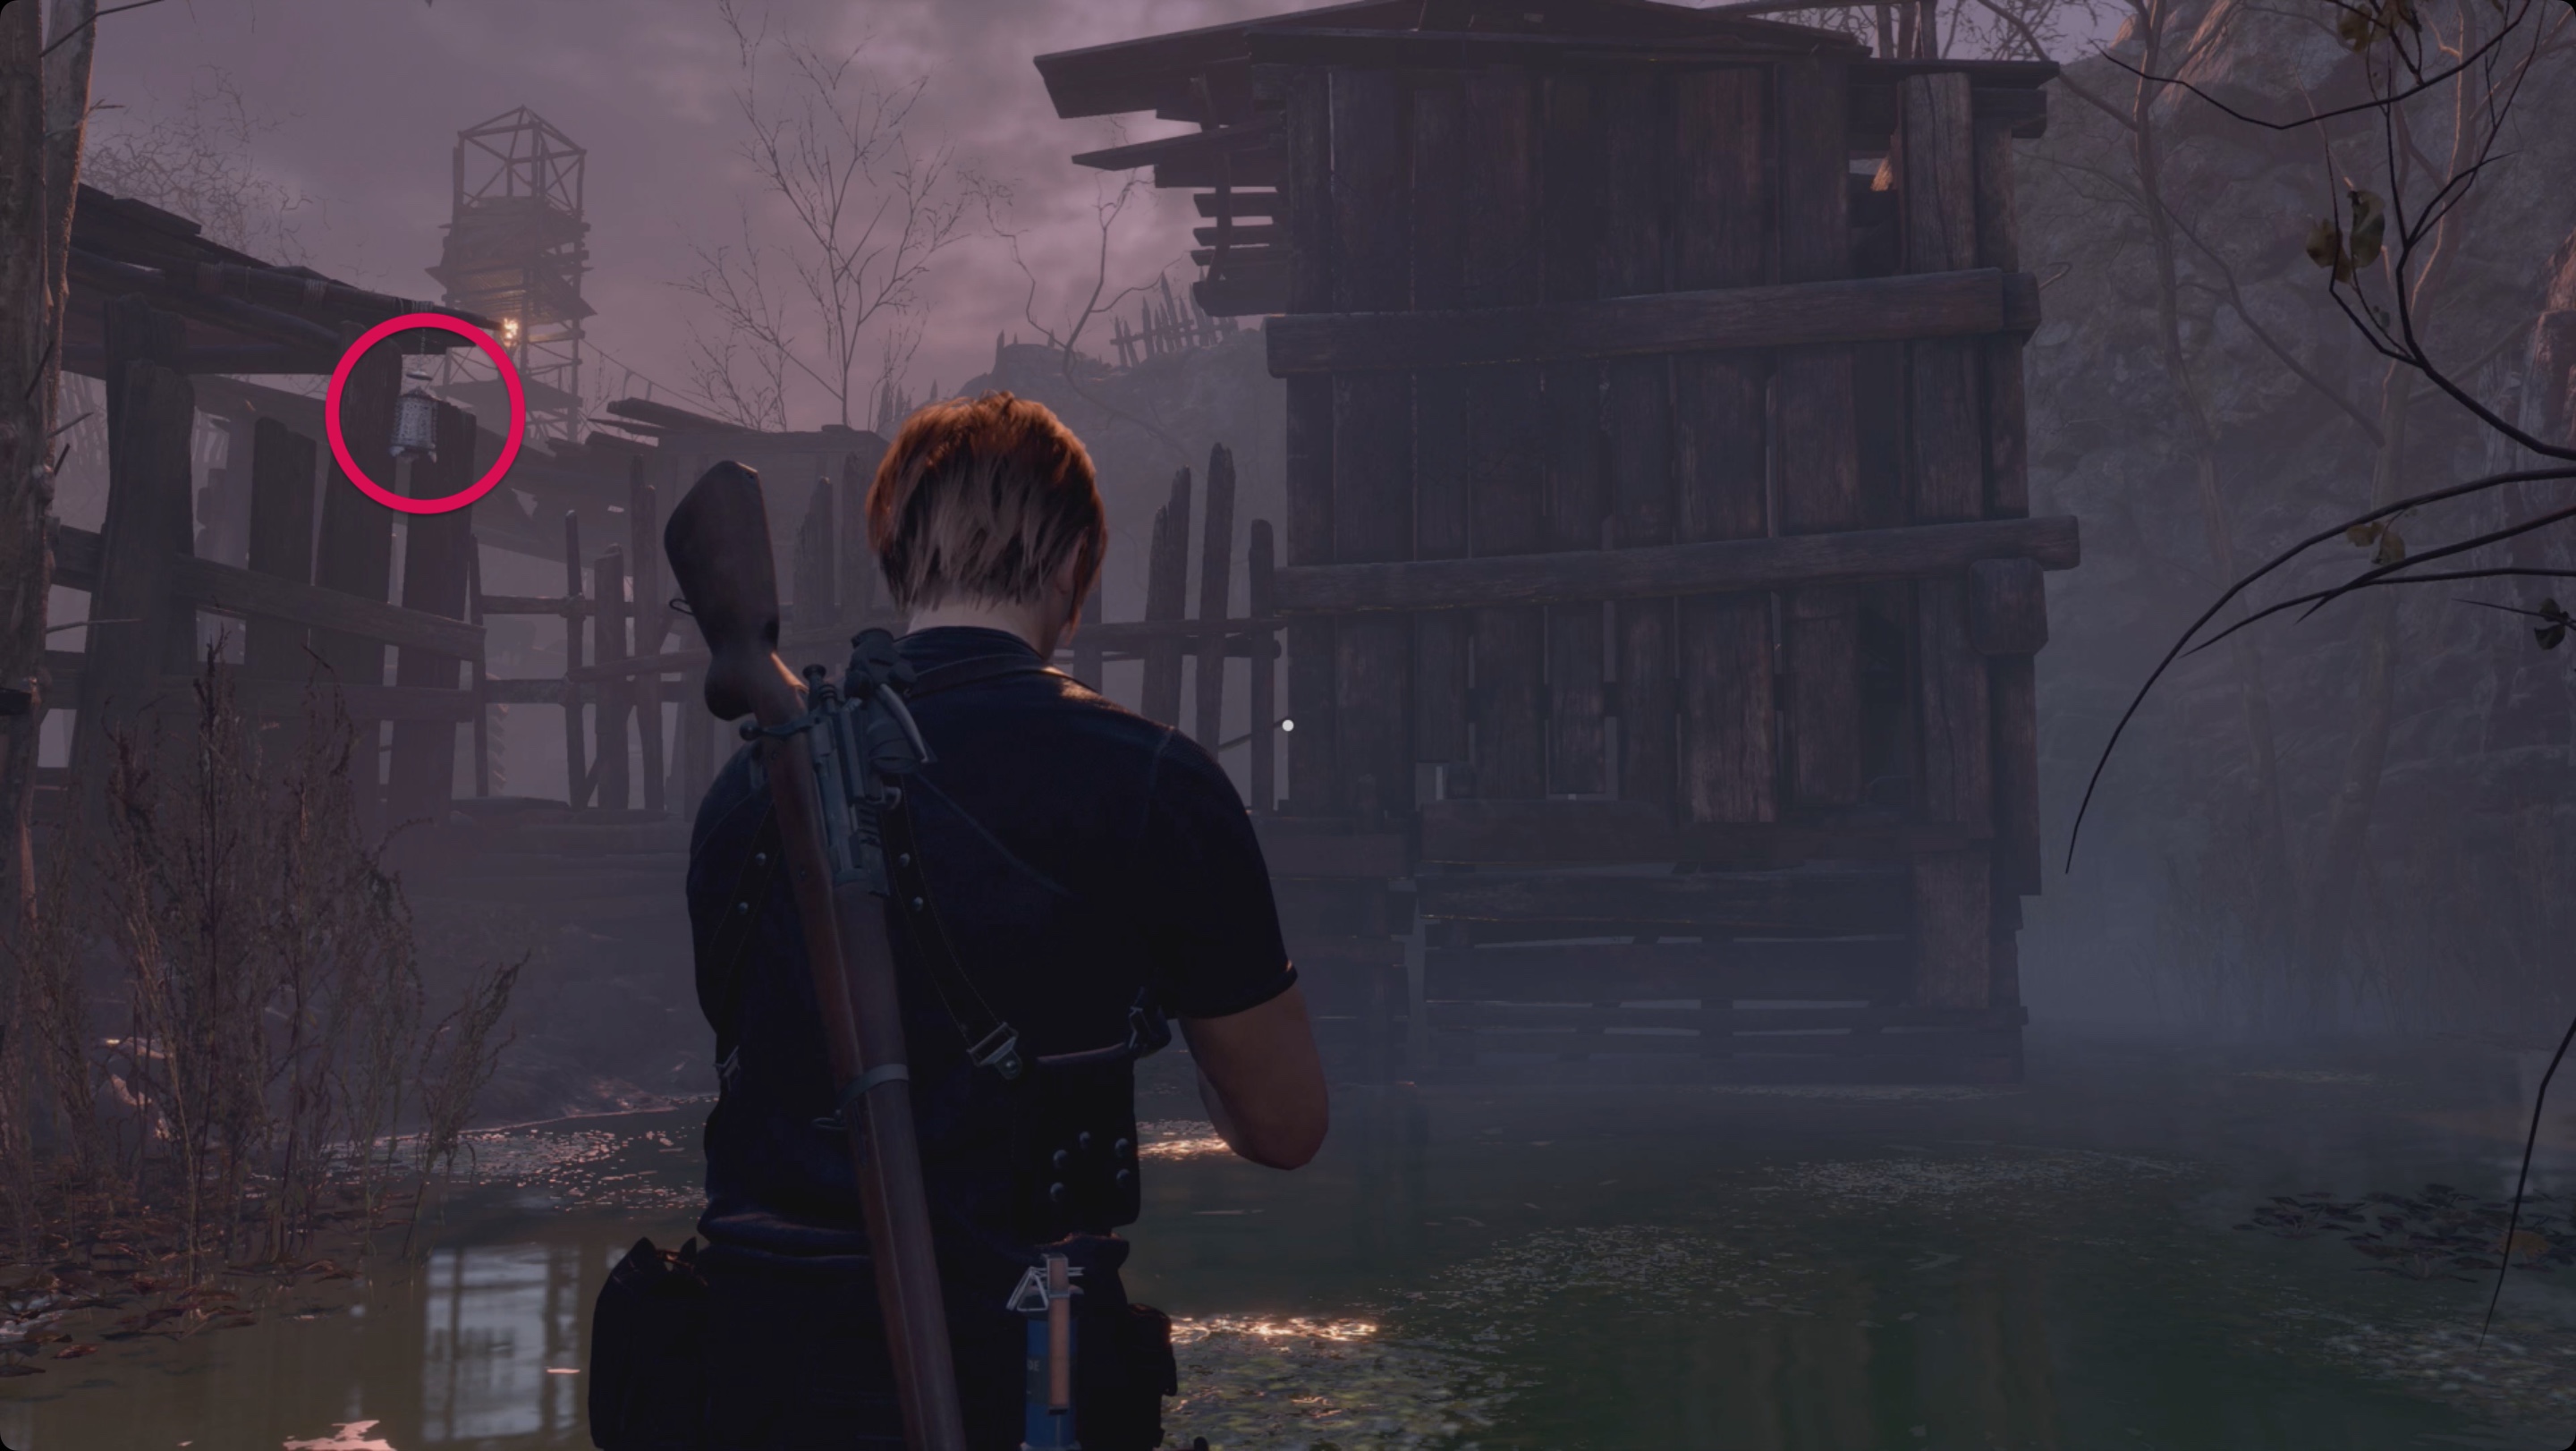
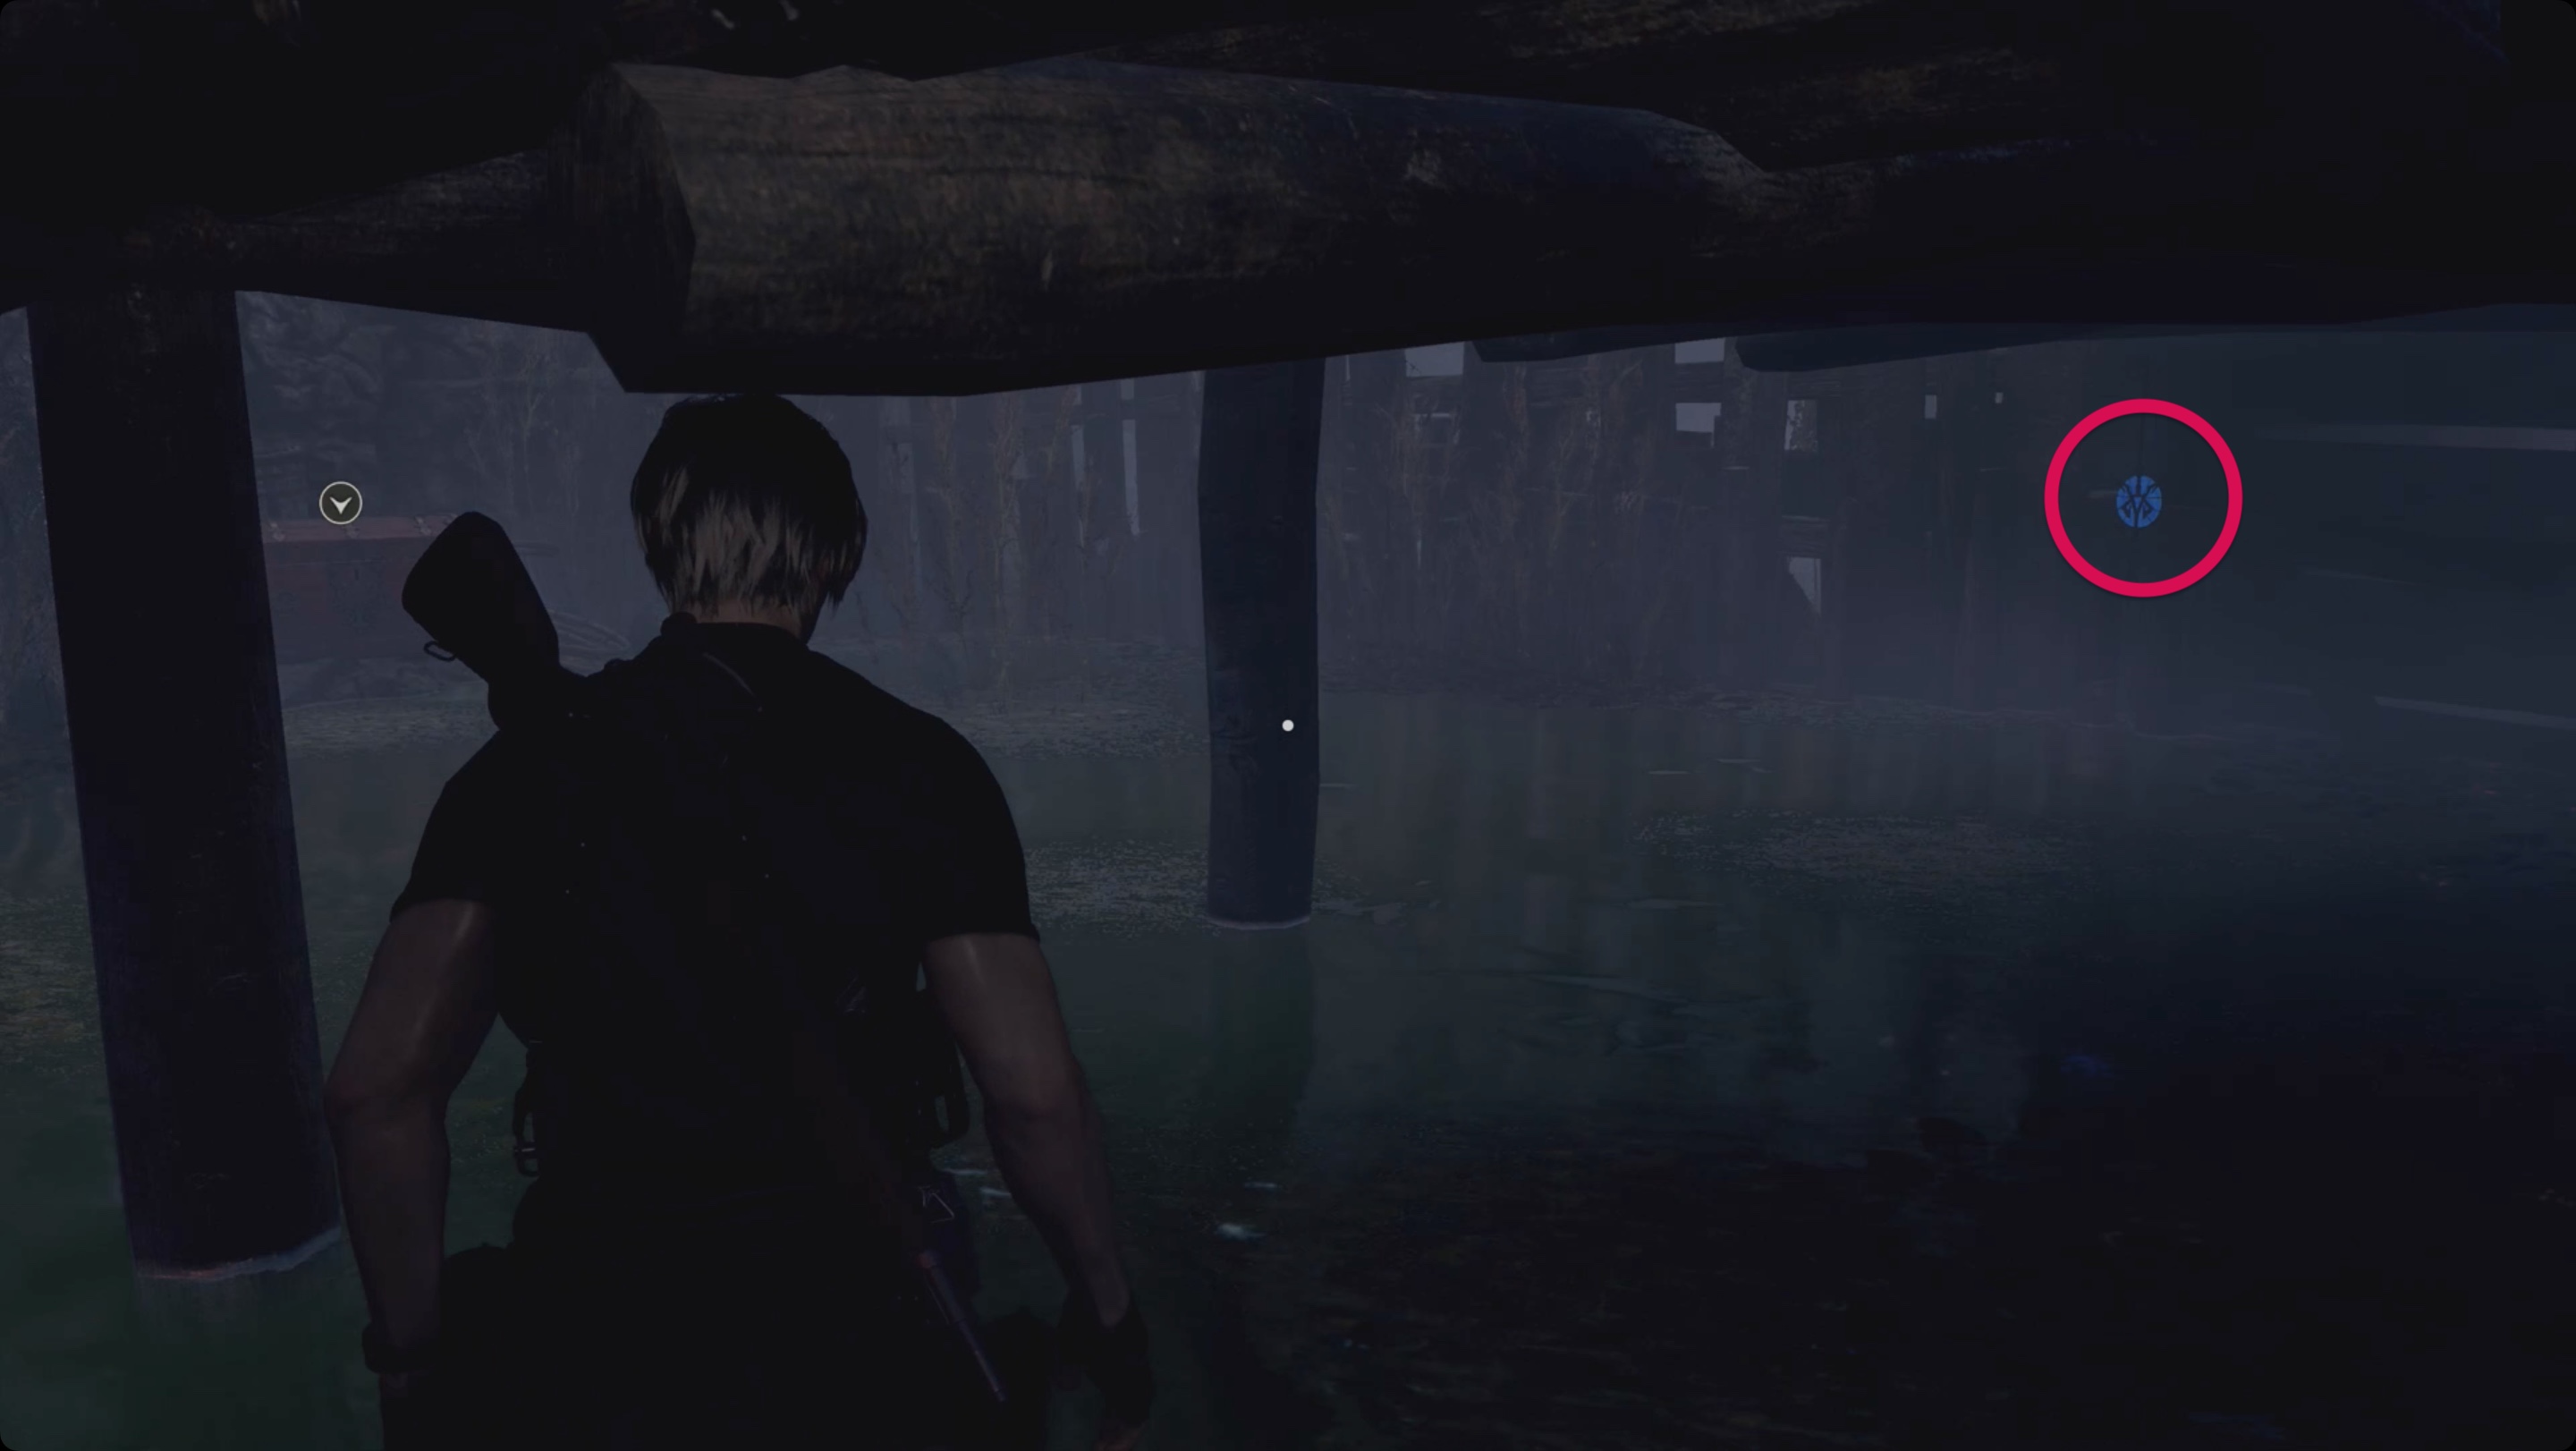
Blue medallion 2. Go through the door in front of the merchant to be on the shore of the lake. Go down and look under the pier to find another medallion.
There is a boat at the pier, but fuel is required to use it. You need to climb the stairs on the left, which leads to the fish farm. When you enter the fishermen’s village, you will automatically fall down. Go deeper until enemies appear, including a brute with a hammer. There are several tripwires scattered around this area that can be used to lure enemies. The Brute can be killed with grenades and a shotgun.
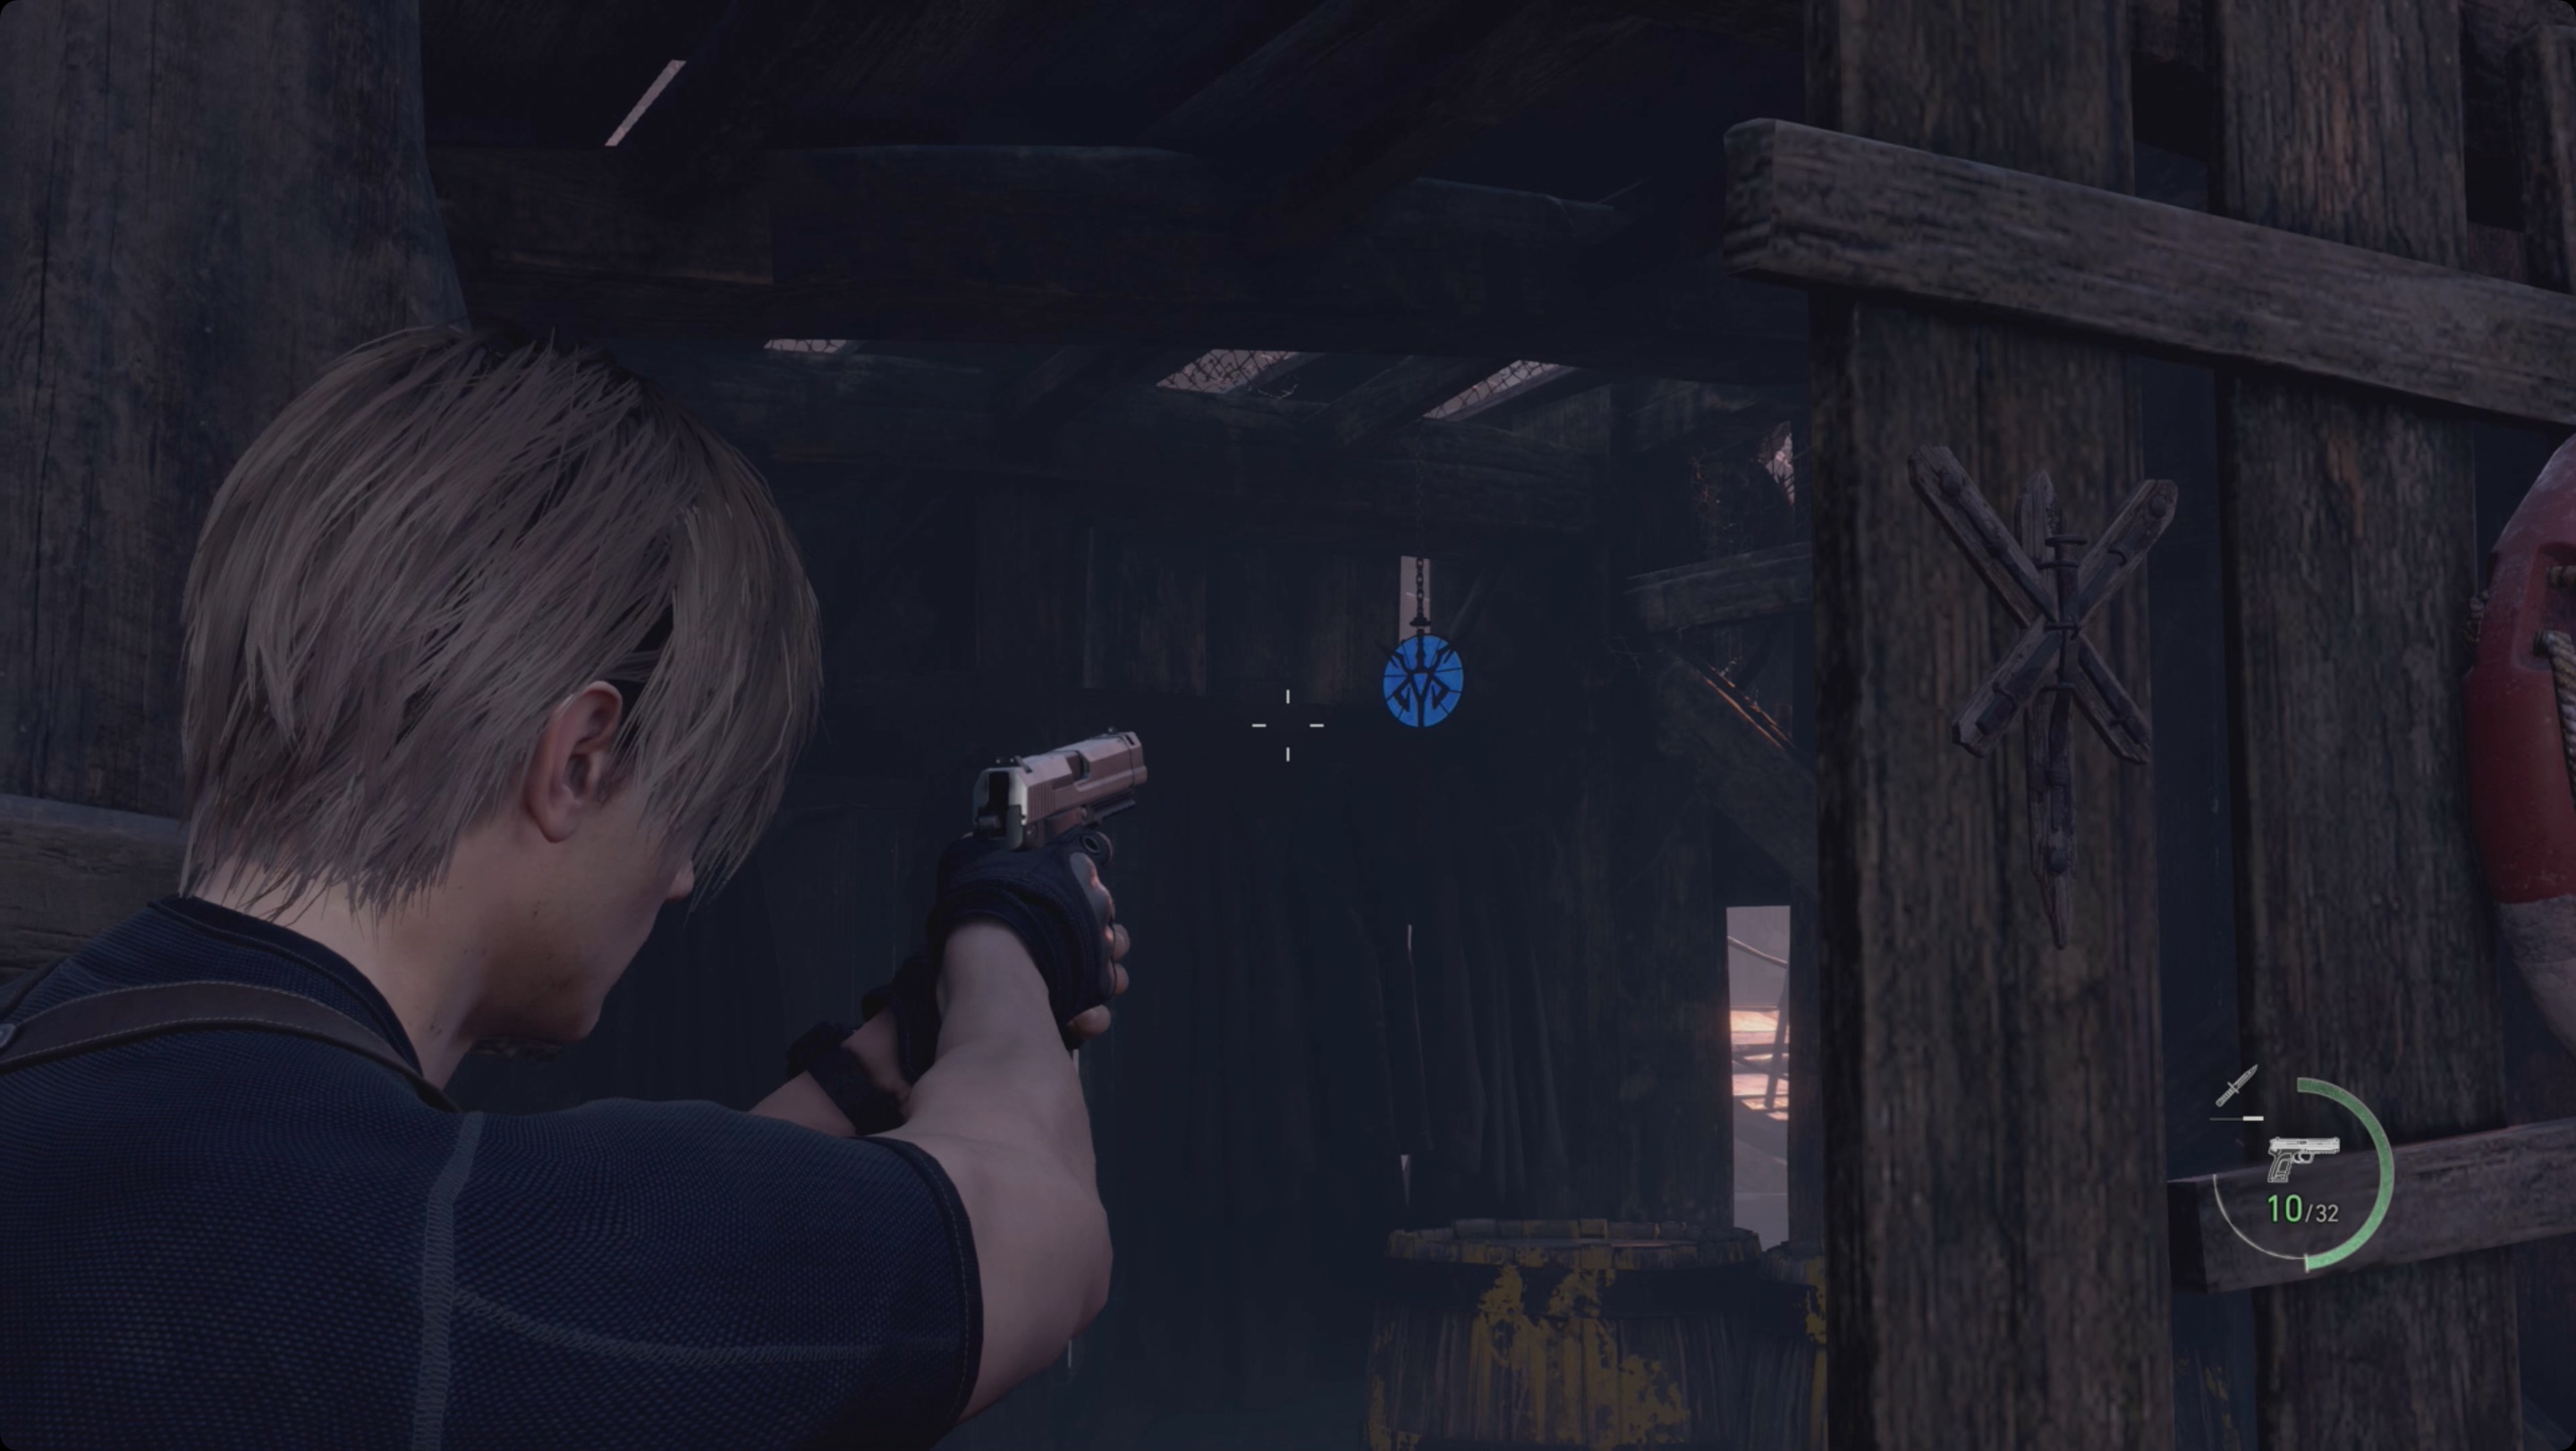
Blue medallion 3. Climb out of the water to the first hill, where there is a small barn, and a medallion hangs inside.
In the immediate vicinity of this location, you can find and kill about three snakes. Like real snakes, they emit a characteristic hiss. Don’t forget to sell the three snakes to the merchant to complete the previously received quest.
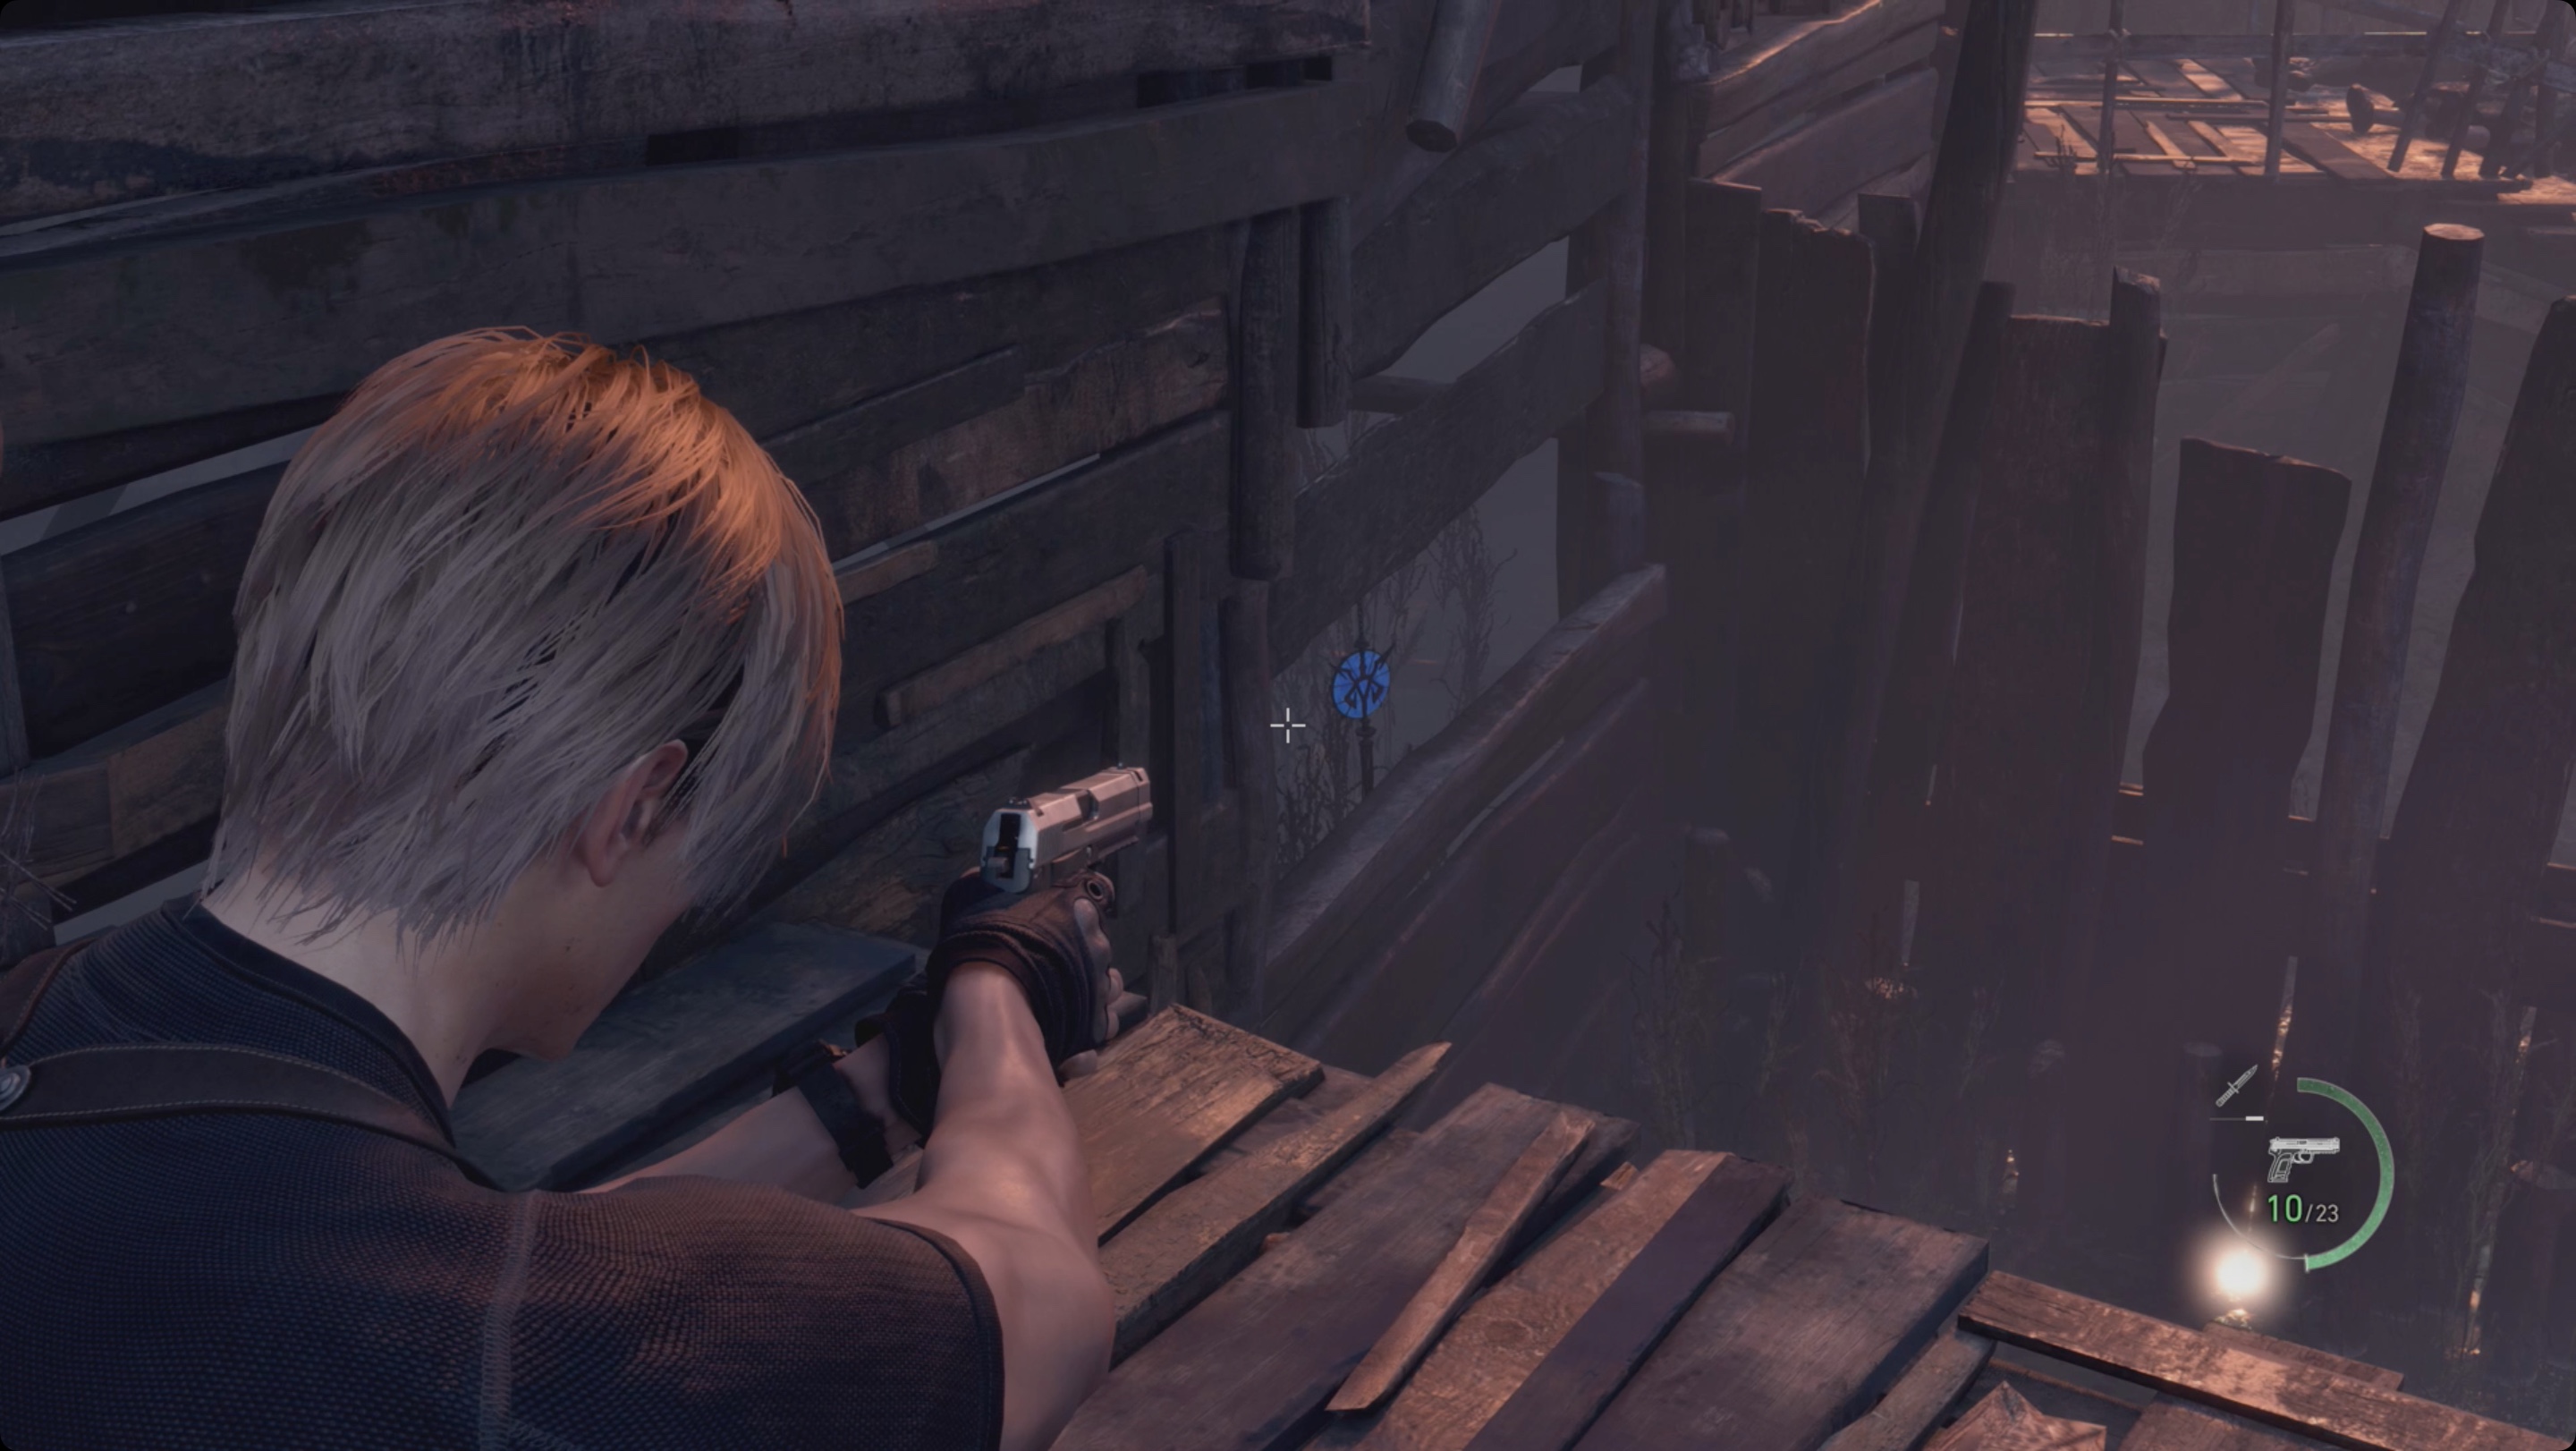
Blue medallion 4. Go down into the water to the other side, behind the tall tower on the left you can look through the gap in the wooden wall to shoot at the next medallion.
Move across the water to the northern platforms to find a hanging metal cage. Shoot it down and pick up an old pipe.
Blue medallion 5. Move to the end of the wooden platform that leads to the area behind the fence. Head through the area below the platform leading north to find the last medallion and a chest with Hex B.
Head towards the objective, but first enter the small building to the left of the main barn. Inside there is a box with a small key. Break the lock and go to the barn. Take the canister of fuel, after which you will need to return to the pier. Exit the building, go up the stairs to the right and you will be able to go to the beginning of the region on top. Follow to the very end and jump down. Climb up to the first wooden platform, where there is another ladder that will allow you to go to the exit. On the way back you will encounter another enemy group!
Don’t rush back to the boat. Instead, go to the merchant and again go down the stairs to his left. There is a locked drawer in the far corner that can be opened with a small key to get a copper pocket watch. Don’t forget to talk to the merchant and sell the three snakes to complete the quest. Once you’re done with the side activities, return to the dock and interact with the boat by using the fuel canister on it.
How to beat Del Lago
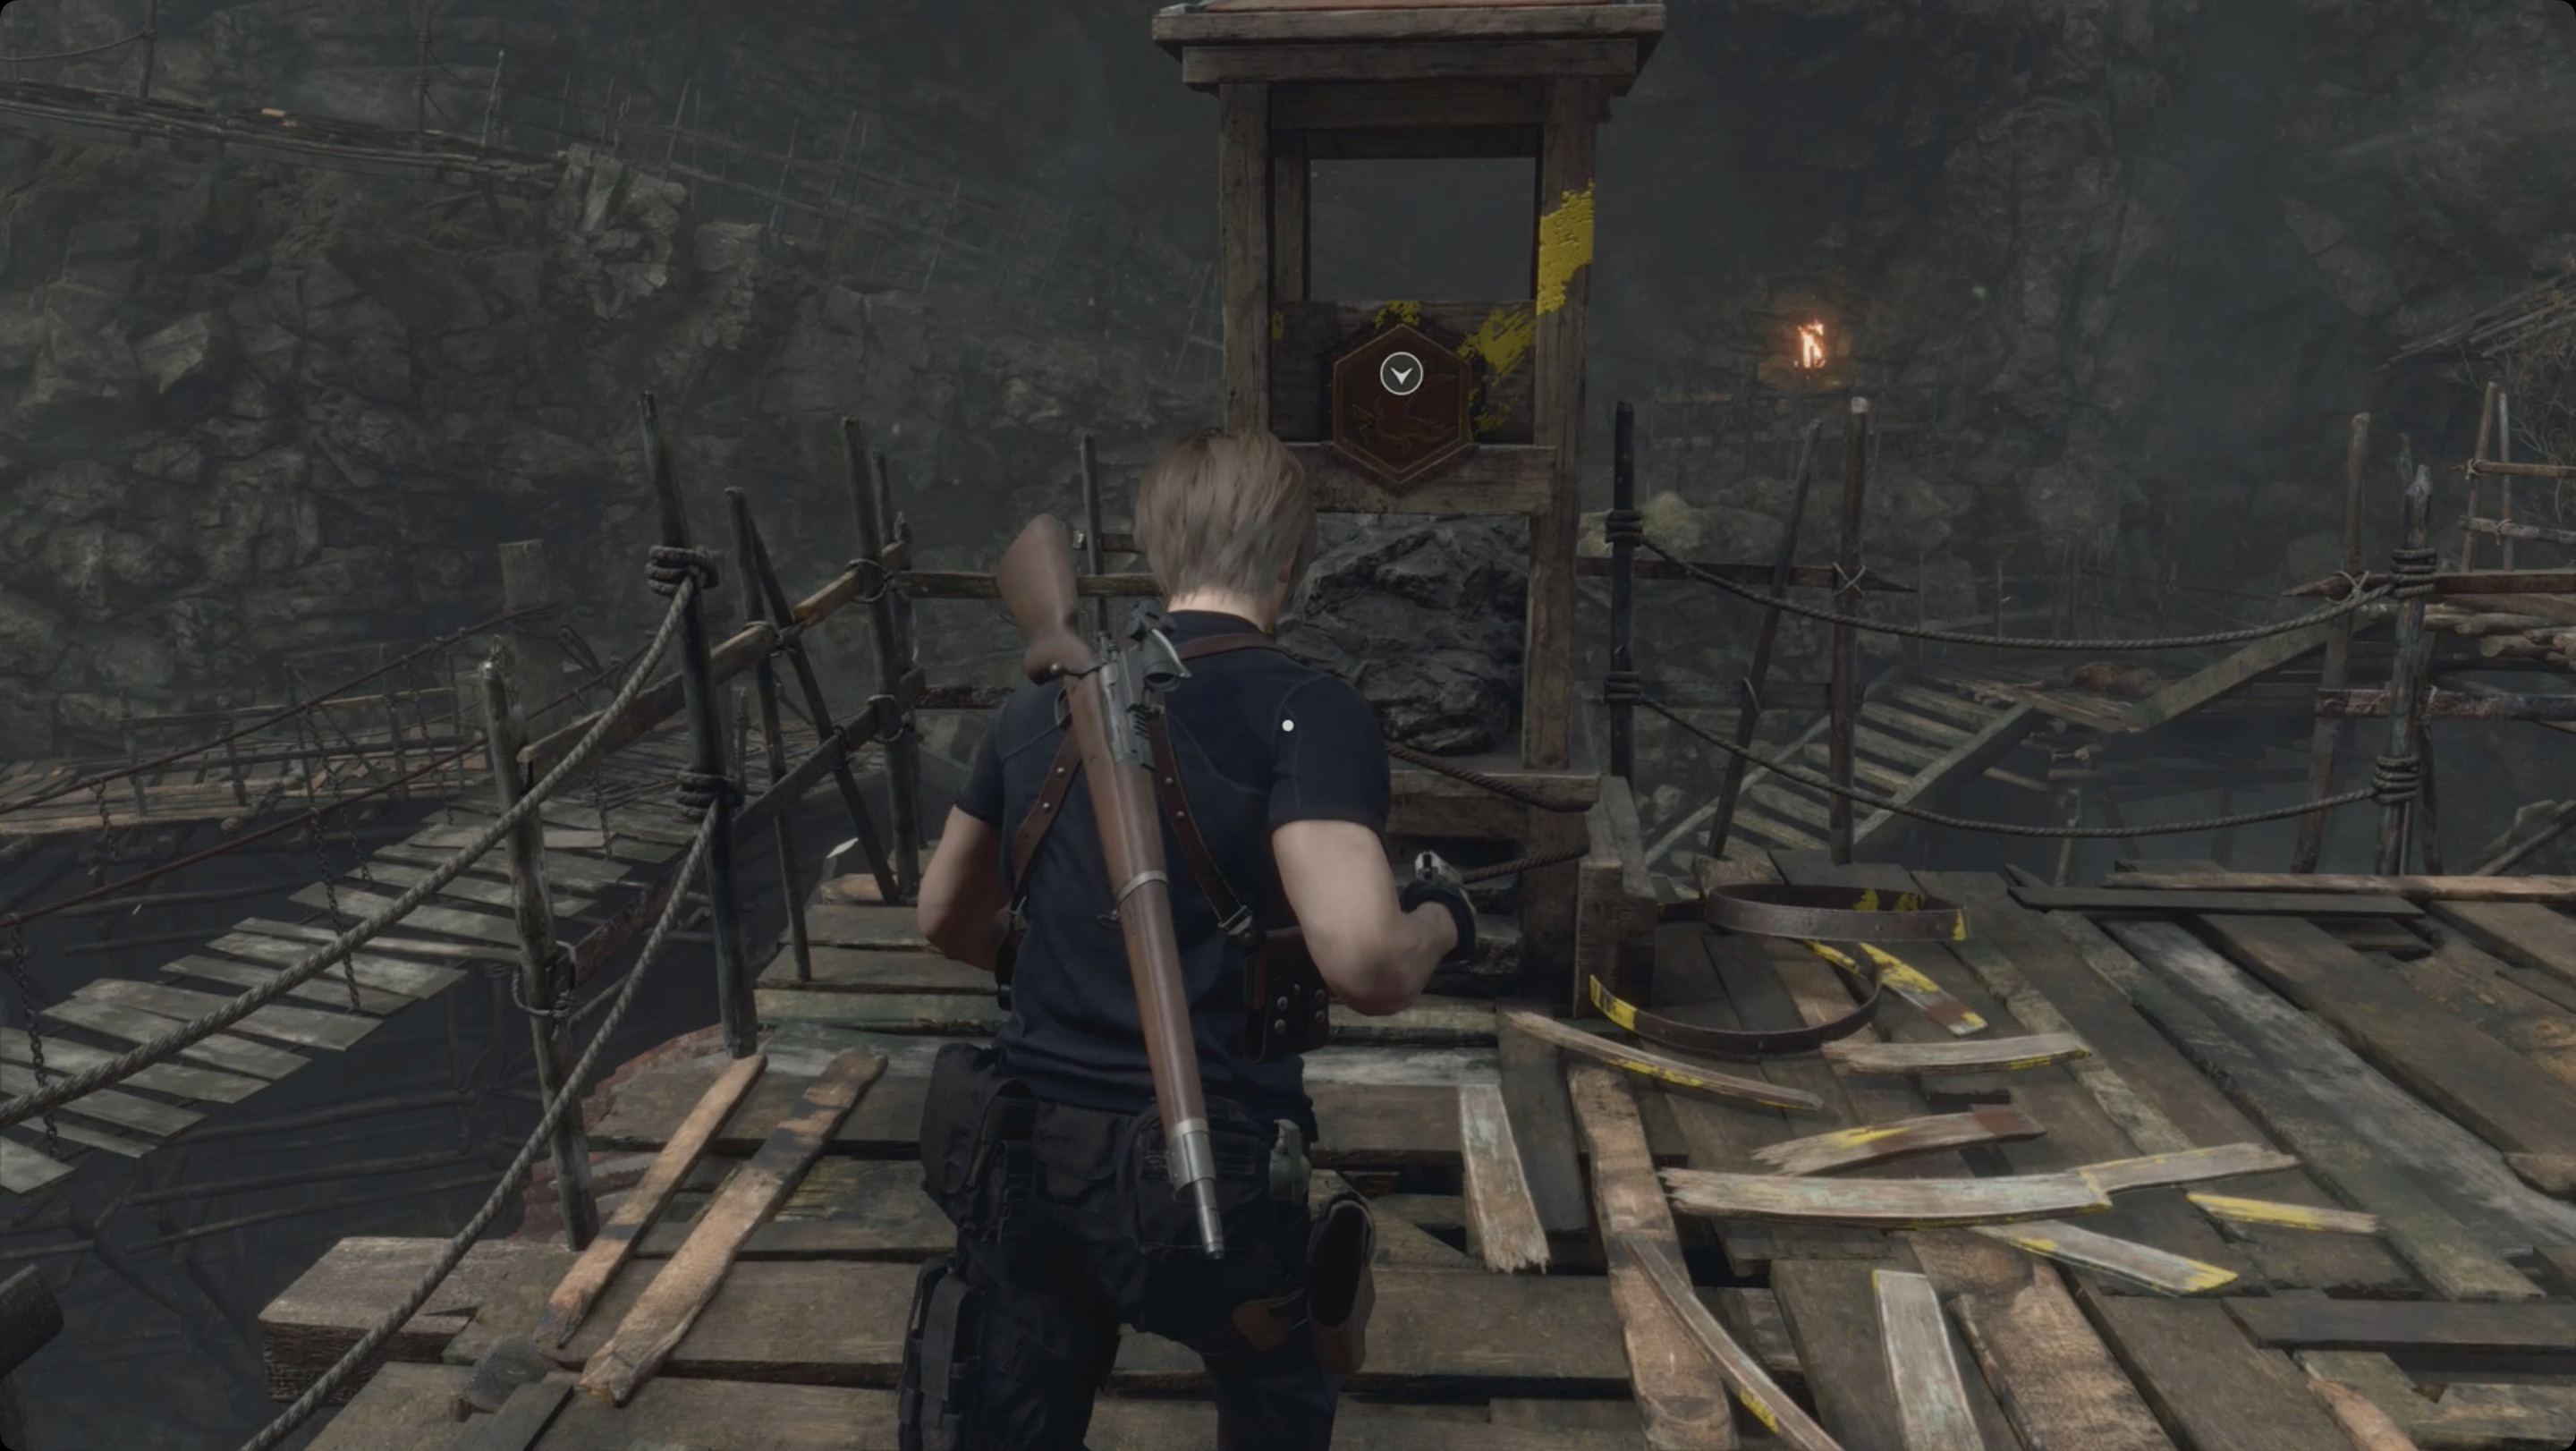
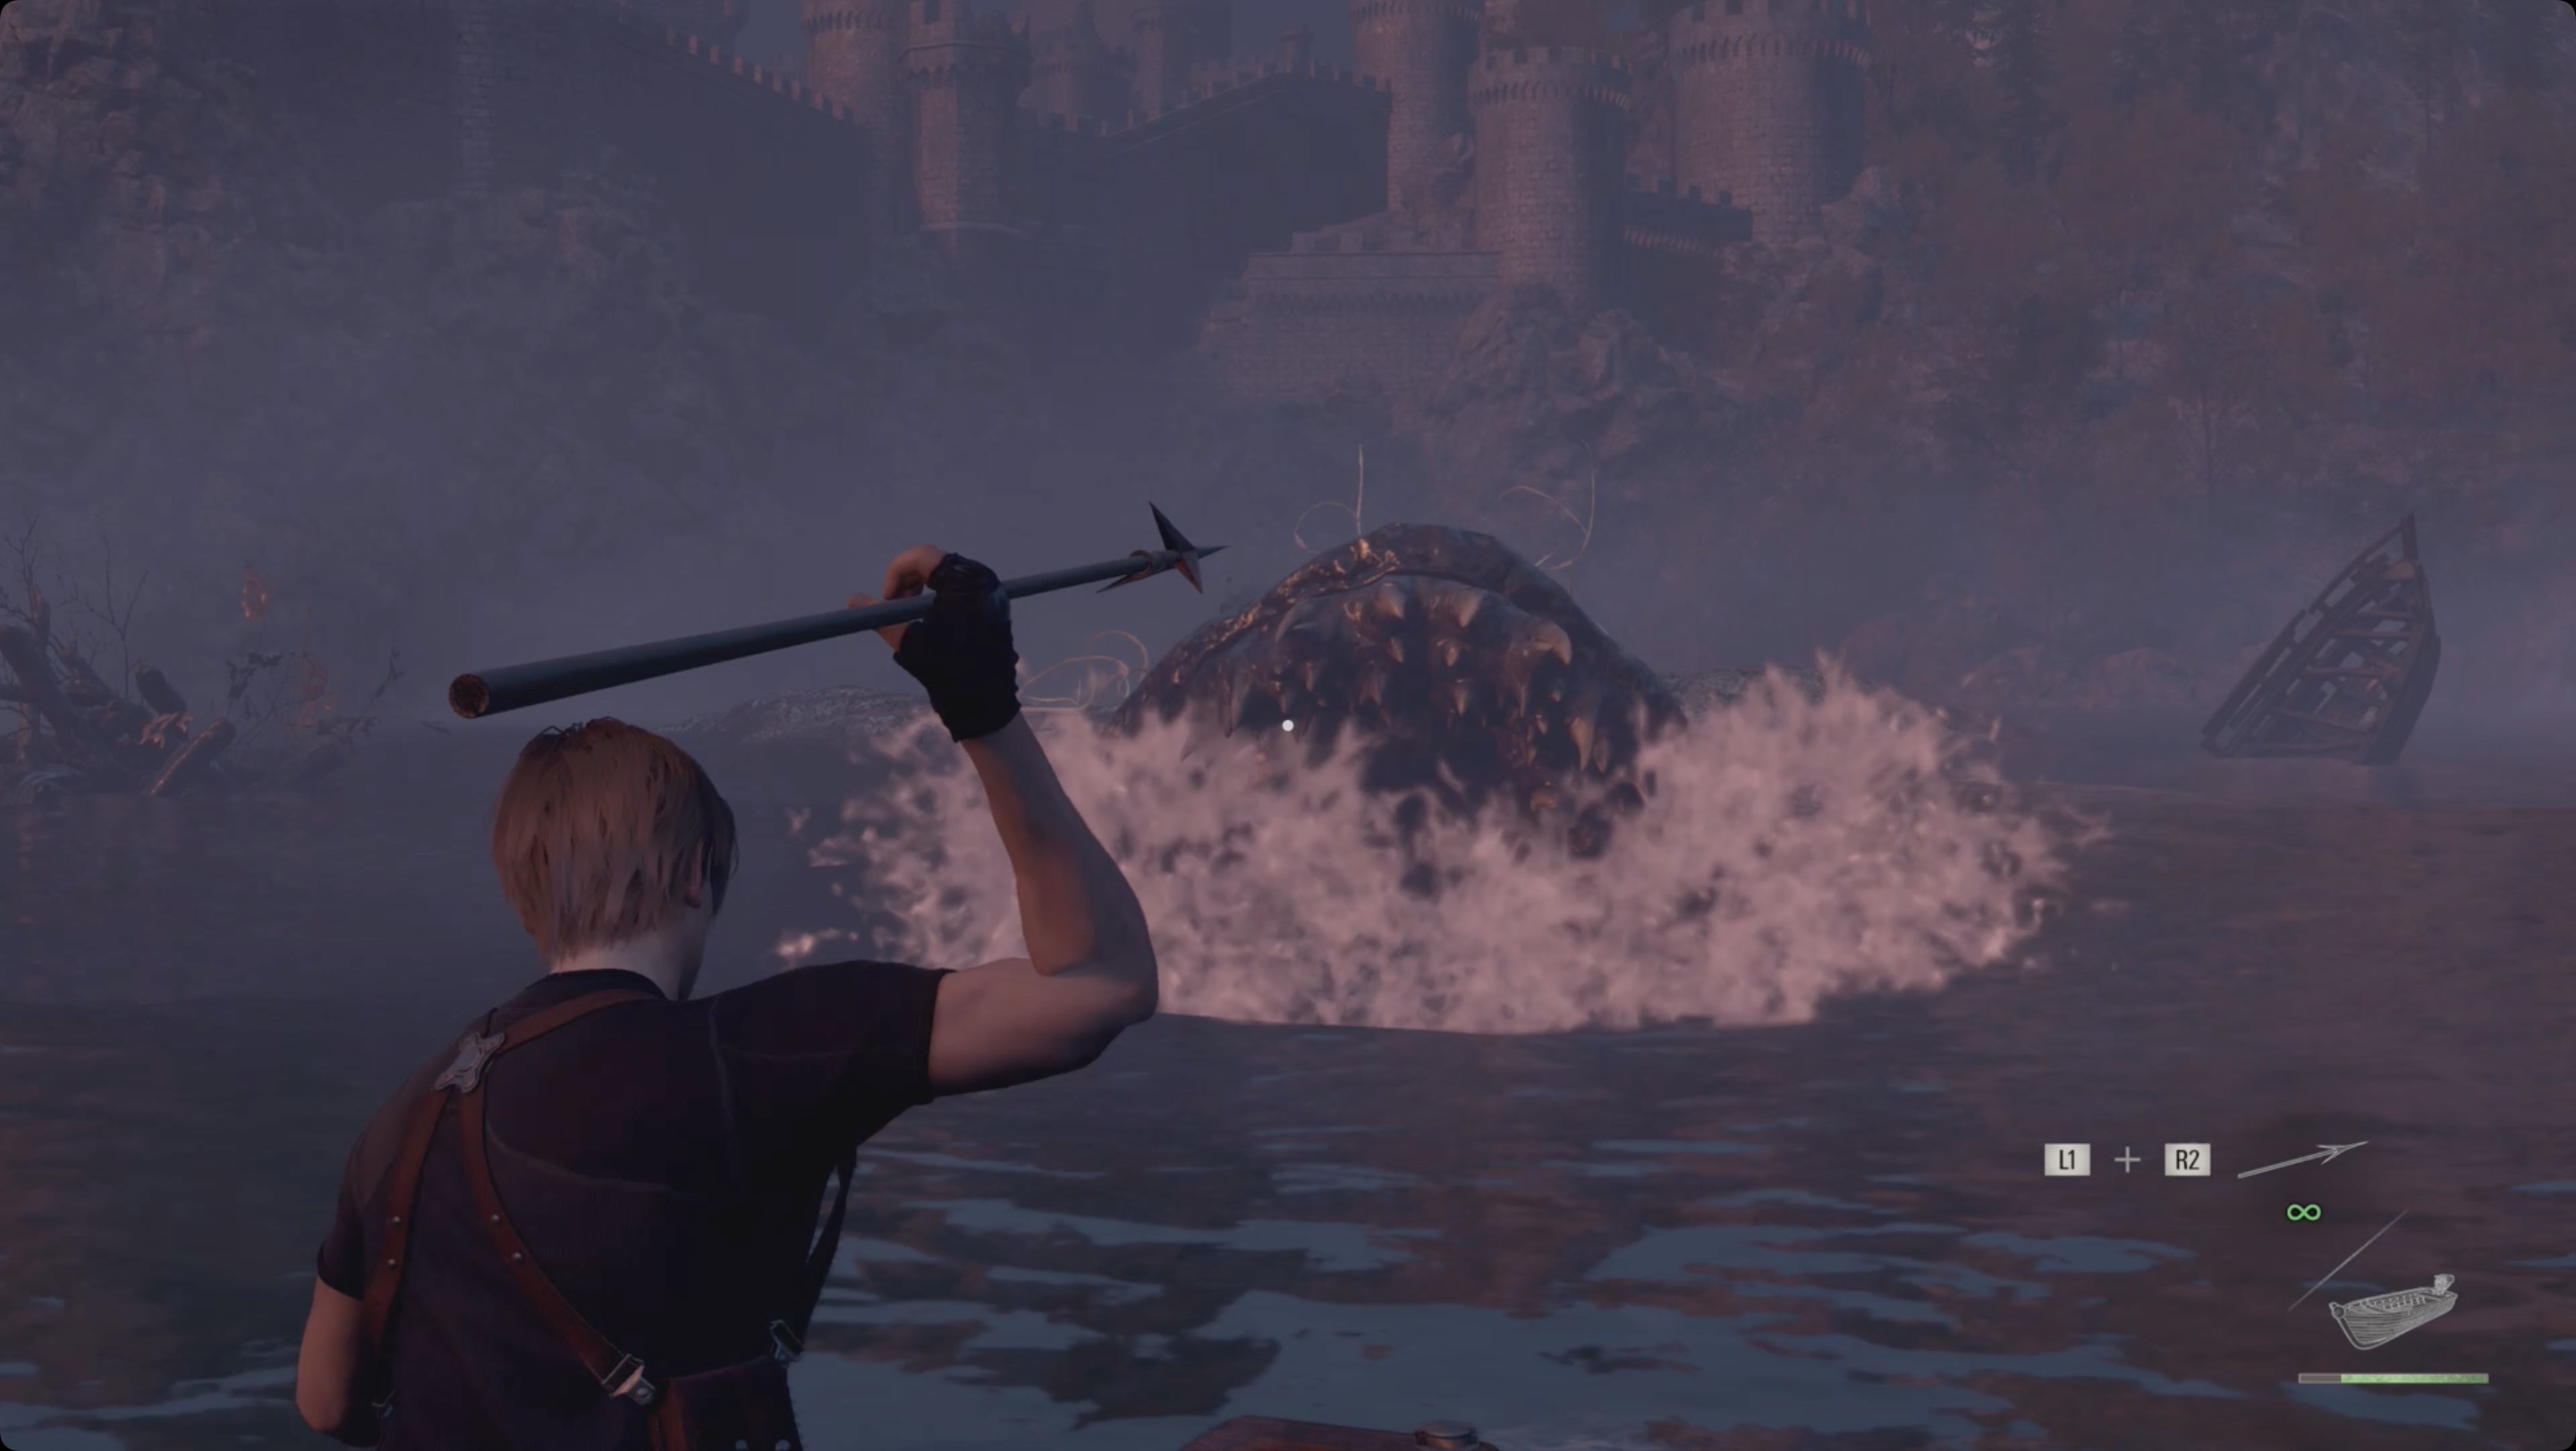
You will face Del Lago, the lake monster and your first boss. You can control the boat to dodge various objects and avoid collisions. You must also throw endless harpoons at the enemy. You can damage a monster only at the moment when it emerges from the water. After a while, the monster will stop pulling the boat and go under the water. Watch for footprints on the water, prepare a harpoon and throw it into the monster’s mouth to avoid damage. Repeat the steps above until victory, which will mark the end of the chapter.
Chapter 4
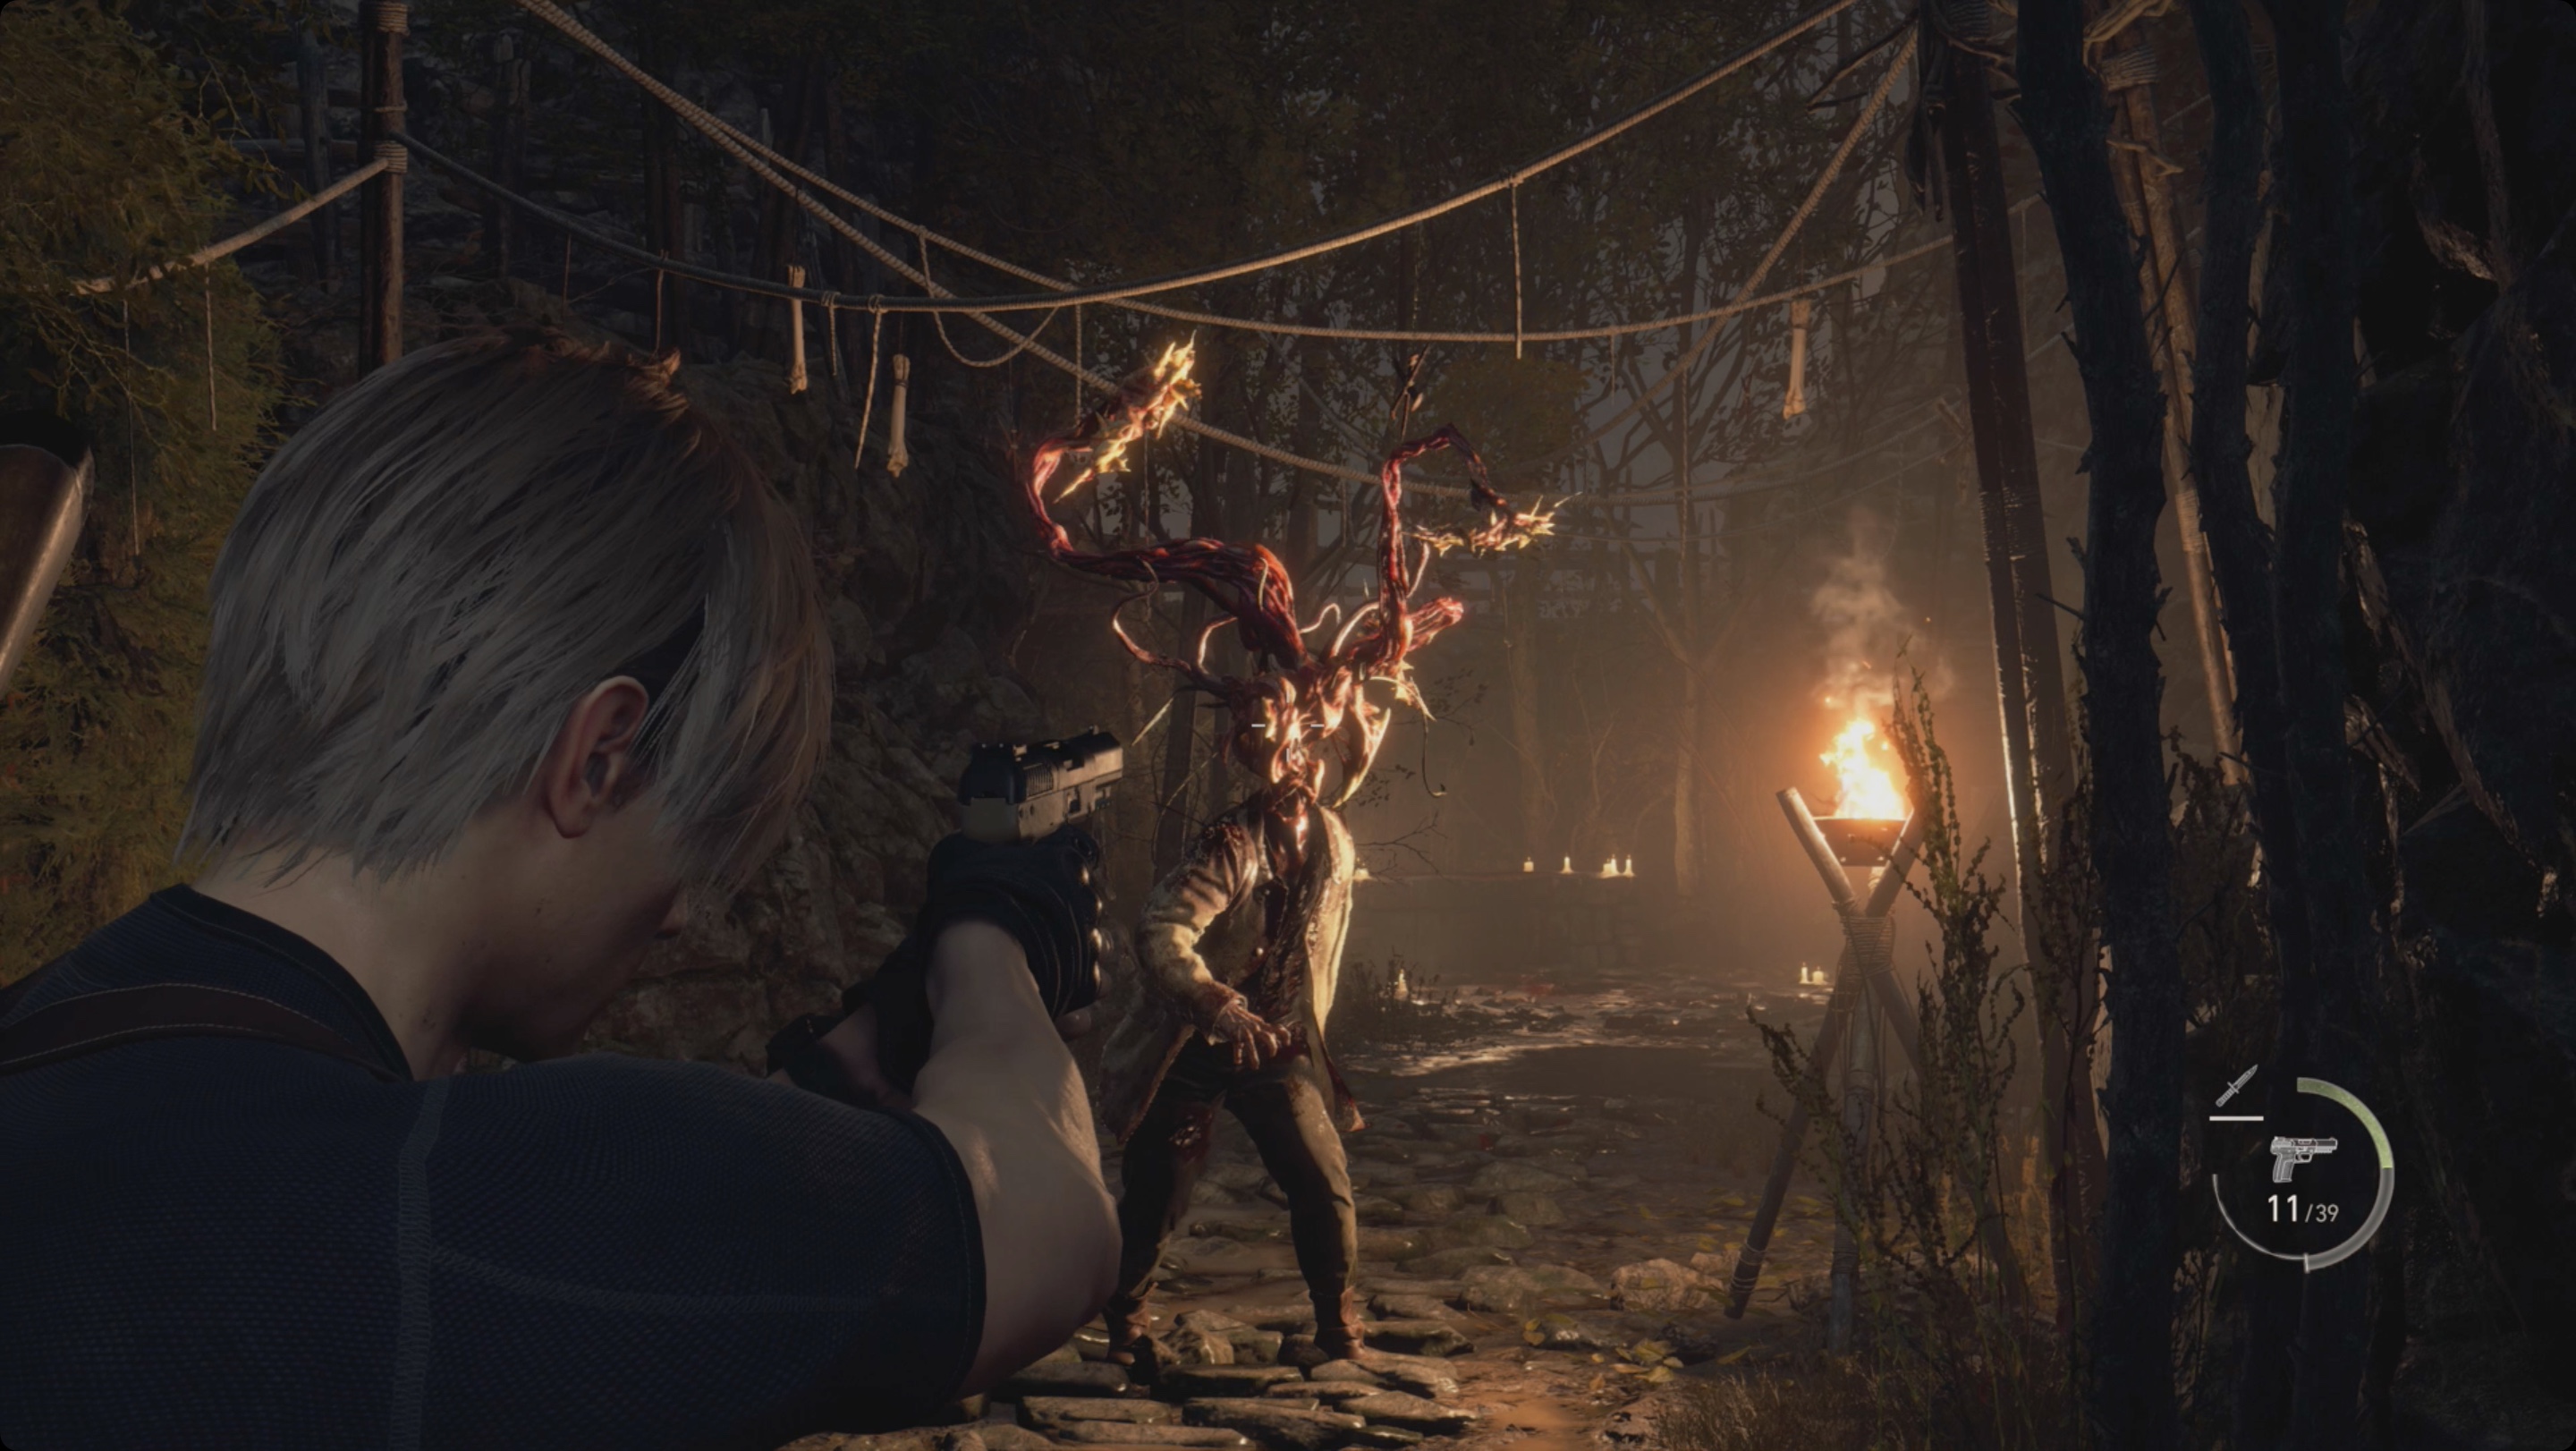
At the beginning of the chapter, you will find yourself in another part of the lake, without a boat. Move through the location until you meet a new type of enemy. These are all the same distraught residents whose head is torn as a bloody tentacle crawls out of the neck. To deal increased damage, you need to aim at the large part where the human head used to be. Sometimes such enemies can be stunned and you can melee attack them. Not all people mutate, but if you see that the enemy has fallen to the ground and begins to writhe, immediately run up and use the hint to finish off and prevent mutation. In general, a 100% dead enemy will always drop loot. If it doesn’t drop, it’s about to mutate, or it just hasn’t been killed yet.
Defeat the two enemies and get to the cave. Examine the room with two stone hands, look for a map on the right. After interacting with her, two places will appear on your map, indicating where to look for stone heads. You can visit both places in any order. Exit the cave to the river, turn right to find an altar from which you can take the key for street altars. The ones you’ve seen before. For example, on a farm behind a village square.
Trader’s Request: Egg Hunt
Go to the boat dock and look on the wall on the left for another note with the merchant’s order. There is a chicken farm on the eastern shore of the lake, where you will find a golden egg (we will specify below). After that, sell the golden egg to the merchant, whose shop is located southwest of the lake.
Go to the pier where there is a new boat with a motor. On it you can swim across to different parts of the lake. Let’s start with collectibles. Before completing the main task, swim to the middle of the lake, where there is a wreckage of a boat. Moor the boat in the center and find a chest with a gem. Exit to the other side of the structure through the center and go to the front of the wreckage. There will be another treasure chest here, in which the Red9 pistol is hidden.
If the inventory is full, be sure to send the gun to storage so that it is counted as found. If you do not need it, you can sell it later, although it is much better than a standard pistol. Get back on the boat and sail east to find a small chicken farm. Head left past the cages to find a Velvety Gem on top of a barrel. Walk around the back of the area to find a golden chicken egg lying on the ground. Do not under any circumstances eat it!
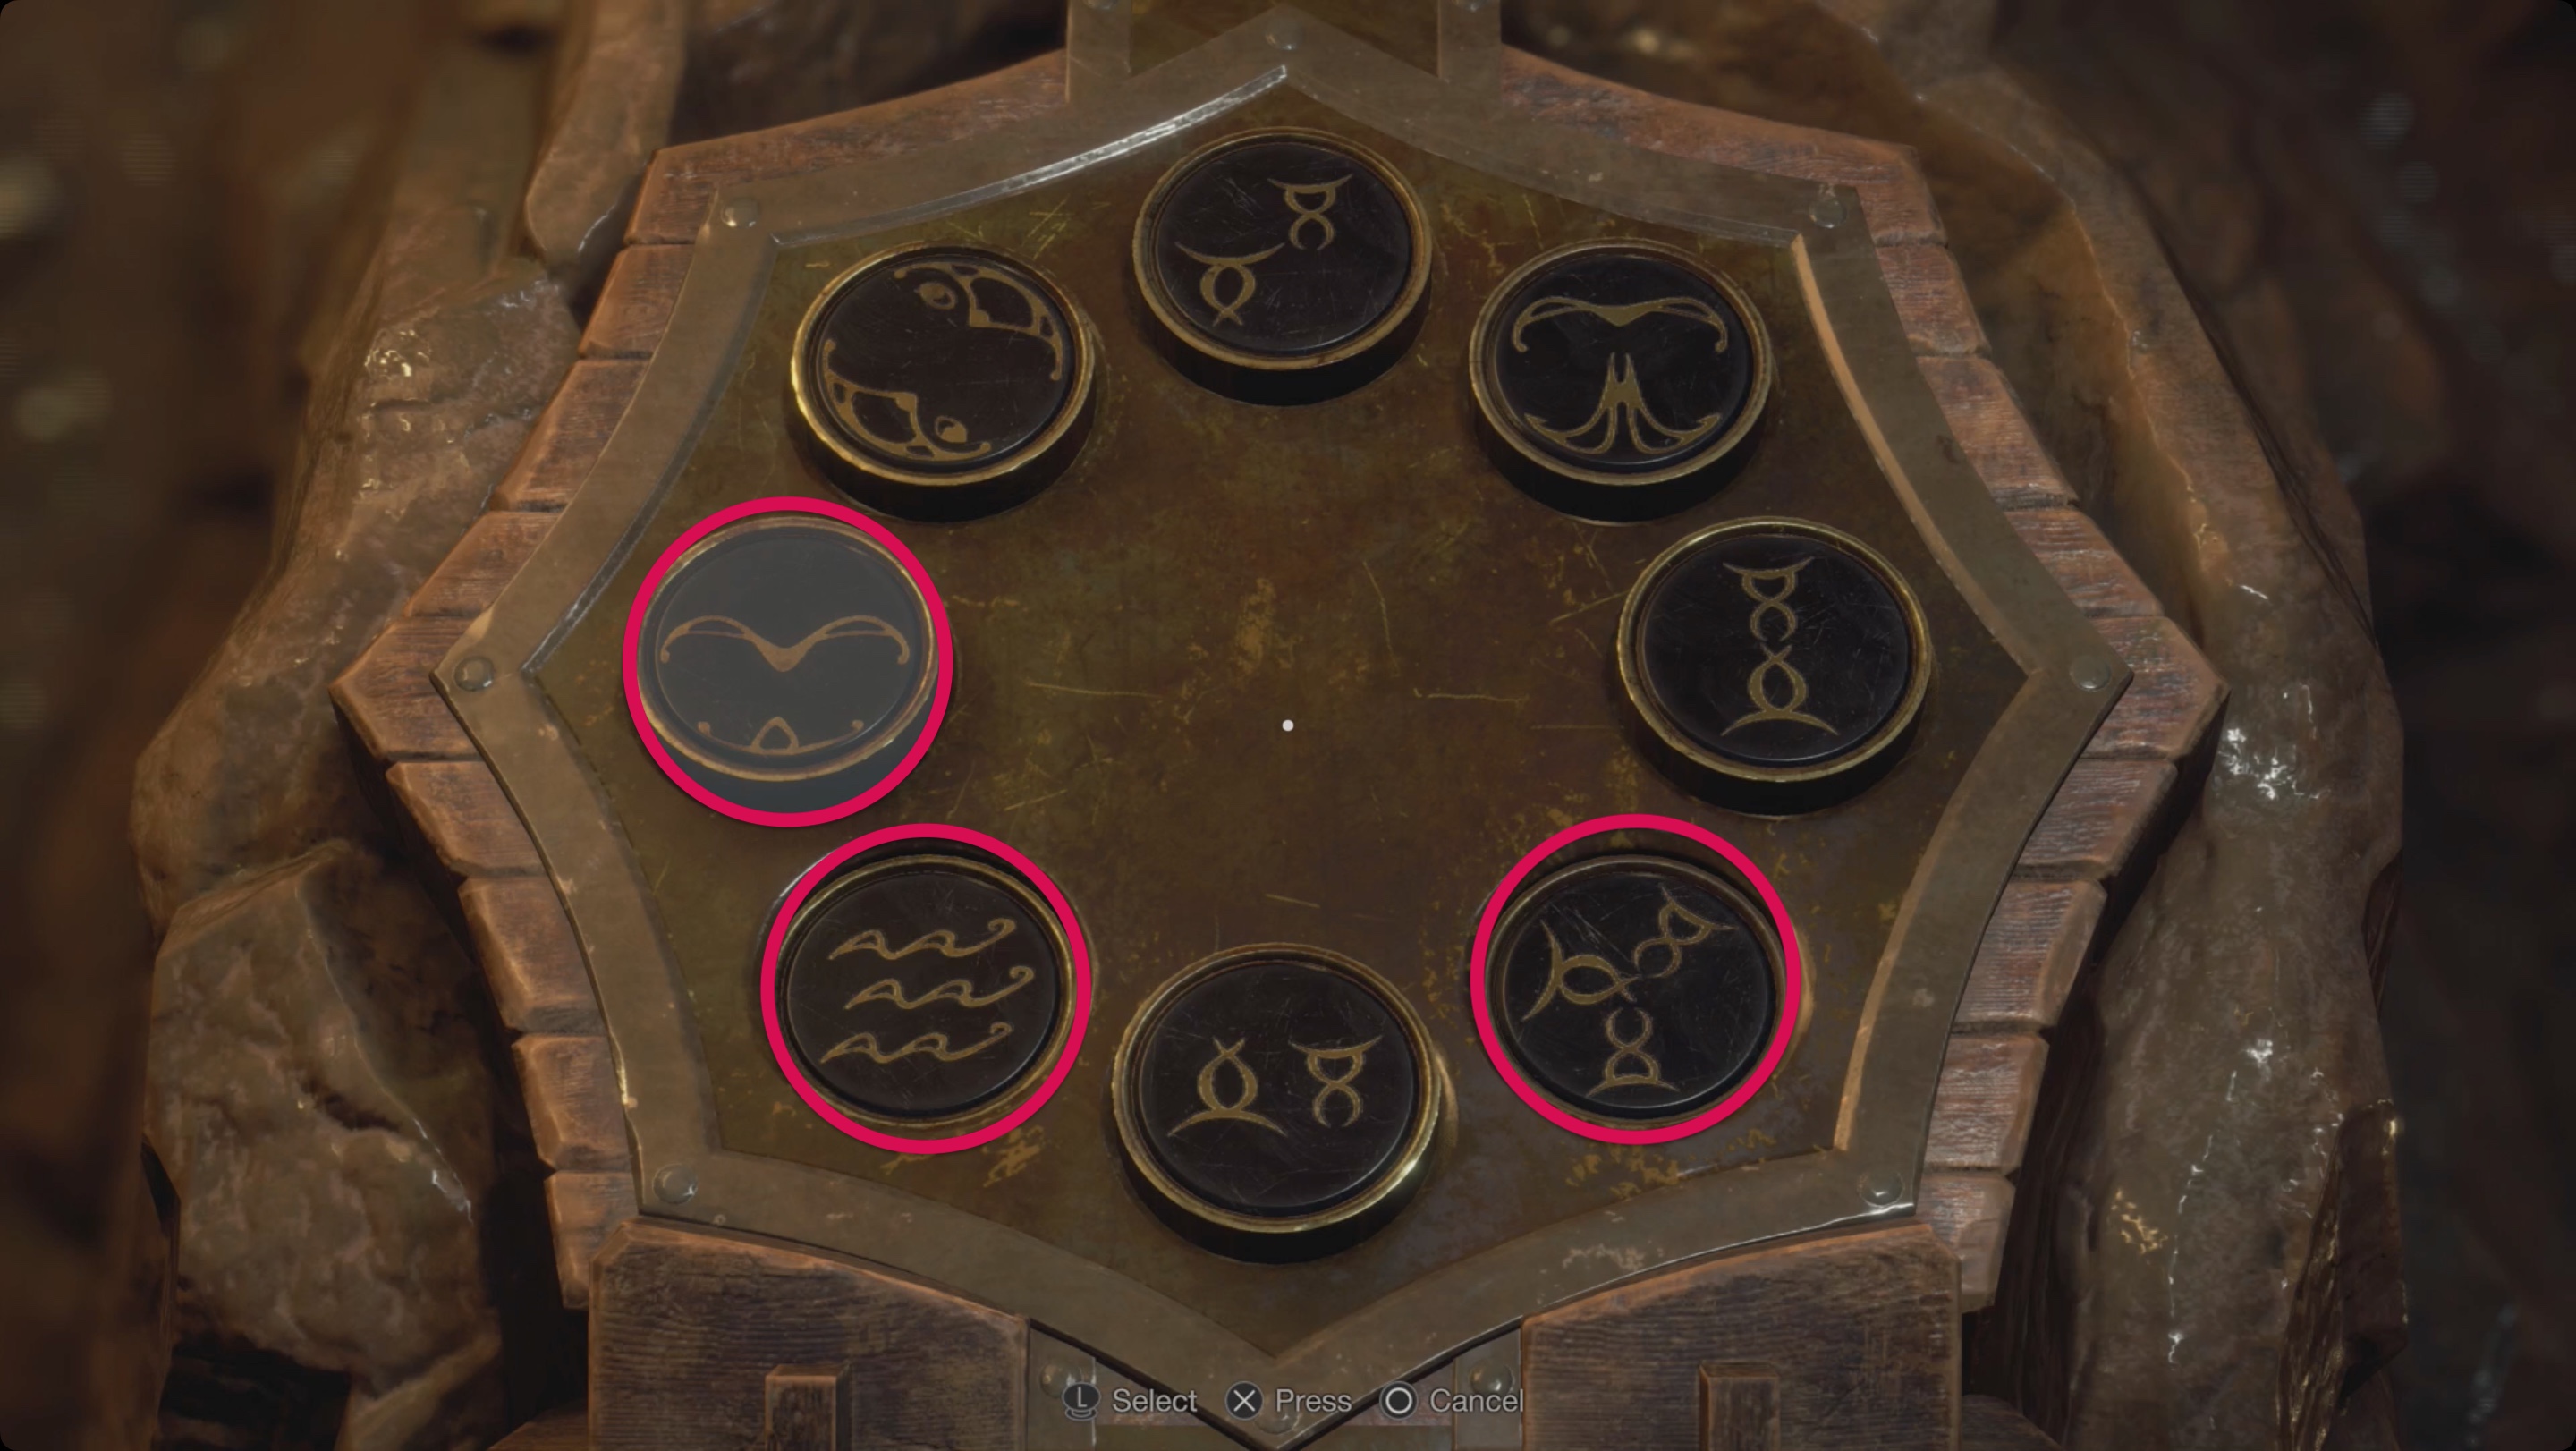
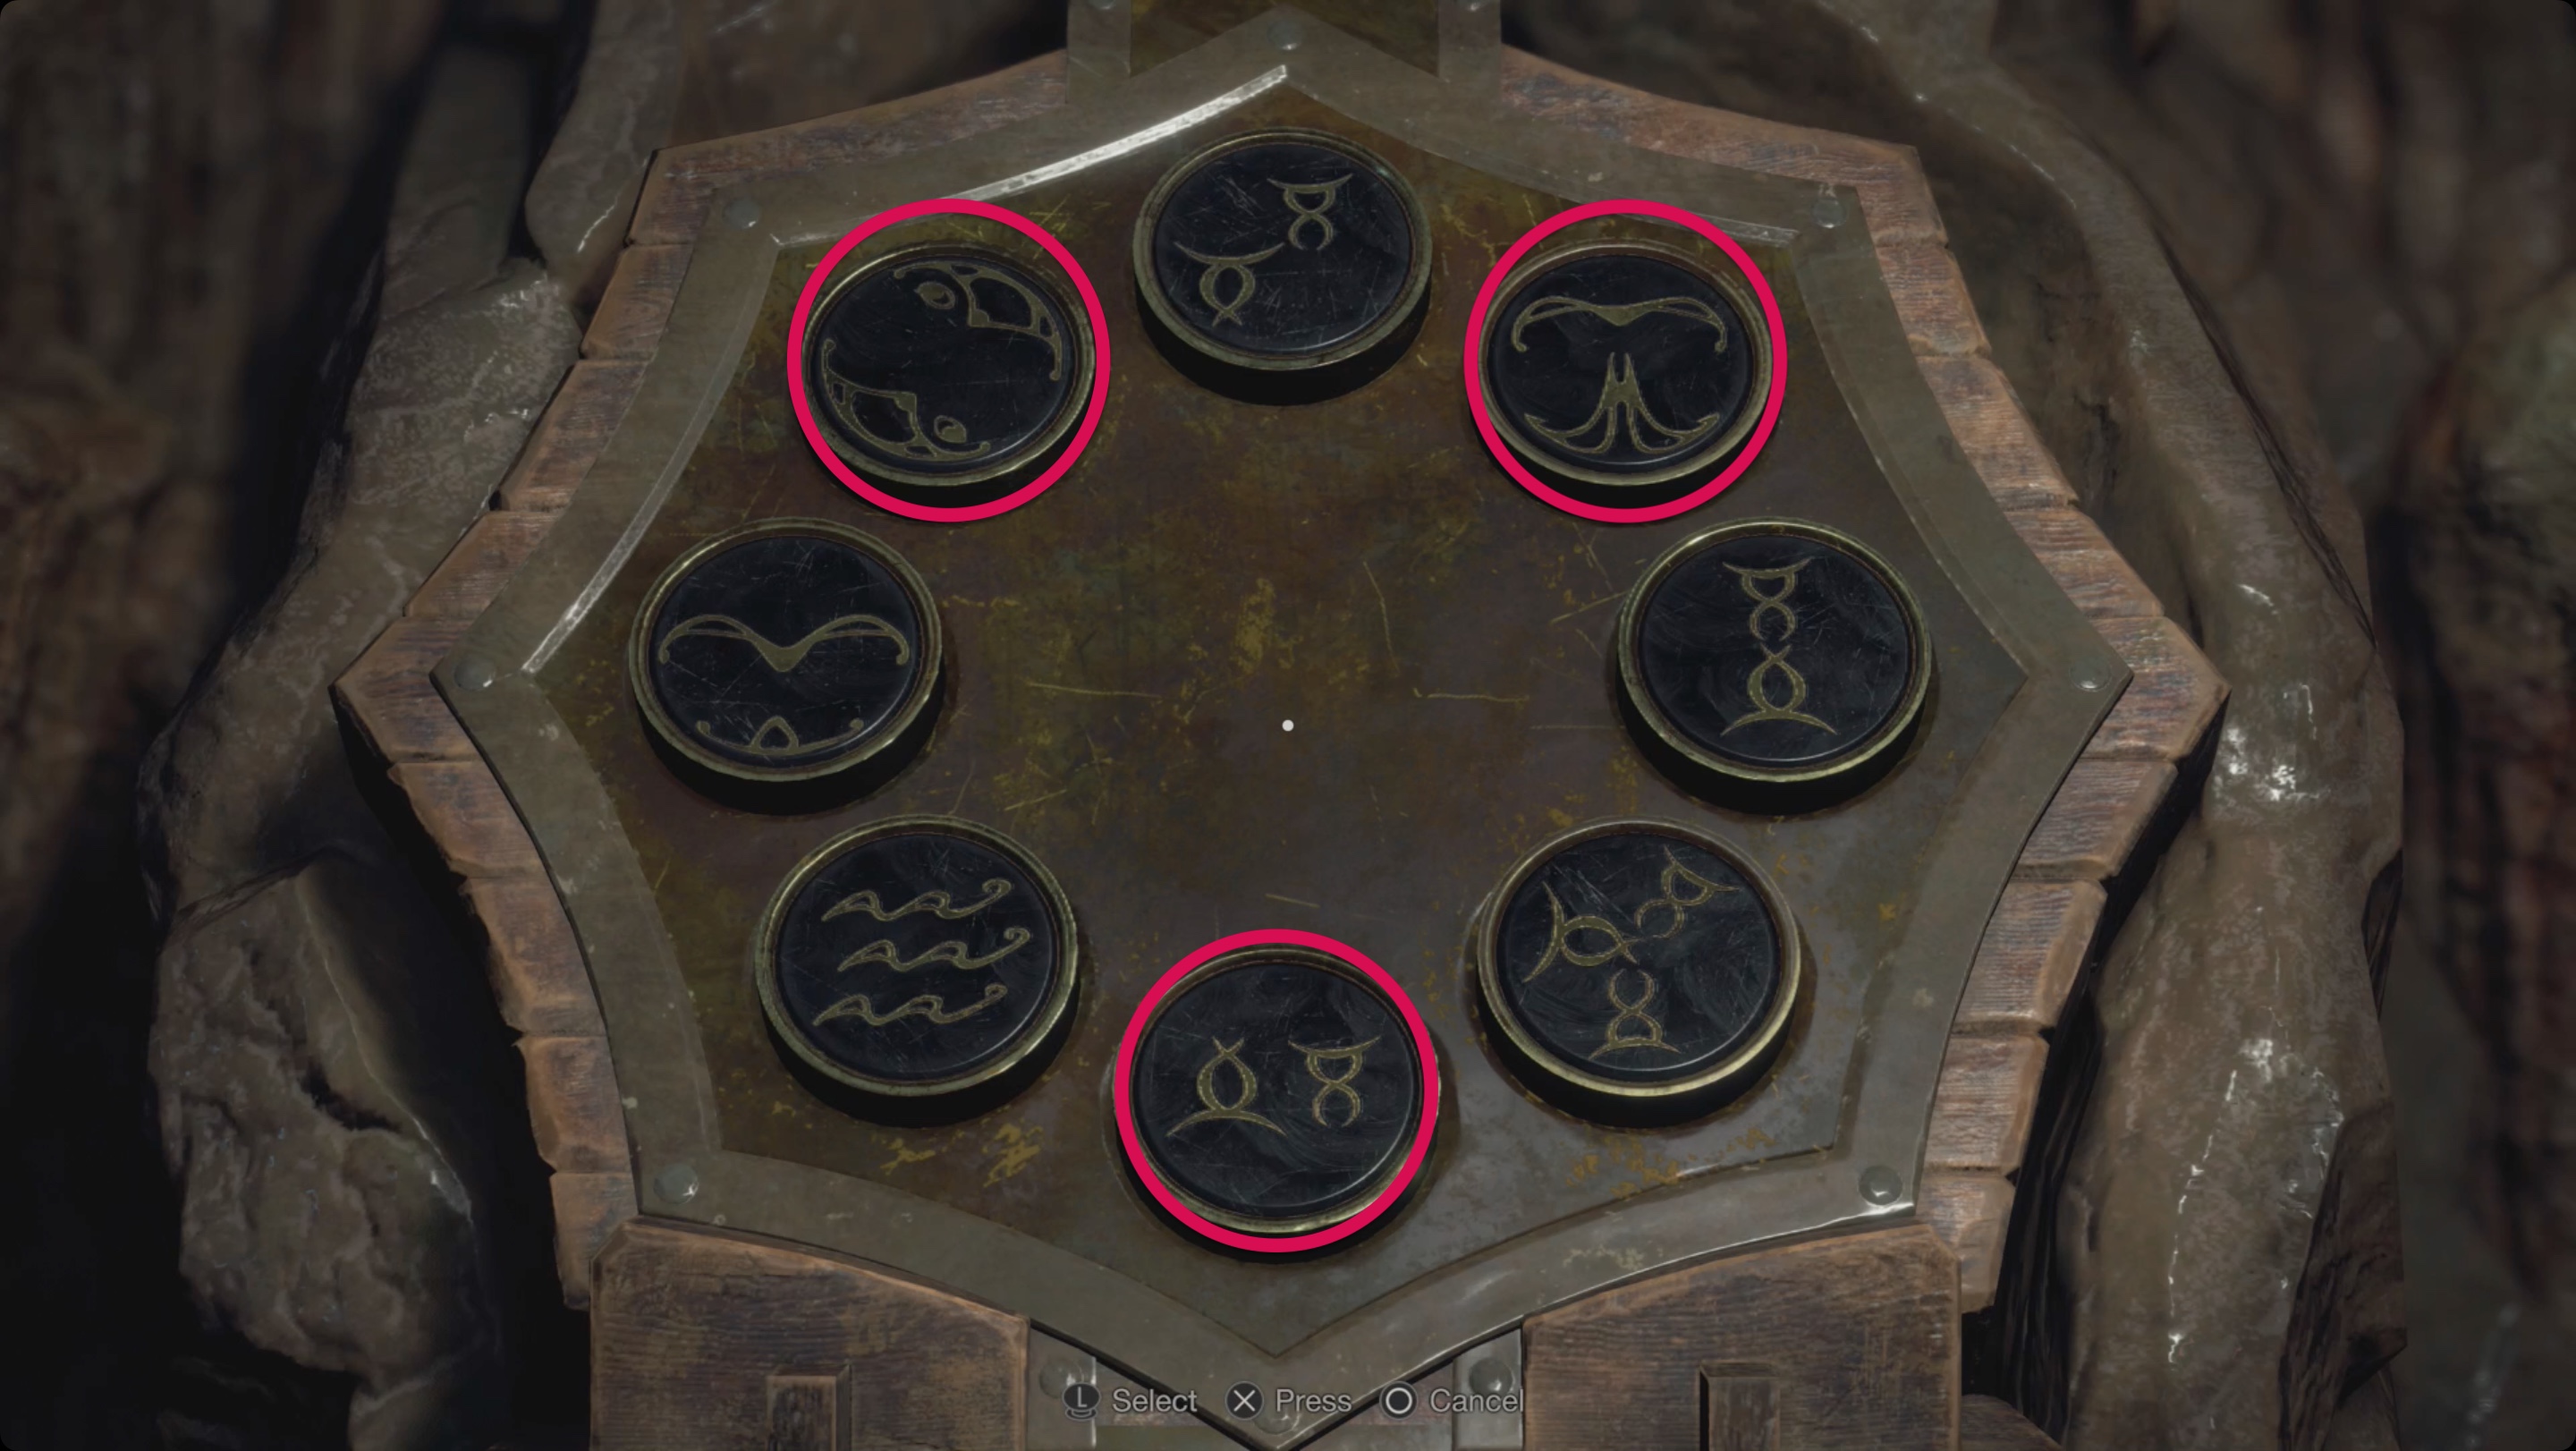
Return to the boat and swim to the northeast corner of the lake, where one of the main objectives is located. Swim through the cave and dock at the pier. Look around carefully to notice a few yellow symbols depicted on the walls and not only. These symbols correspond to those on the buttons next to the locked door. Activate the three symbols shown in the screenshot below to open the door. Interact with the statue to collect the blasphemer’s head. On the right side, look for a chest with a hexagon C, which is needed to solve the puzzle and get another treasure. Head up the stairs and look for a metal cage hanging to the left. Break it to get a ruby.
Get back on the boat and sail to the northwest corner of the lake to get to the Lakeside Settlement you visited in the first chapter. New enemies will appear. Go north from the house to find a street altar. Use the key you found earlier and take the pearl necklace. Follow the wall to the north and look for a door that can be opened with the same key. It leads into the cave.
Trader’s Request: Catch Me a Big Fish
Enter the cave and turn left, where there is a pillar with a blue note – another assignment. You need to catch a large perch in the lake in front of the boat house (we will indicate the right place below).
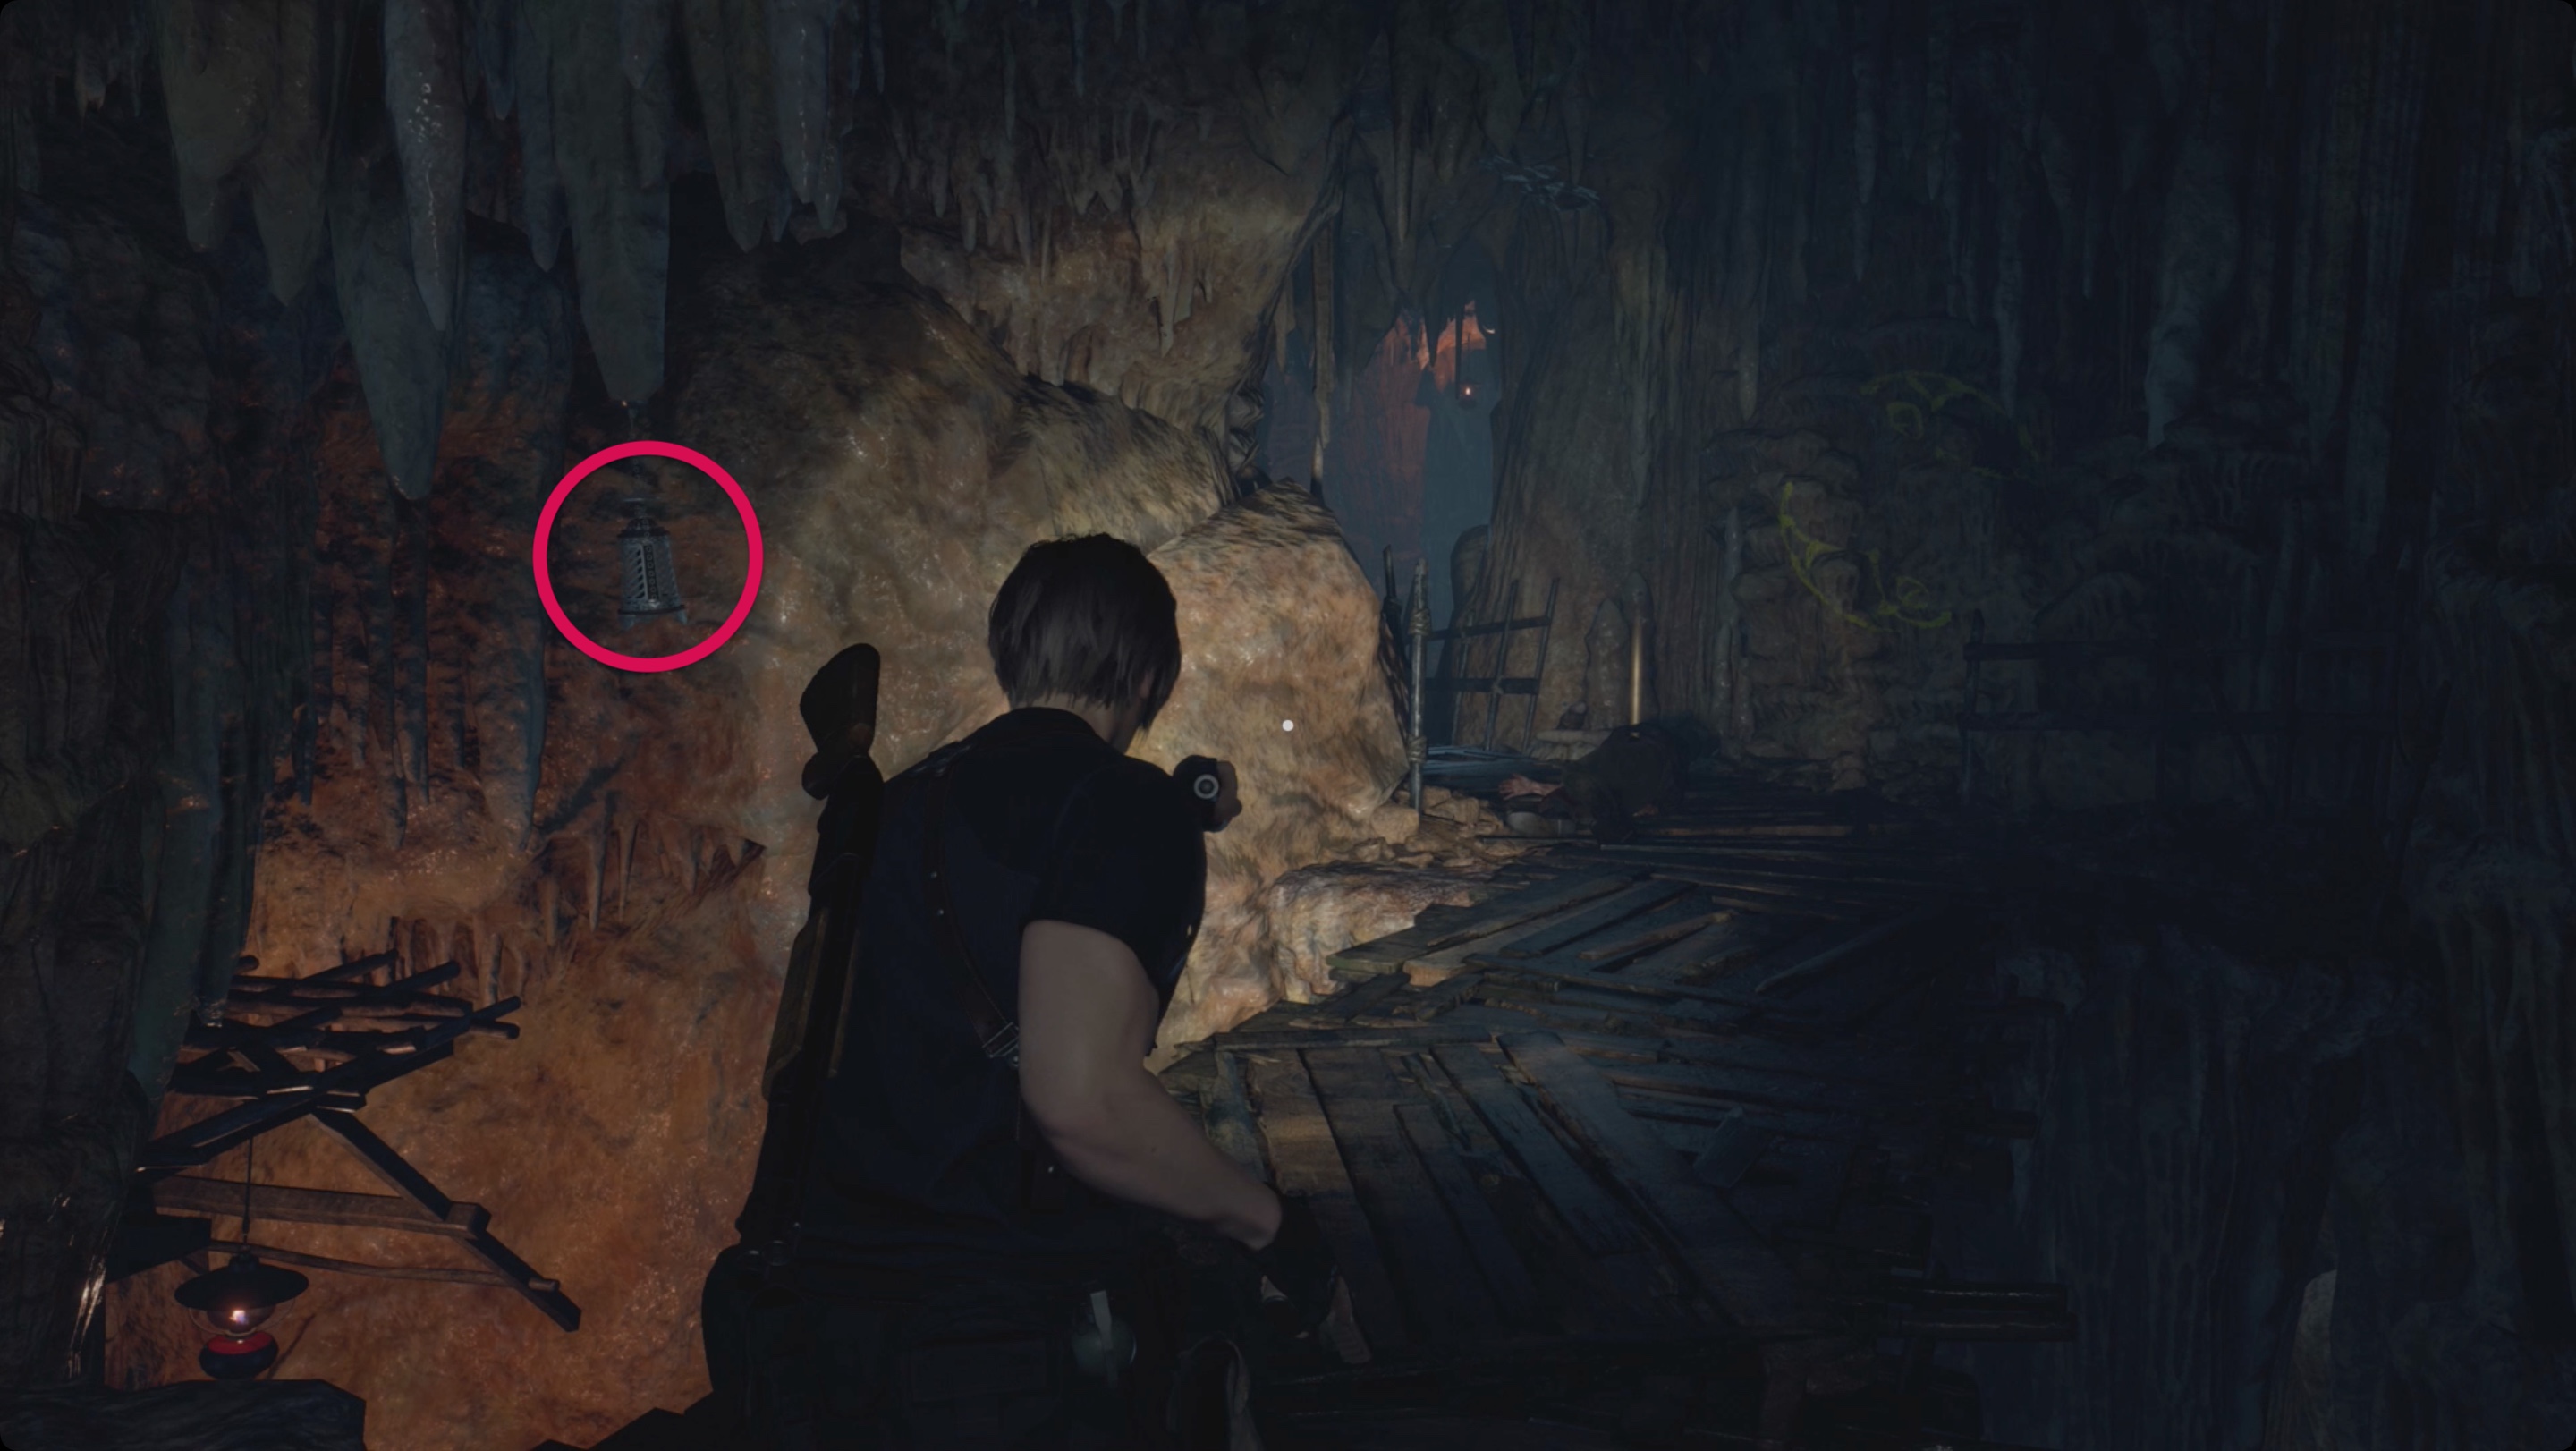
Turn around and go through the door opposite, then up the stairs to reach the forest altar. Behind the fence to the north, look for a clockwork keeper. On the left side is a wagon, on which you can find a small key. Once you’ve obtained the small key, return to the Lakeside Settlement and kill the infected dogs, which will spawn the same tentacle on their heads. When the enemies are finished, go to the house where the first chapter ended and use the small key to open the drawer on the left and get a gold ingot. Go to the basement. This time, there will be a red gem ring at the end of the basement.
Return to the boat and head to the western shore from the center of the lake, from where you set off at the end of the third chapter on the previous boat. I strongly recommend that you make a manual save before solving the puzzle, as there are many combinations. The puzzle can be solved in two moves, but if you start guessing, then only aggravate the situation. Return to the merchant and save at the typewriter. So, on the pier where the boat was refueled, look for an altar where you need to install the three hexagons found. You can only rotate top, left and right. On the minimum and normal difficulty levels, the puzzle is solved in 2 moves: turn the left hexagon once, turn the top one once. On the Hardcore or Professional mode, you need to do the following: turn the right hexagon twice, the left hexagon twice, the top one once. If you made a mistake, Reload your last save and try again. Otherwise it will lead to confusion. After solving the puzzle and opening the altar, you will receive a depraved idol.
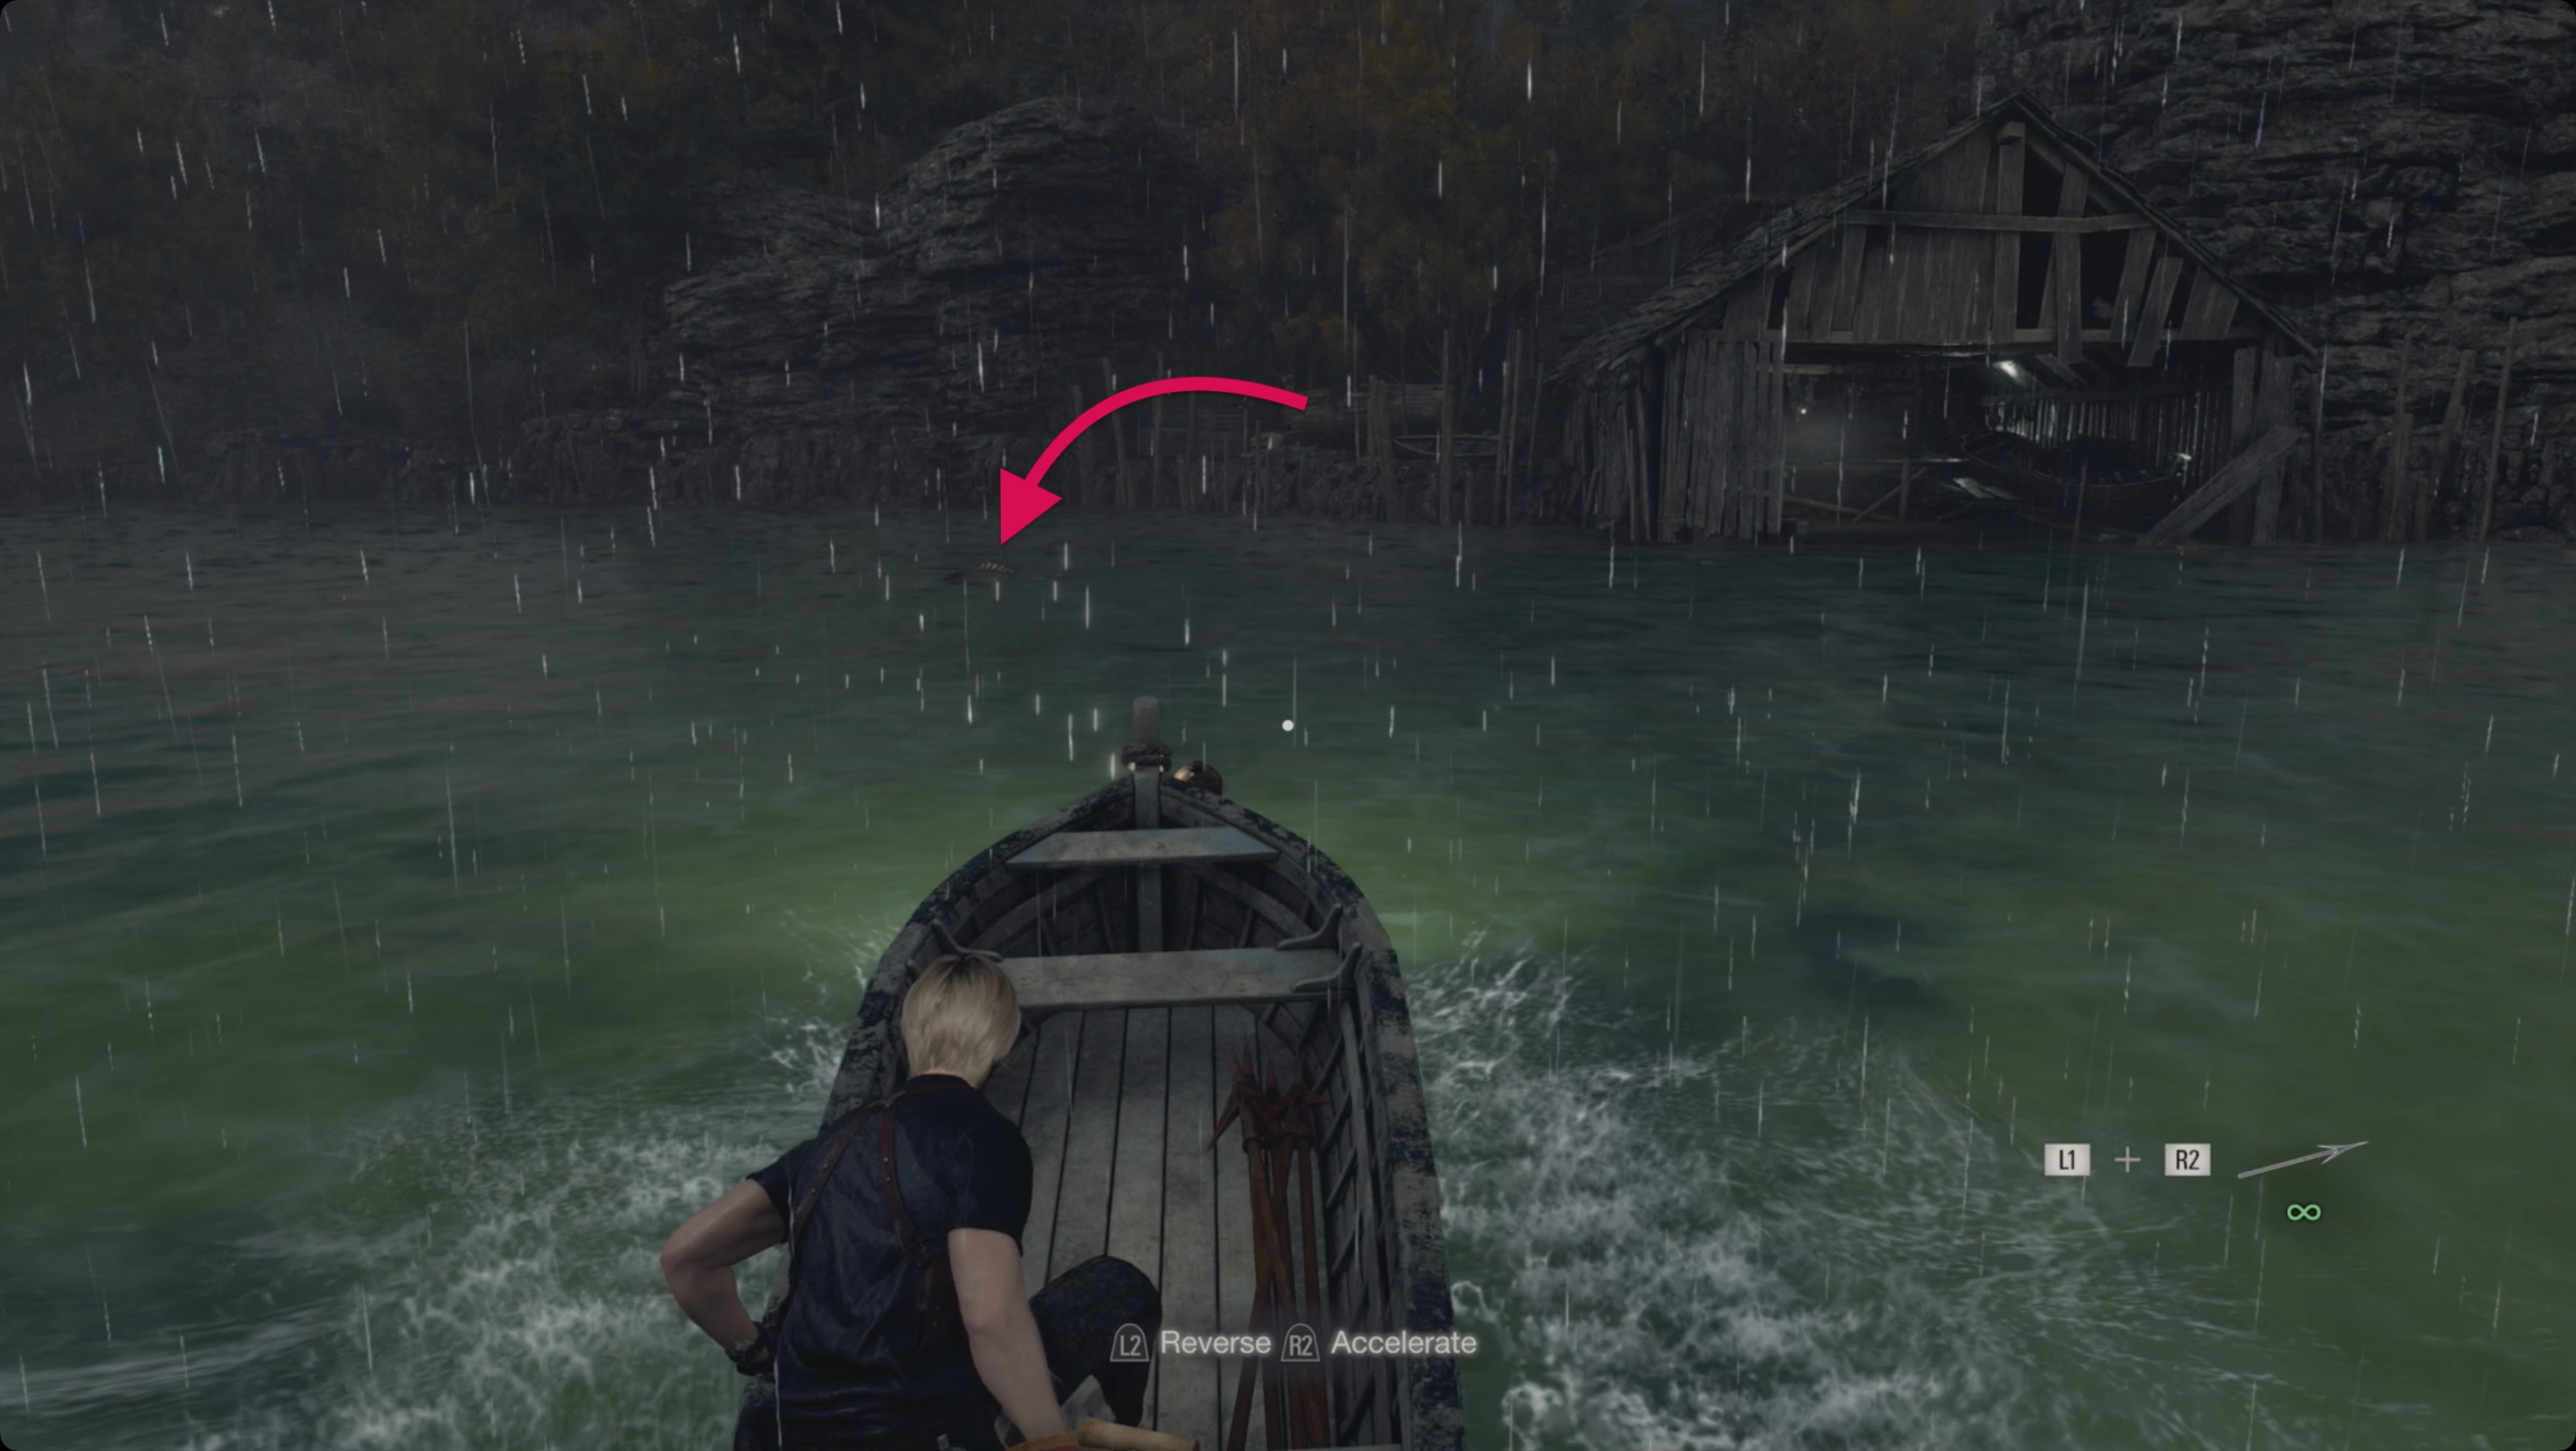
Return to the boat and move back to the pier where you started exploring the lake in this chapter. A large fish is swimming right in front of you, which you need to attack with a harpoon. If the fish didn’t show up, swim back across the lake and then come back. Smaller fish swim nearby, but you want the biggest one. Then sell it to the merchant (southwest of the lake).
Take the boat to the tunnel where the chapter started to return to the pier with the merchant. Sell him a golden egg and a large perch to free up space in your inventory and complete two quests. Return to the boat and swim through the tunnel to the west. You can find an altar that opens with a previously found key. Inside it is hidden a luxurious bracelet. Look up to find a metal cage. Shoot it down and pick up the alexandrite.
Return to the tunnel and collect the last items from the lake. There is another pier that allows you to get to a large temple in a cave. Move to the right (the door on the left is locked, but you will use it on the way back). As you progress through the cave, you will encounter several enemies. When the path bifurcates, take the left side, but watch out for an enemy up ahead who is ready to throw dynamite. Then go to the small cave on the right under the bridge. Look up to see a metal cage, knocking it down will give you a velvety gem.
Follow the path to the end of the cave and climb the stairs to the upper level. Along the way, you’ll notice more yellow symbols on the walls. As before, they correspond to the buttons on the console by the locked door. Press the three correct buttons to open the door, go into the small room and take the renegade’s head.
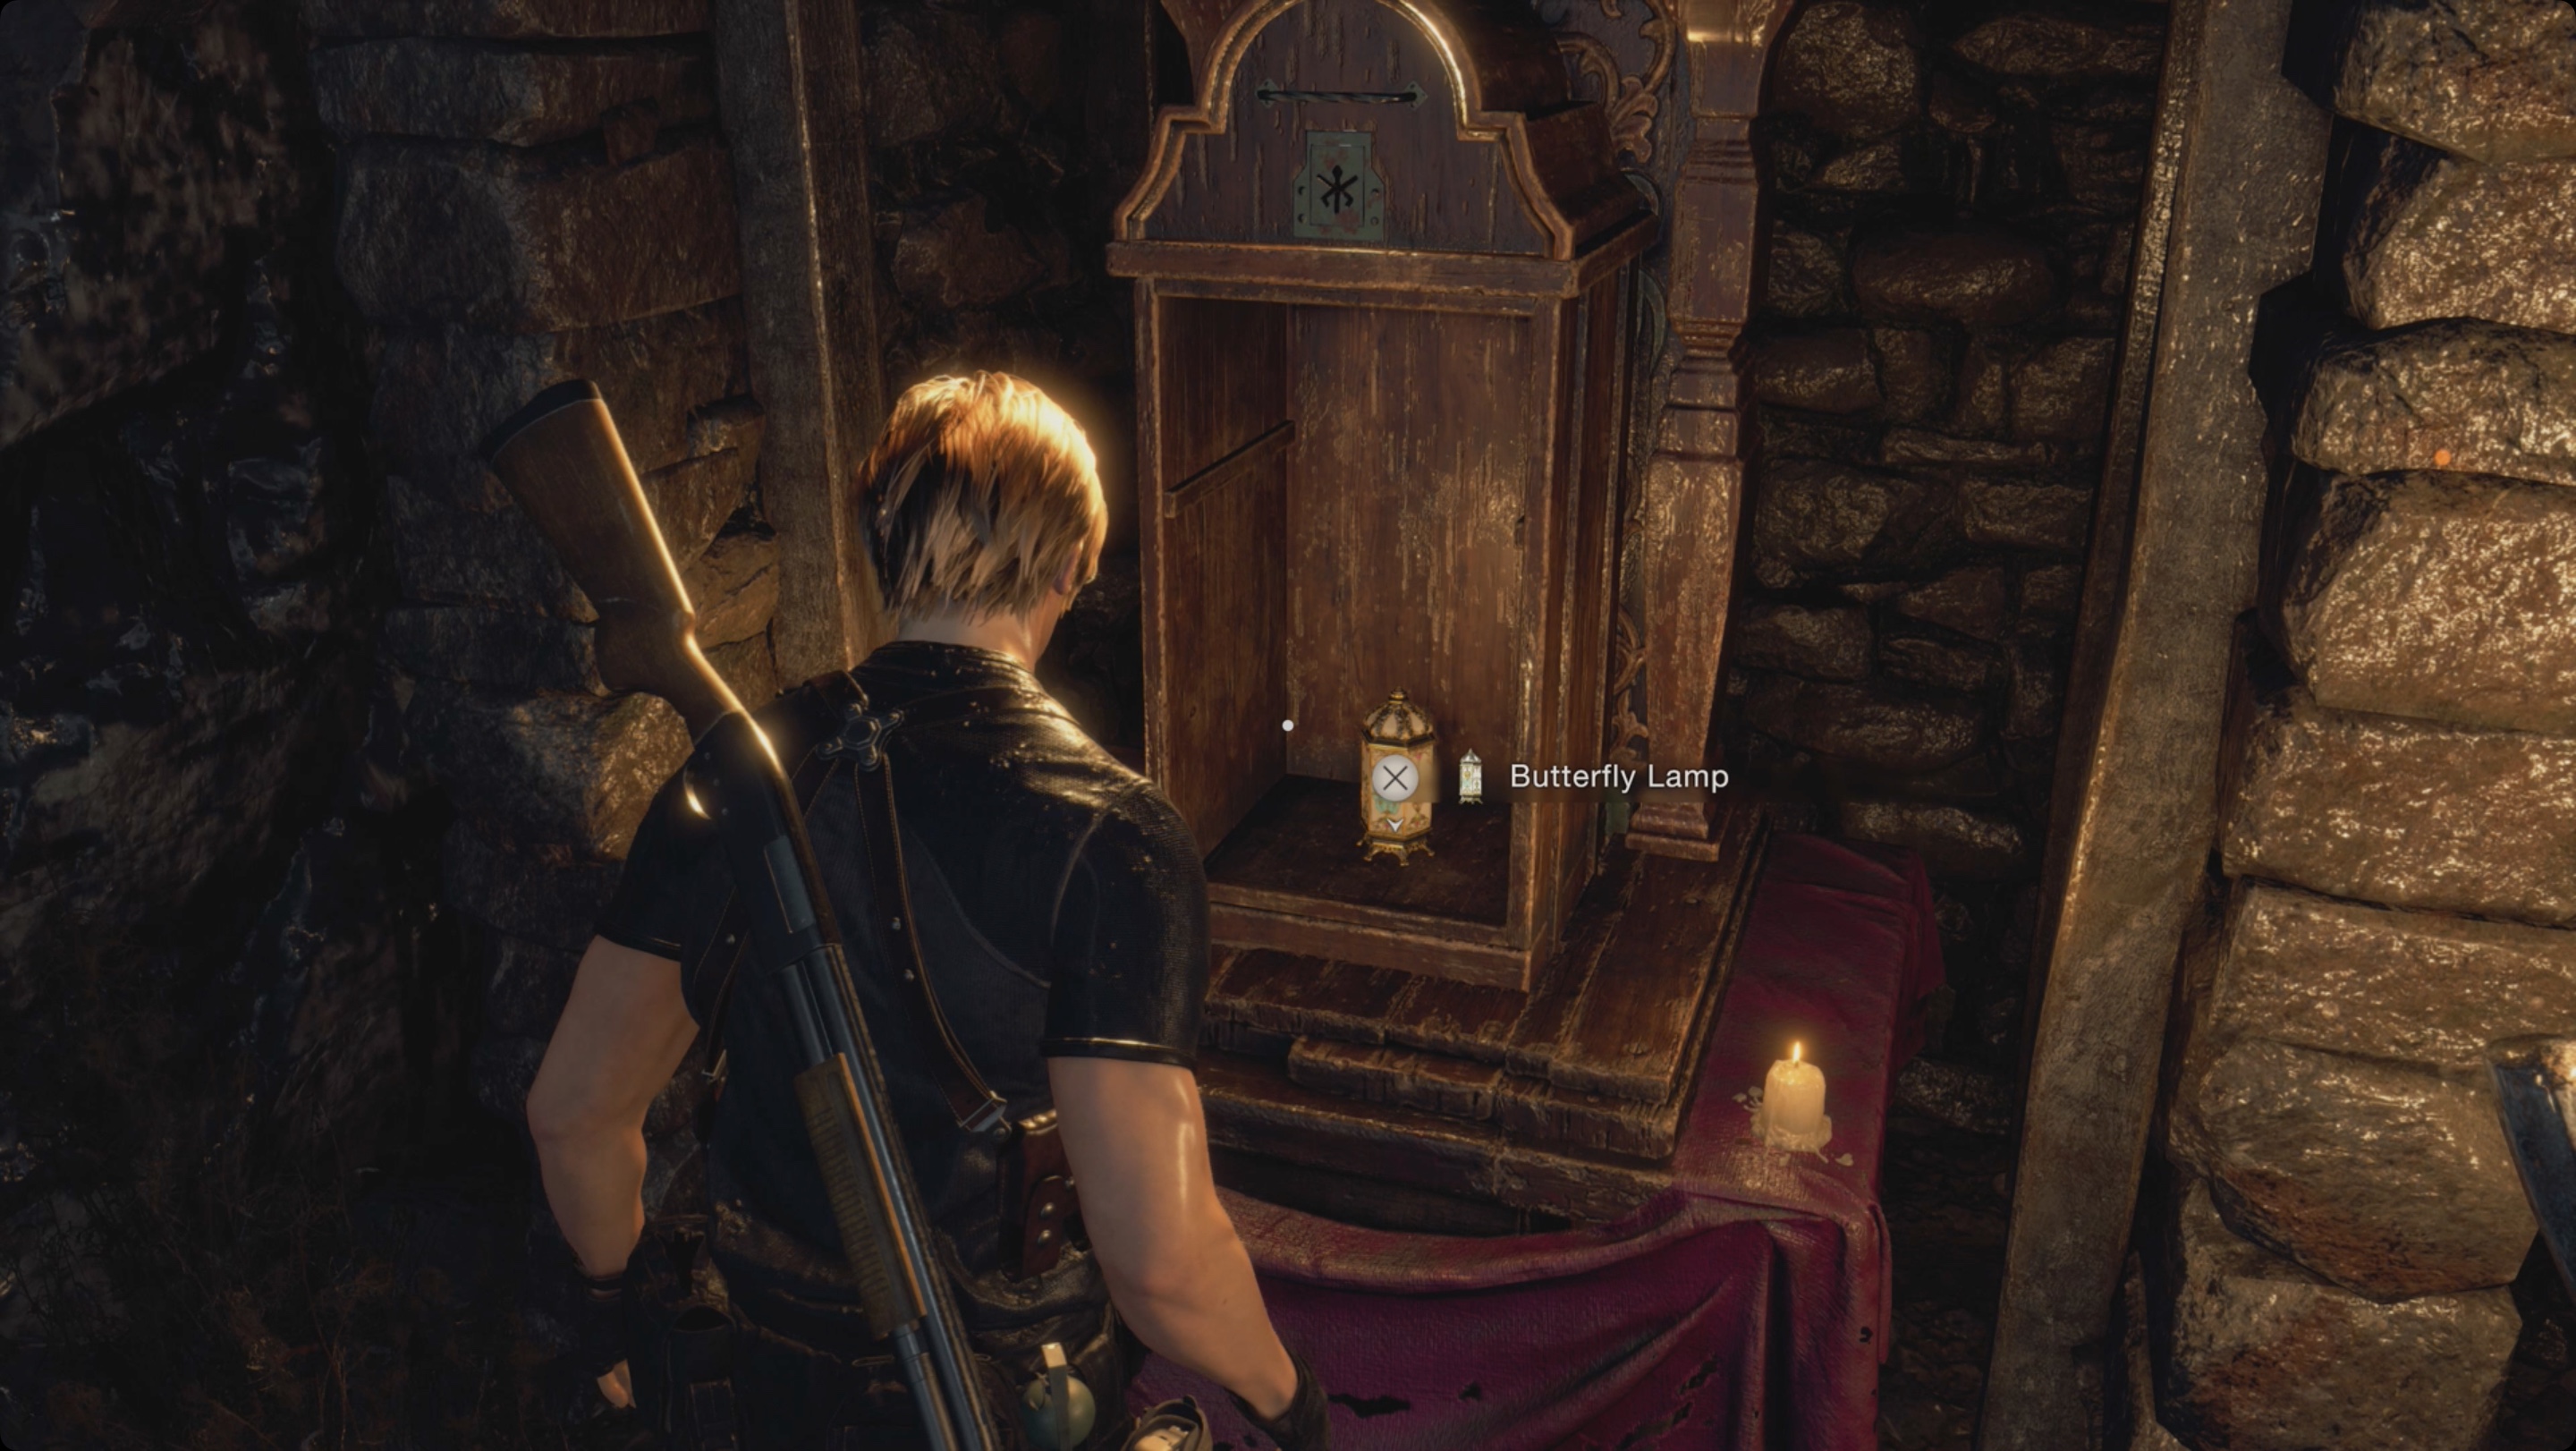
Return to the cave with the fresco to place both heads and collect the coat of arms of the church. To get back to the boat faster, you can go through the metal door leading directly to the pier. Now you need to return to the church where you were in the third chapter. The fastest (and recommended) way is to go through the merchant’s shop, rising from the lower dock. Make sure to save and stock up on supplies as there is a boss fight ahead. Go through the door back to the quarry and open another altar to get a butterfly lamp.
How to beat El Gigante
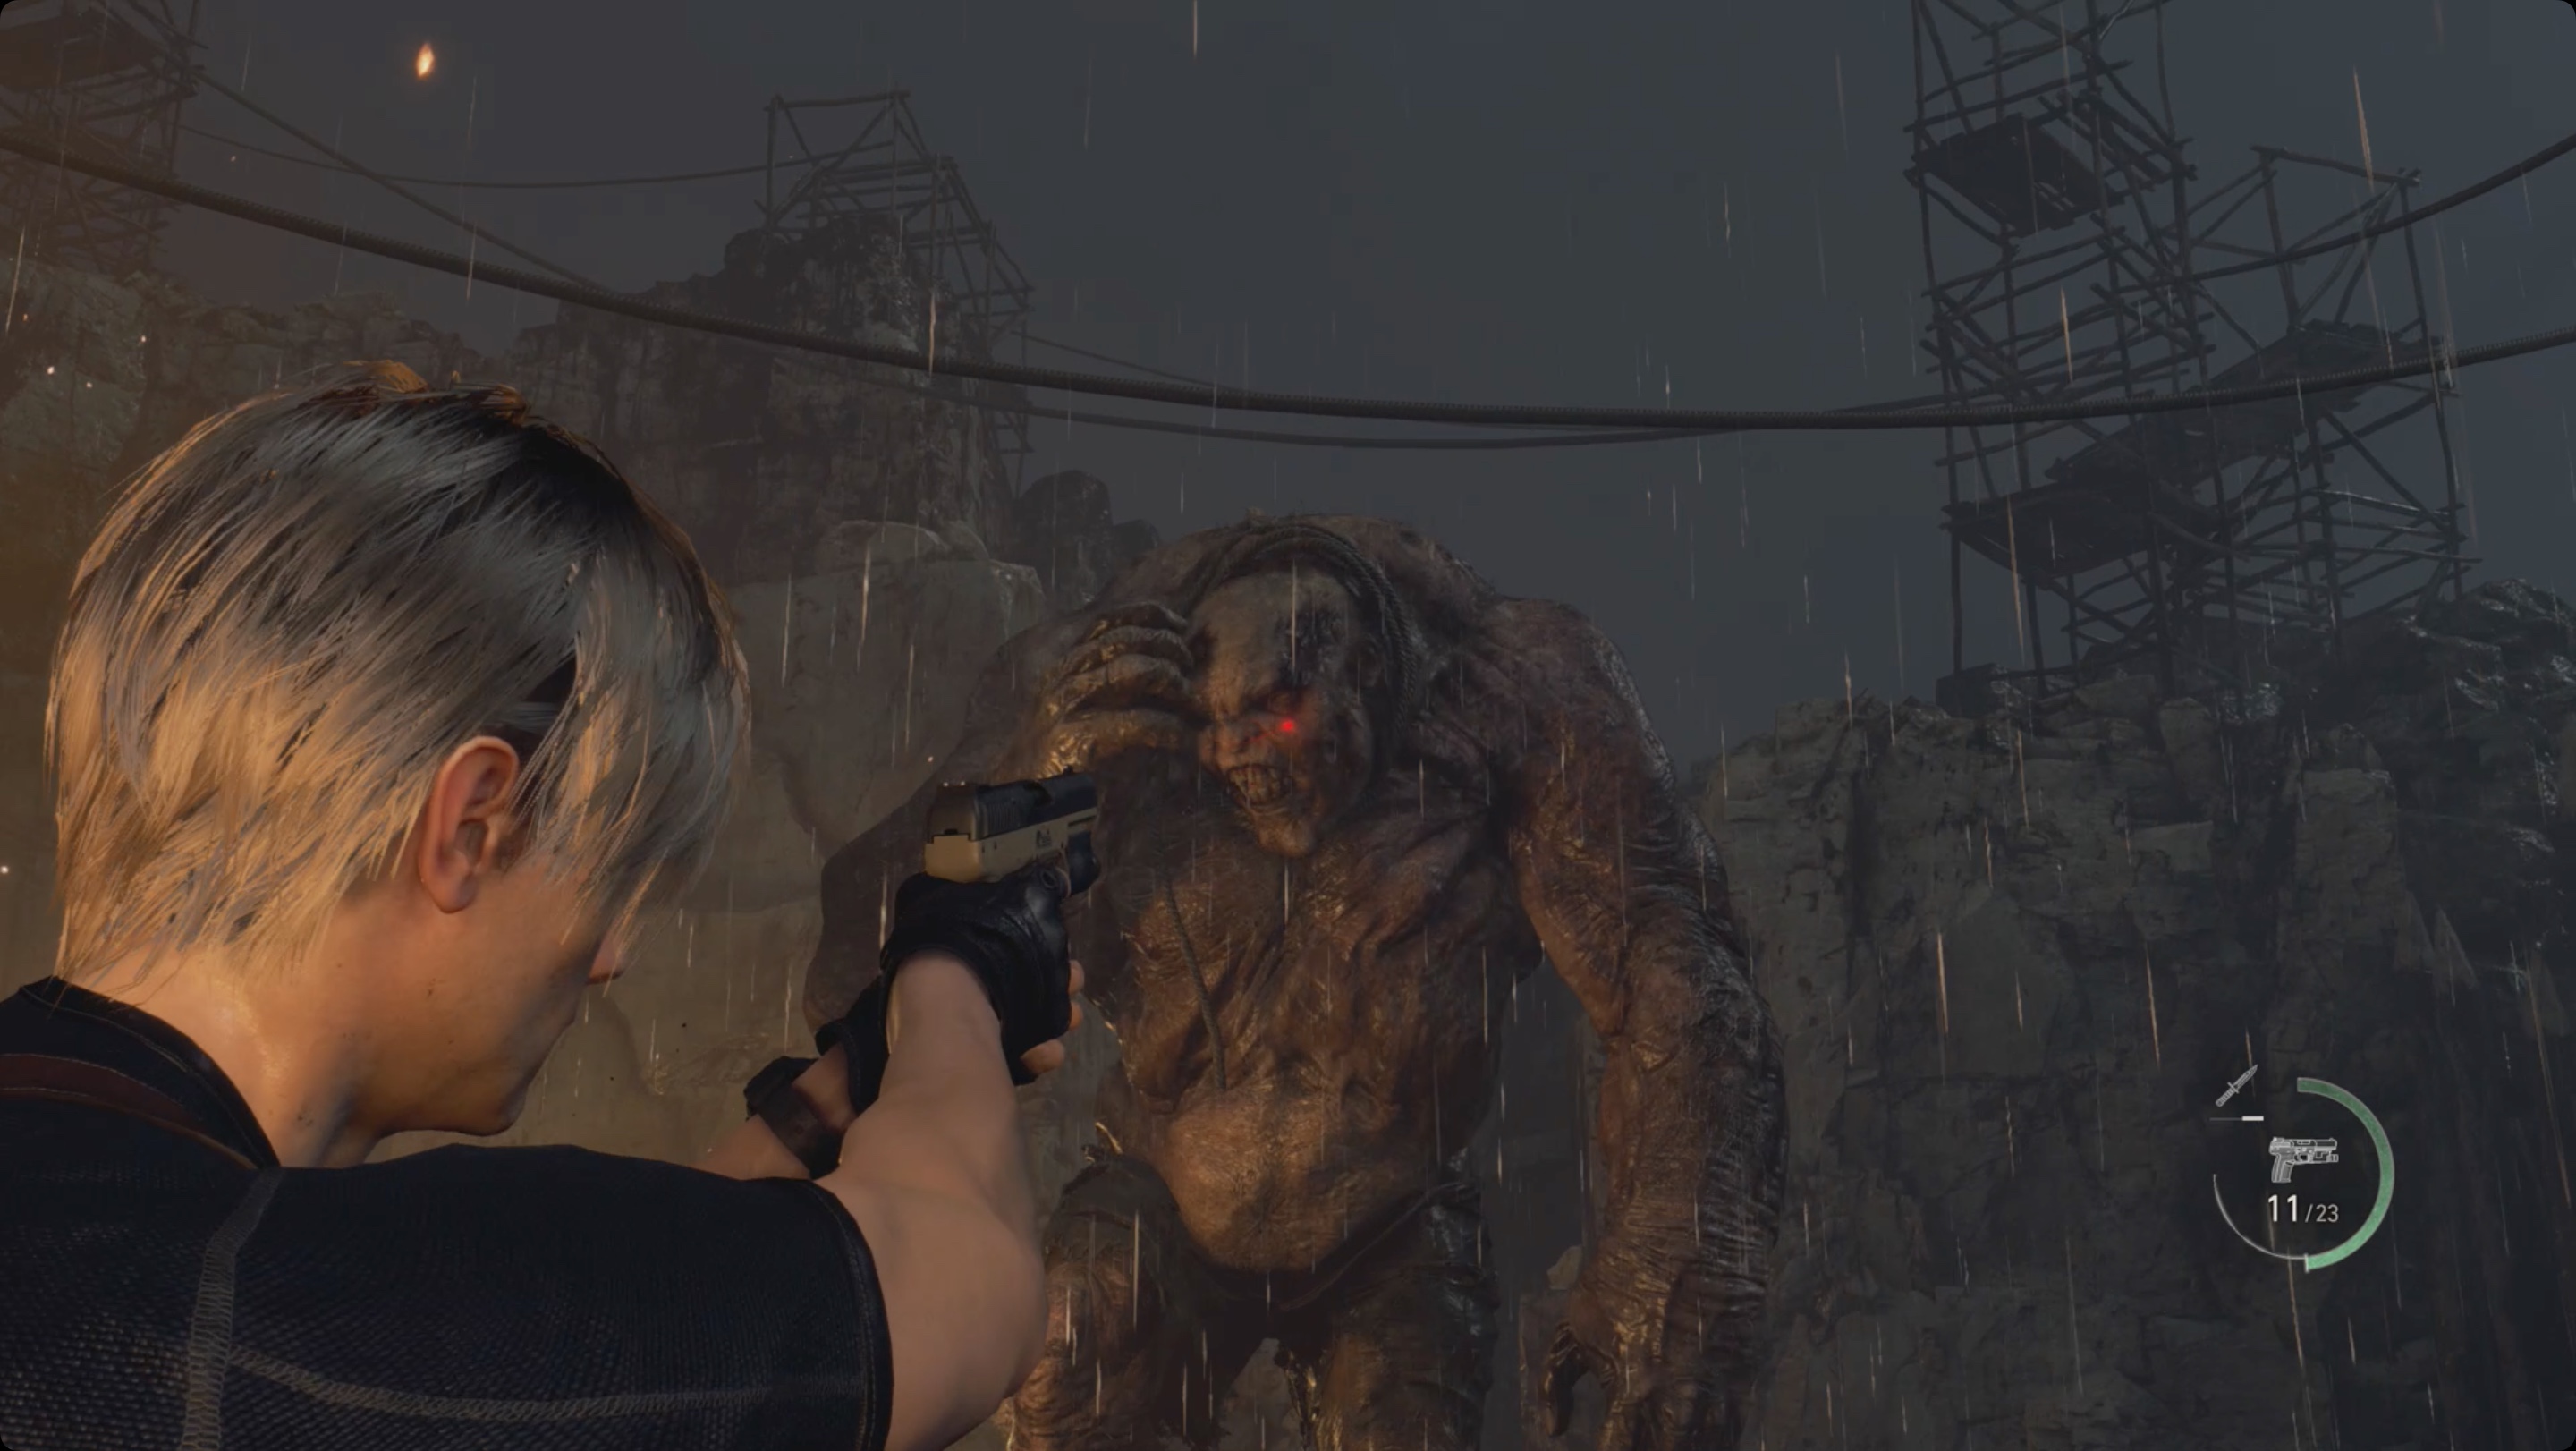
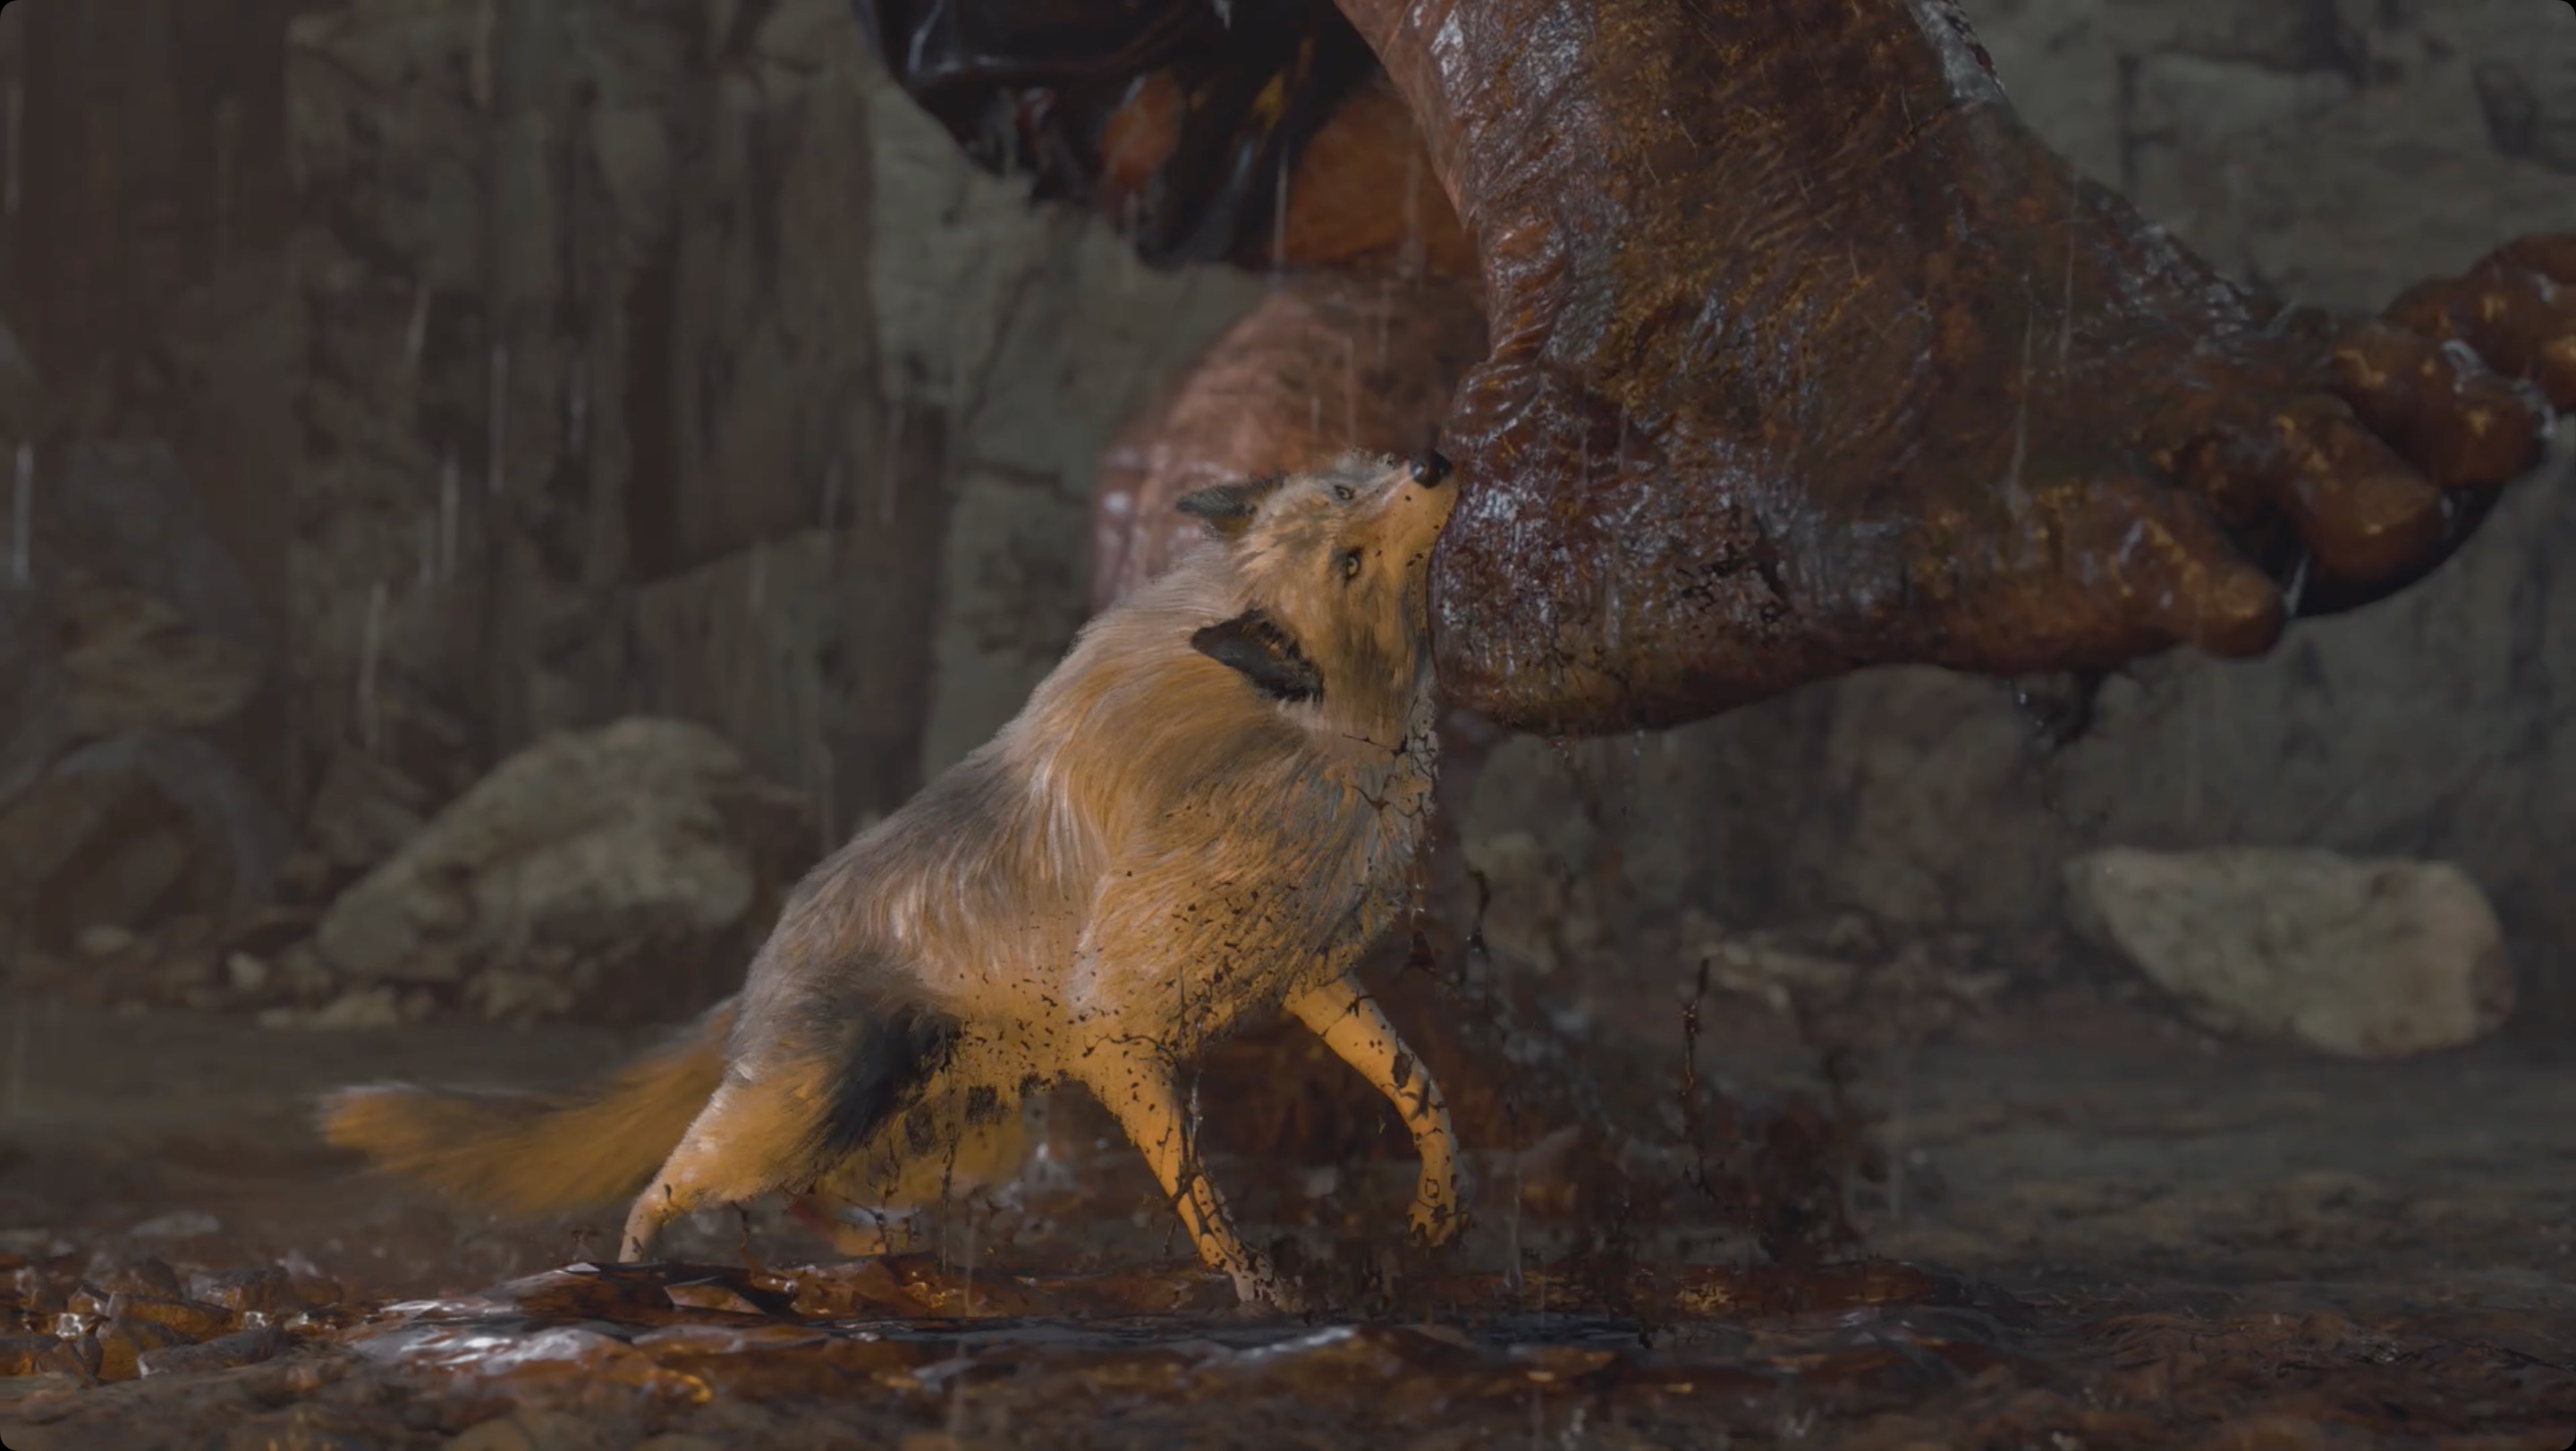
In the career you are attacked by a giant (for fans of the series, El Gigante). You need to defeat this boss in order to return to the church. Two small supply buildings have opened up in this area. In addition to supplies, you can use them for a break. At the beginning of the fight, shoot the giant’s head. Eventually, a parasite will come out of his back. At this point, switch to it already. If you rescued the dog from the trap in the third chapter, it will appear after a few seconds and will distract the giant, which will make it easier to destroy the parasite. When you deal enough damage, it will temporarily fall to the ground. Run closer and attack by pressing the key from the hint. Keep dodging attacks and repeat actions until he dies. The giant drops a yellow gem – don’t forget to pick it up. When the boss is defeated, the quarry gate will open, and you can go back to the church. A dog will appear at the entrance. After killing her, place the church coat of arms on the gate to open the door.
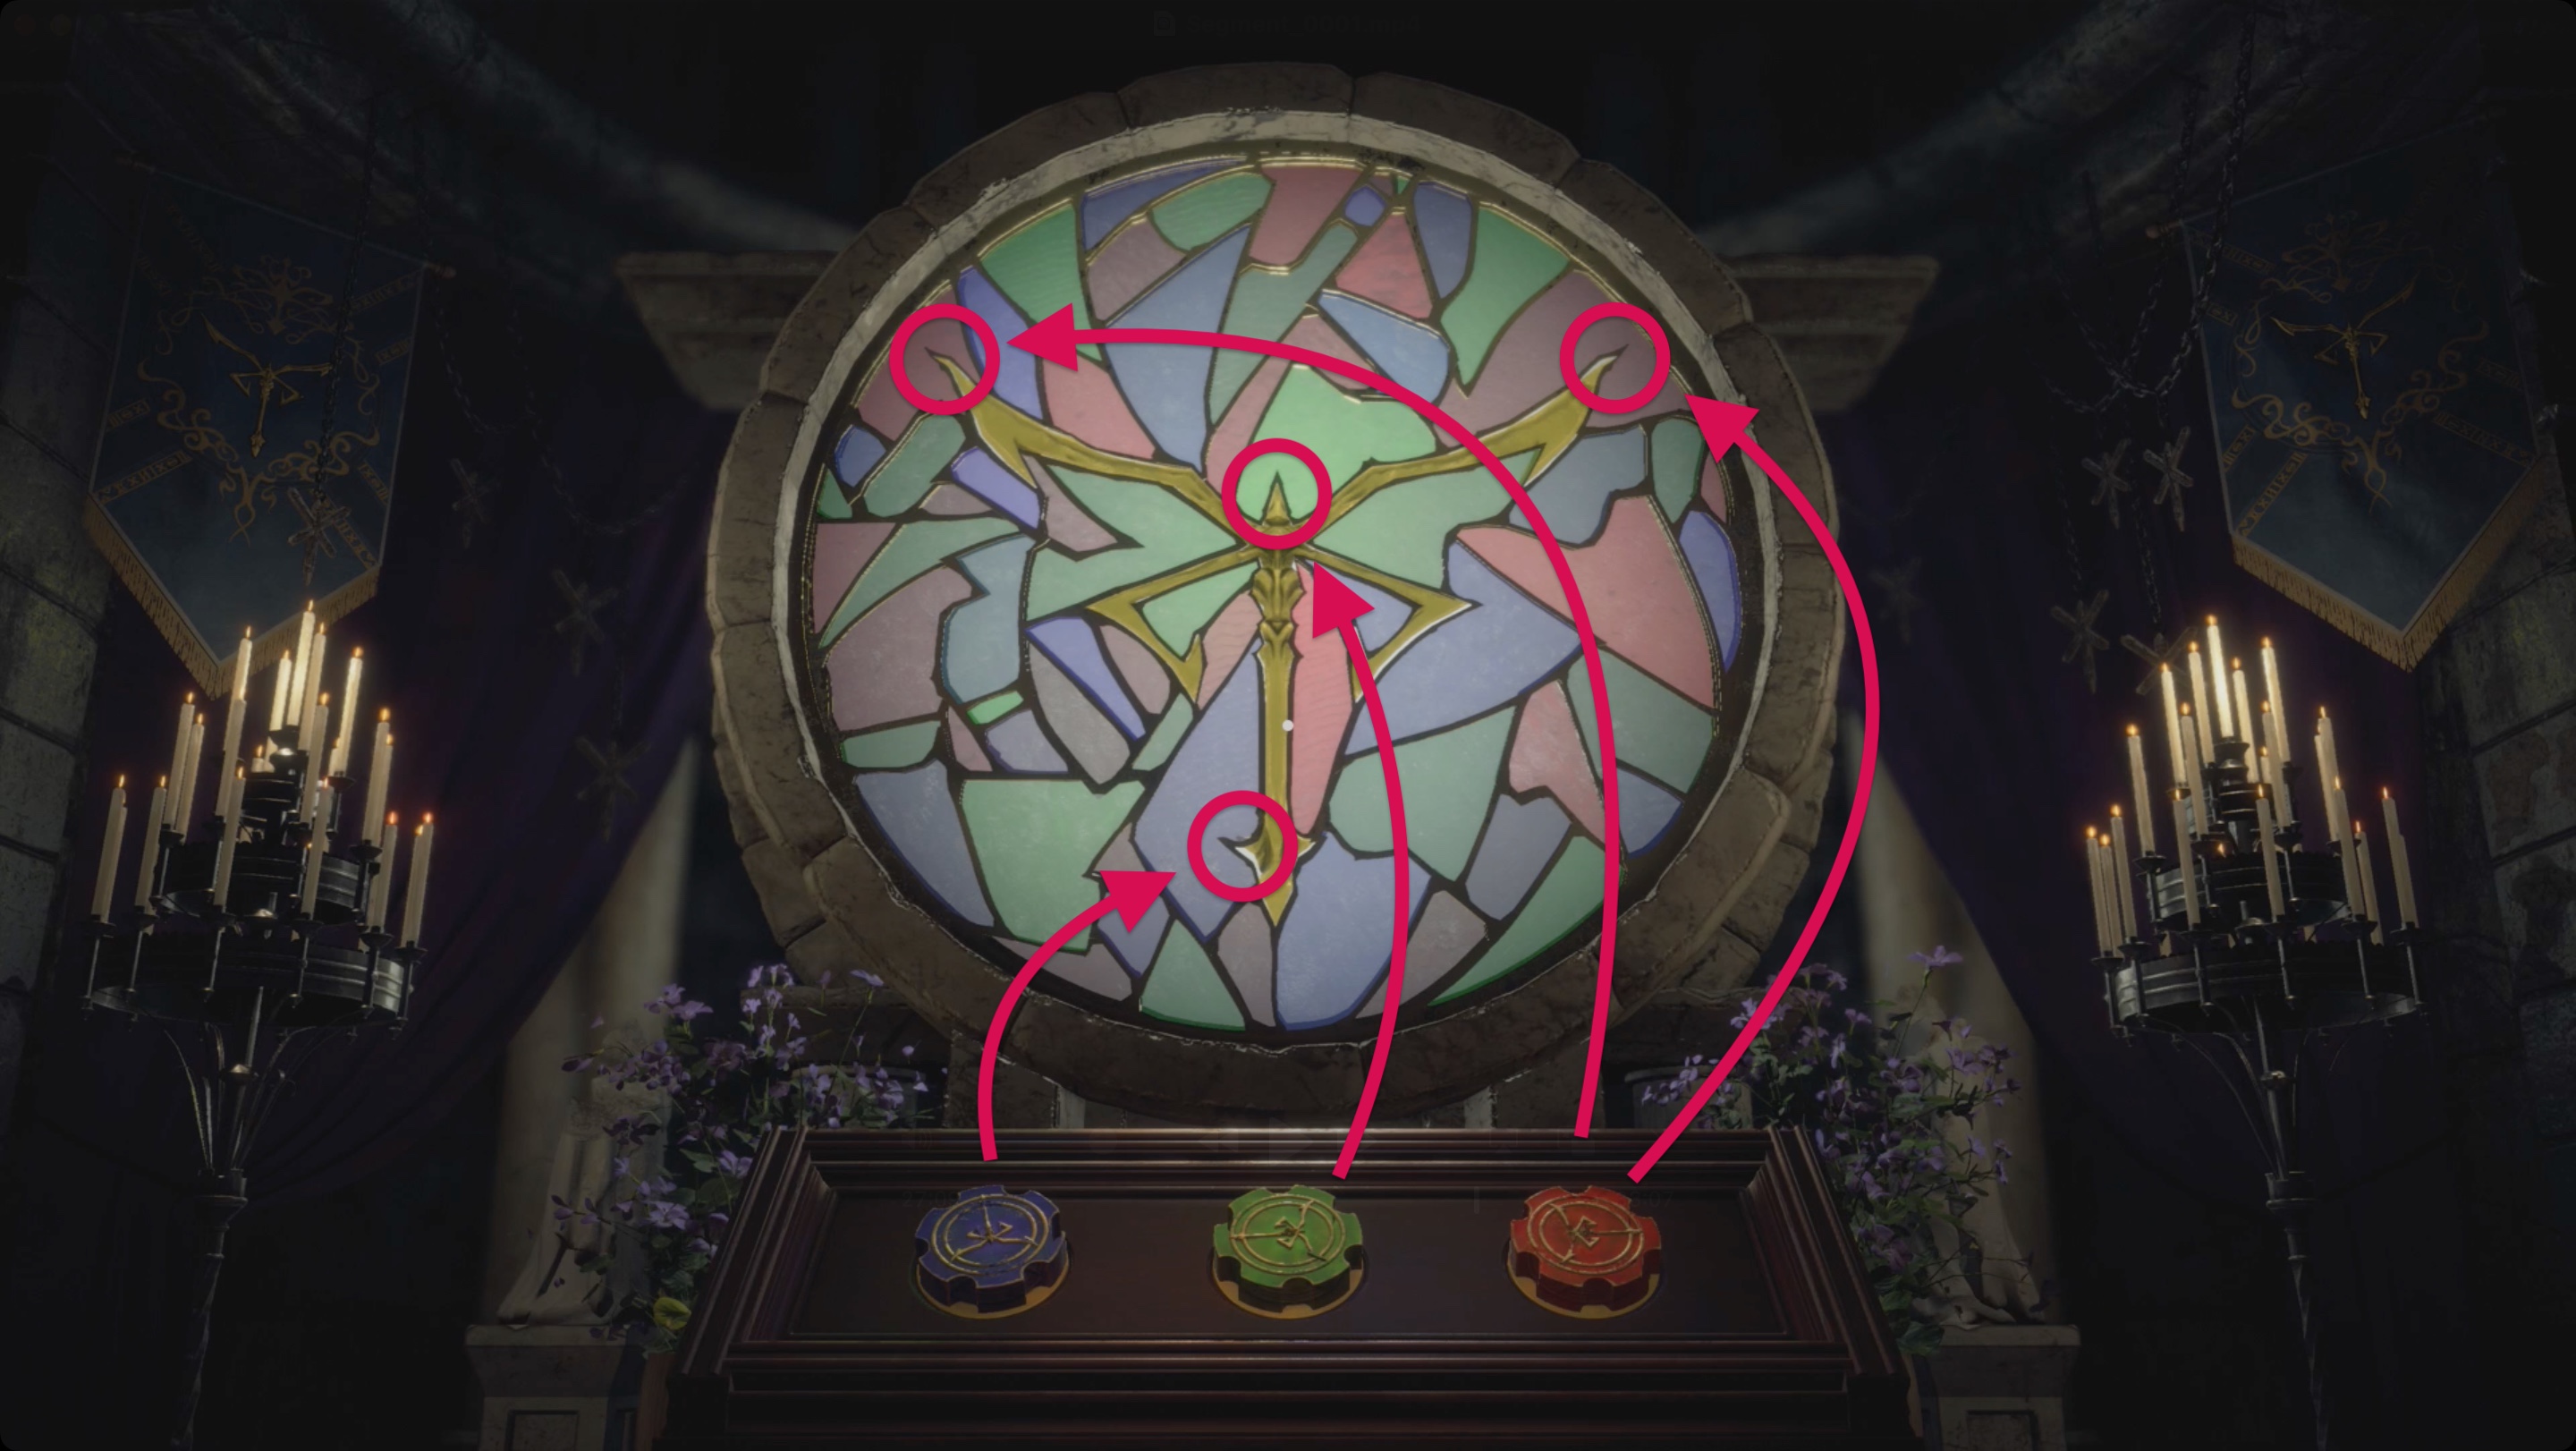
Enter the church and go to the altar ahead. There is a small key on the table to the right. You can return from the church to the nearest room with a typewriter (the door on the right on the outer wall of the church) to use a small key on a locked box and get a yellow gem. If you miss an item in this chapter, you can still pick it up in the next one. Back at the church, go around the right side of the main room and open the closet at the end to find a blue clock face. Climb back to the front of the room and pull the lever on the left side to open the altar. Set the blue dial. Use the blue, green, and red buttons to rotate the patterns to create a single piece of stained glass.
Glasses should fill the entire space and at the same time not overlap each other. This will open the gate on the left side of the room and go up to the second floor. Interact with the door to complete the chapter.
