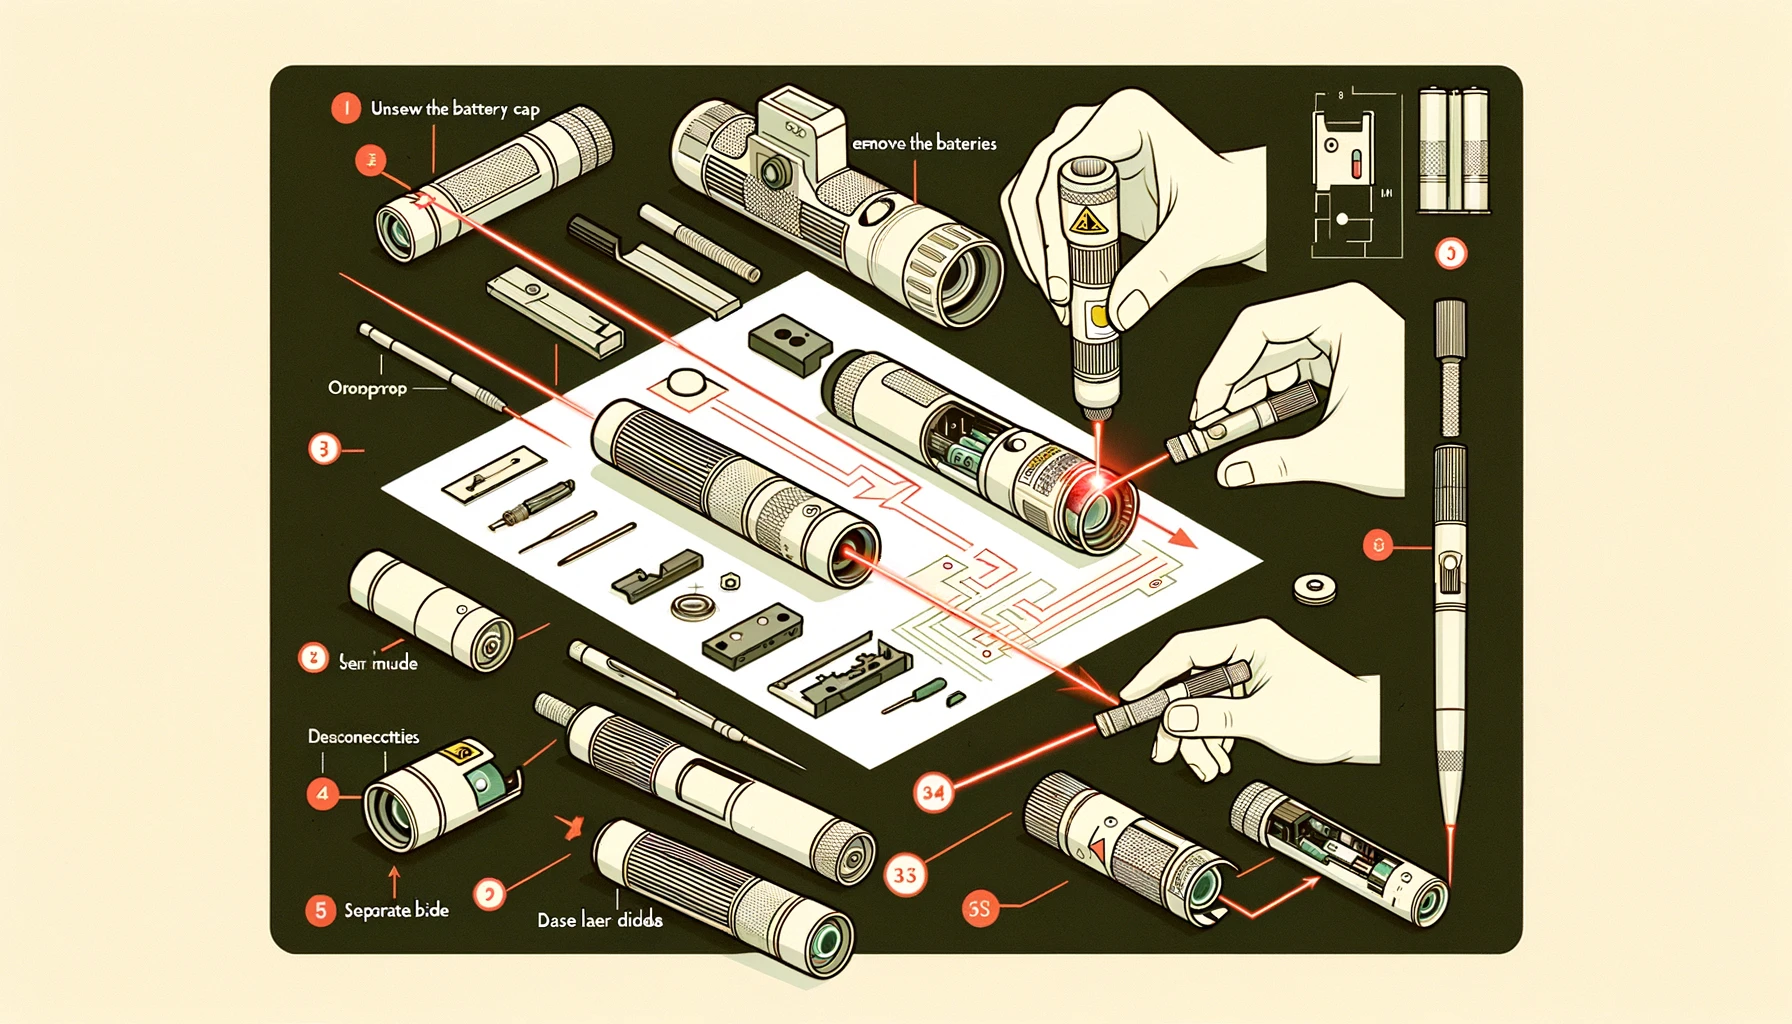
Learn how to safely disassemble a laser pointer with this step-by-step guide. Disassembling a laser pointer can be a straightforward process, but it’s important to proceed with caution to avoid damaging the device or harming yourself with the laser. Here’s a step-by-step guide on how to disassemble a typical laser pointer.
How to Disassemble a Laser Pointer.

Laser pointers are handy tools that are used for a variety of purposes, such as presentations, pointing out objects, and even playing with pets. However, like any electronic device, they can sometimes stop working. Instead of throwing away a broken laser pointer, you can try to disassemble it and possibly fix the issue yourself.
Tools Needed
- Small Phillips or flathead screwdriver
- Tweezers (optional, for handling small parts)
- Safety glasses (to protect your eyes)
Steps to Disassemble a Laser Pointer
- Turn Off and Remove Batteries:
- Ensure the laser pointer is turned off.
- Open the battery compartment, usually located at the end of the laser pointer, and remove the batteries.
- Remove the End Cap:
- Many laser pointers have an end cap at the opposite end of the battery compartment. This may unscrew by hand or require a gentle twist with pliers if it’s tightly fastened.
- Unscrew the Housing:
- Look for any screws on the body of the laser pointer. These are usually small Phillips or flathead screws. Use the appropriate screwdriver to remove them.
- Carefully separate the two halves of the housing. This should expose the internal components.
- Detach the Internal Components:
- Identify the main components such as the laser diode, circuit board, and any lenses.
- Gently disconnect the components. Some may be soldered to the circuit board; if you’re not planning to reassemble the pointer, you may need to desolder them.
- Use tweezers to handle any small or delicate parts.
- Remove the Laser Diode and Lens:
- The laser diode is typically connected to a small circuit board. Remove any screws securing the circuit board to the housing.
- Be extremely careful with the laser diode and the lens as they are sensitive components. The lens may be screwed onto the diode and can usually be unscrewed carefully.
- Inspect and Store Components:
- Once disassembled, inspect the components for any damage or wear if you plan to reuse them.
- Store the components in a safe, static-free environment if you intend to reassemble or use them in other projects.
Safety Notes
- Laser Safety: Even with the pointer disassembled, the laser diode can be hazardous. Avoid direct eye exposure to the laser beam.
- Handling Components: Handle electronic components with care to avoid damage from static electricity or physical force.
Reassembly
- To reassemble the laser pointer, simply reverse the disassembly steps. Ensure all connections are secure and that the laser diode and lens are correctly aligned to ensure proper function.
By following these steps, you should be able to successfully disassemble and possibly reassemble your laser pointer. Remember, safety first—especially when dealing with lasers and electronic devices.
Conclusion
Disassembling a laser pointer may seem like a daunting task, but with the right tools and a bit of patience, it can be done safely and effectively. By following the steps outlined in this article, you can gain a better understanding of how laser pointers work and potentially fix any issues that may arise. Remember to always exercise caution when working with electronic devices and seek professional help if needed. Happy tinkering
